Guide
How to photograph clothes to sell online, with just your phone
No studio, no camera, no ring light. A window, a plain background and the right five to eight photos do the work. Here is the whole method, with what Depop, Vinted, Poshmark, eBay and Etsy ask for.

 By Elena Varga
 · Reviewed by Sofia Moretti |Fact-checked|10 min read
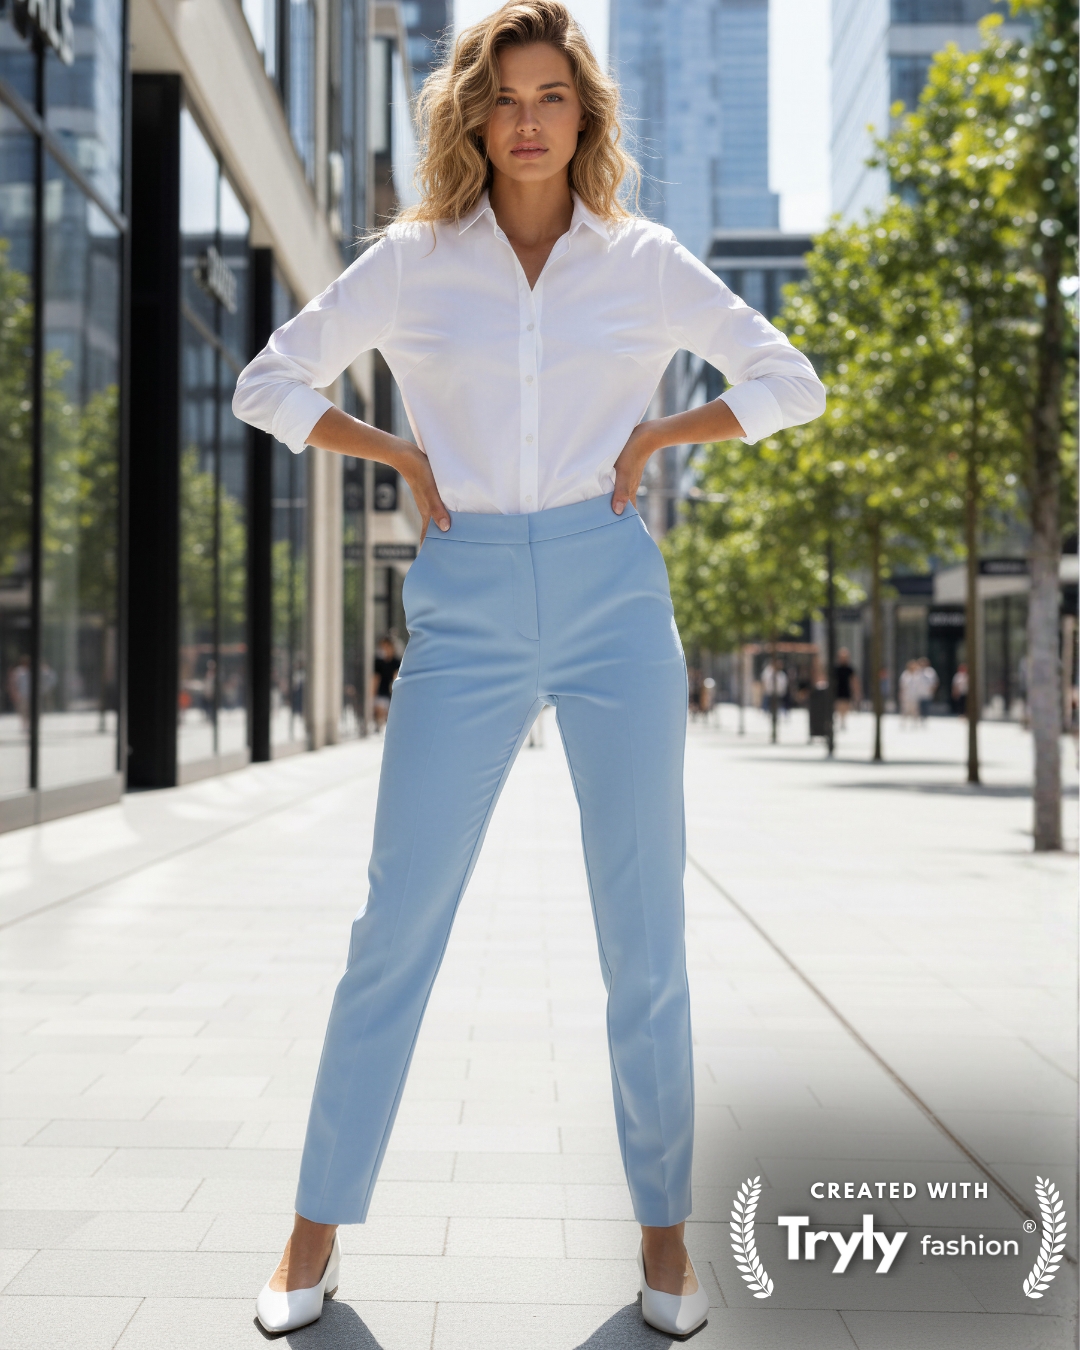
Key takeaways
- 1Shoot next to a window in daylight with the flash off, on a plain background: a white sheet, a white wall or a door.
- 2Post five to eight photos: front, back, label and size tag, fabric, every flaw, measurements and one worn shot.
- 3Keep a real photo of the actual item as your main image. A worn photo, modeled by you or made from your flat photo, is an extra.
10 free photos, no card. Photos as low as $0.25 each.
On this page+
How do you take pictures of clothes to sell online?
The short answer
Shoot next to a window in daylight, with the flash off, on a plain background: a white sheet, a white wall or a door. Take five to eight photos: the front, the back, the label and size tag, a fabric close-up, any flaws, the measurements and one photo of the item worn. Your phone is enough.
Those photos answer what buyers would otherwise message you about: what the item is, its shape, its real size, its condition and how it looks on.
What do you need to photograph clothes at home?
The short answer
A phone, a window, a plain light background (a white sheet, a white wall or a door) and a few hangers. A steamer, a lint roller and a measuring tape help. You don’t need a camera, studio lights or a lightbox.
The essentials
- ✓ Your phone, with the lens wiped clean
- ✓ A window with daylight
- ✓ A white sheet, a white wall or a plain door
- ✓ Two or three hangers, including a clip hanger for trousers
Worth having
- ✓ A steamer or an iron
- ✓ A lint roller
- ✓ A soft measuring tape
- ✓ Safety pins or clips, to tidy the fit
- ✓ A full-length mirror, for worn photos
Plan around the daylight: shoot at the brightest time of day, close to your biggest window. On a sunny day, move out of the direct sunbeam or draw a thin white curtain.
How do you photograph clothes step by step?
The short answer
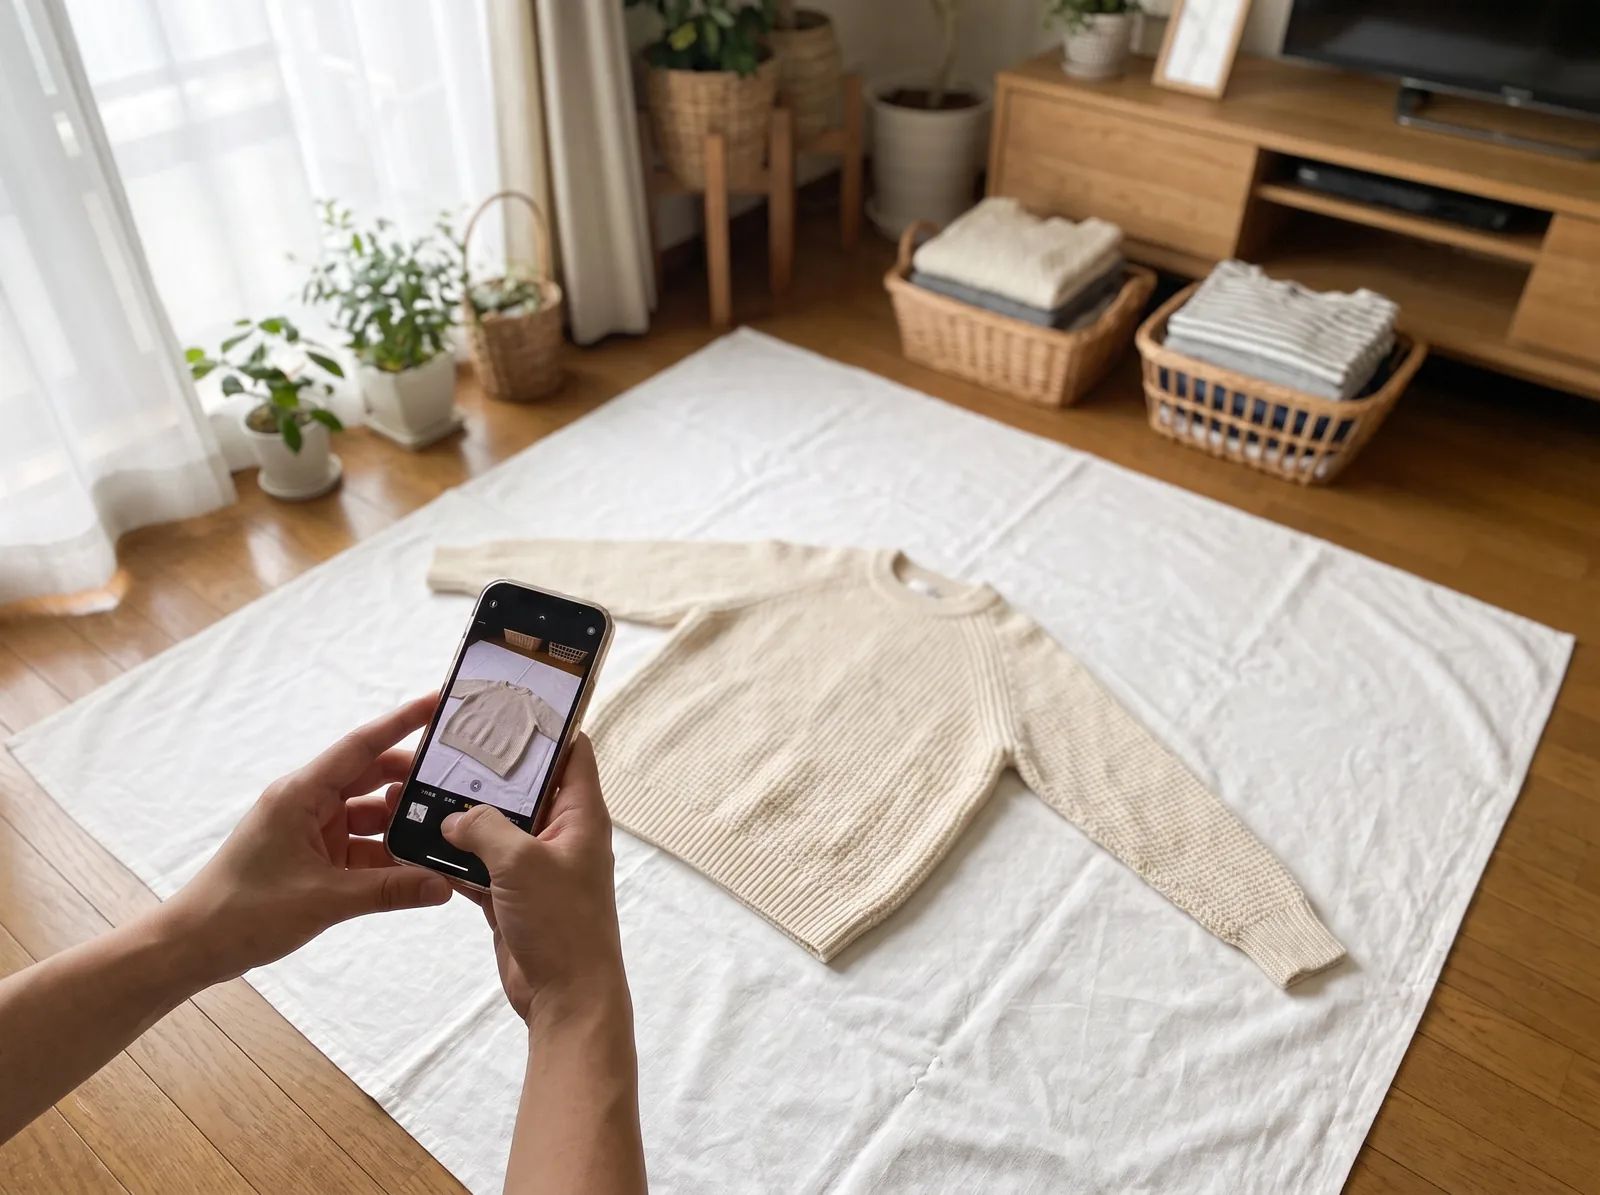
Get the item ready, find soft window light, set up a plain background, shoot the same angles every time, frame each photo straight, and check it at full size before you post.
1. Get the item ready
Wash or air it, then steam out every crease: in a photo, creases make even new clothes look worn. Lint-roll it, snip loose threads and empty the pockets.
2. Find the light
Put the item near the window, with the light coming from the side or from behind you. Turn off ceiling lights and lamps, which add a yellow cast, and the flash, which causes glare. eBay’s photo tips say the same about flash and overhead lighting.
3. Set up the background
A white sheet on the bed or the floor for flat lays; a plain door or a white wall for hanging items. Clear everything else out of the frame.
4. Shoot the angles
Front, then back, then close-ups of the label, the fabric, the details and any flaws. The full shot list is in the table below.
5. Frame it straight
Hold the phone parallel to the item: directly above a flat lay, level with the middle of a hanging one. Use the main 1× lens rather than the ultra-wide, and move closer instead of zooming. Leave space around the item, because marketplaces crop photos.
6. Keep it the same every time
Same spot, same background, same order of photos for every item, so your shop looks tidy.
Flat lay, hanger or mannequin: which is best?
The short answer
Whichever shows the shape best with what you have. A flat lay is the easiest and suits T-shirts, knitwear and kids’ clothes. A hanger suits dresses, shirts, trousers and coats. A dress form shows shape best. A worn photo shows fit, so add one where you can.
Here are all four in real phone photos taken at home, each beside the worn photo Tryly made from it.
Flat lay
Lay the item on a white sheet, smooth it and shoot from straight above, with the sleeves tucked in slightly. It is the easiest set-up to repeat, but it can’t show fit.
 Before
 After
AfterOn a hanger
Hang it on a plain door or against a white wall and shoot straight on from the middle of its height, so the top doesn’t look wider than the bottom.
 Before
 After
AfterOn a mannequin or dress form
A dress form gives the item shoulders and a waist; pin anything too big at the back. It is worth buying if you sell a lot of coats, knitwear and dresses.
 Before
 After
AfterWorn, in a mirror
A mirror photo shows where a jacket ends and how long the sleeves really are. Stand in daylight and hold the phone in front of your face, which keeps your face out of the listing.
 Before
 After
AfterHow do you photograph flaws honestly?
The short answer
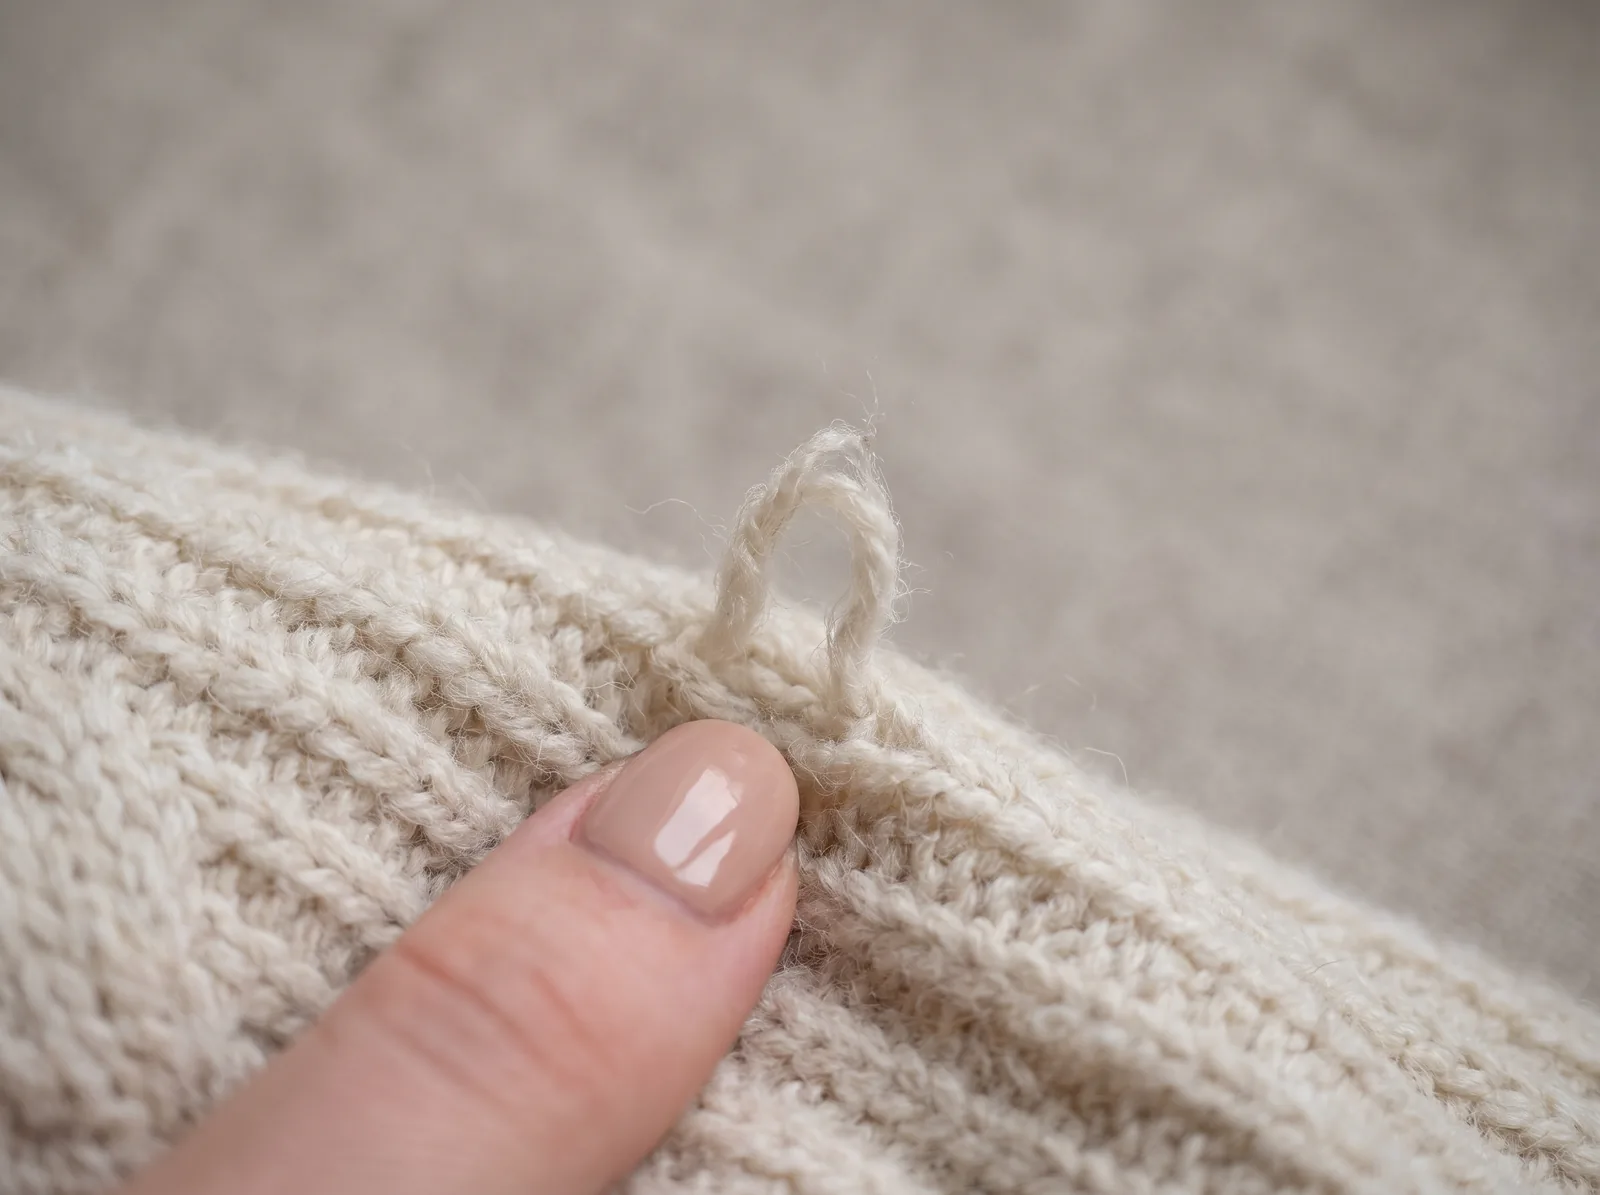
Photograph every flaw in daylight: a close-up that fills the frame, and a wider shot that shows where it is. Then name it in the description: what it is, where, and how big. eBay and Vinted both tell sellers to show flaws, to set expectations and prevent returns.
A buyer who sees a flaw before paying buys knowingly; a flaw found in the parcel is a reason to send the item back. Vinted’s photo guide warns that if you don’t show defects, the buyer might cancel the order and return the item, and Poshmark’s seller policy says photos can be reviewed if there is a dispute. Showing flaws also makes your other photos easier to trust.
How to shoot a flaw
- Find them first. By the window, check the underarms, collar, cuffs, hems, seat, buttons, zips and lining.
- Take the close-up. Fill the frame, in daylight and in focus, with the flash off.
- Take the wider shot. Point to the flaw with a finger or a pen, so buyers can see where on the item it is.
- Show the size. A coin or a ruler beside it answers “how big?”
- Don’t edit it away. Poshmark’s seller policy warns against editing that makes condition hard to judge.
- Name it in the listing. For example: “Small pull on the left sleeve, about 1 cm, see photo 6.”
How many photos should a clothing listing have, and which ones?
The short answer
Five to eight for most clothes: the front (your main photo), the back, the label and size tag, a fabric close-up, any flaws, the measurements and one worn shot. Add more for well-known brands, where close-ups of labels and logos help show the item is genuine.
| Photo | Why buyers want it | How to take it |
|---|---|---|
| Front (main photo) | Buyers see it in search, so it must show the whole item. | The whole item in frame, straight on, with space around it. |
| Back | Prints, pockets, zips and wear often sit on the back. | Same spot, same light. Turn the item over. |
| Label and size tag | It shows the brand and the size the item is marked. | Close up and in focus, every word readable. |
| Fabric close-up | Texture, true color and any pilling. The care label says what it is made of. | Daylight, no flash, a hand’s length away. |
| Details | Buttons, zips, embroidery and prints are part of the price. | One close-up for each detail that matters. |
| Every flaw | Seen before paying, a flaw is less likely to become a return. | A close-up, plus a wider shot showing where it is. |
| Measurements | Sizes vary by brand. Measurements answer “will it fit?” | Tape across the flat item: pit to pit, length, waist, inseam. |
| Worn | It shows fit, and how the fabric falls. | A mirror photo with your face out of shot, or a worn photo made from your flat photo. |
What do Depop, Vinted, Poshmark, eBay and Etsy want from your photos?
The short answer
Mostly the same things: your own photos of the actual item, the whole item in the first photo, true color, several angles and every flaw shown. What differs is how many photos you can add, and the size.
Depop: four photos in the app, eight on the web
- Depop’s How to list an item page allows four photos and a video in the app, or eight photos on the web.
- Its search ranking advice: show every angle, highlight details and flaws, and put measurements and signs of wear in the description.
- Its stock images policy asks for original photos you took yourself.
With four photos in the app, pick the front, the back, the label, and the flaw or a worn shot.
Vinted: up to 20 photos, the whole item first
Vinted’s What photos you should upload page asks for:
- Up to 20 photos, with the whole item in the first one and no collages.
- Natural daylight rather than lamplight, with no flash or filters.
- Several angles, plus readable close-ups of the logo, care label and stitching.
- Every defect shown, or the buyer might cancel the order and return the item.
- Your own photos: no stock, watermarked or found-online images.
- For privacy, it suggests keeping your face out of photos, and a hanger, a mannequin or a flat lay instead of modeling items yourself.
Poshmark: up to 16 photos, at 1000 × 1000 pixels
- Poshmark’s How to list guide allows up to 16 photos, with a tip to size them at 1000 × 1000 pixels. It suggests putting condition, measurements and fabric content in the description.
- Its seller policy asks for your original photos, the item clearly shown in the main photo, and no collages or heavy special effects that make the condition hard to judge.
1000 × 1000 is square, so leave space around the item.
eBay: up to 24 photos, about 1600 × 1600 pixels
- eBay’s picture policy requires at least one photo, at least 500 pixels on its longest side, and doesn’t allow added borders, text or artwork, watermarks, or stock photos for used items.
- Its guide to adding pictures allows up to 24 photos and recommends about 1600 × 1600 pixels, the whole item face-on in the main photo, a white background, no flash or overhead lighting, and close-ups of any flaws.
Etsy: at least 2000 pixels, and photos of the actual item
- Etsy’s image guidelines recommend photos at least 2000 pixels wide and high, and say a first photo under 635 pixels may show up lower in search. The first photo should be landscape or square.
- Its listing image rules require original photos of the actual item, not renderings or stock photos, with narrow exceptions for personalized items and items made with production partners.
These pages change, so follow the links if a number matters to you.
Can you add a photo of the item being worn?
The short answer
Yes: it is the photo that shows fit. Keep a real photo of the actual item as your main image, and add the worn photo as an extra, modeled by you or made from your flat photo with Tryly. Keep measurements and condition in the text, and check a made photo at full size first.
A flat lay shows what an item is. A worn photo shows how it sits on a body: where the hem falls and how the fabric drapes.
Modeling it yourself
Use a full-length mirror in daylight, stand straight, and take a front view and a side view with your face out of the shot. If the item isn’t your size, skip it: clothes that pull or hang loose show the wrong fit.
A worn photo made from your flat photo
Tryly puts the item from your flat, hanger or mannequin photo on a model, like the pairs above. Choose from 500+ models, or use your own model or yourself. One credit is one photo. To use it well:
- Keep a real photo of the actual item as the main image. The worn photo is an extra.
- Keep the measurements and condition in the text.
- Check it at full size: the print, logo, color, length and buttons should match the item in your hand. If anything doesn’t, don’t post it.
- Check the marketplace’s photo rules above before you add one. Etsy’s listing image rules, for example, call for original photos of the actual item, not renderings, so keep Etsy listings to photos you took.
Photos made on a paid plan can be used on your store, in ads and on social media. Plans start from $9.99 a month (Starter, billed annually), with photos as low as $0.25 each. See AI clothing photography examples, or the step-by-step guide to AI clothing models.
What else do sellers ask about clothing photos?
What is the best background for photographing clothes?+
A plain, light background with nothing else in the frame: a white bedsheet, a white wall or a plain door. eBay’s photo tips call white backgrounds generally best. Avoid patterned bedding and busy floors, which pull attention from the item.
How many photos should I post for each item?+
Five to eight for most clothes: the front, the back, the label and size tag, a fabric close-up, any flaws, the measurements and one worn shot. The limits are higher: 24 photos on eBay, 20 on Vinted, 16 on Poshmark, and on Depop four and a video in the app, or eight on the web.
Should I model my own clothes in photos?+
You can, and it helps buyers see the fit, but it is optional. Use a full-length mirror in daylight, keep your face out of the shot, and still include photos of the item on its own. If you would rather not, a worn photo can be made from your flat photo.
Why do my clothing photos look dull or yellow?+
Usually it is the light. Ceiling bulbs and lamps add a yellow cast, and flash adds glare. Shoot next to a window in daylight with the room lights and the flash off, and skip filters. If a photo still looks gray, tap the item on your screen to set the focus and exposure on it, then compare the photo with the real item.
Can I use a photo of the item on a model if I don’t have one?+
Yes, as an extra photo. Tryly puts the item from your flat, hanger or mannequin photo on a model, and you can try it with 10 free photos, no card. Keep a real photo of the actual item as the main image, and check the worn photo at full size. Check your marketplace’s photo rules first: Etsy, for example, asks for original photos of the actual item, not renderings.
Written by
Elena Varga
Head of Content, Tryly Academy
Former e-commerce photo producer who ran catalogue shoots for fashion labels for over a decade. Writes the Academy’s guides.
- 11 years in fashion e-commerce
- 1,200+ catalogue shoots produced
Expert review
Sofia Moretti
Fashion photographer · Expert reviewer
Has shot campaigns and on-model e-commerce for fashion brands for 14 years. Reviews every Academy article for accuracy.
- 14 years in fashion photography
- Campaign and catalogue work across Europe
How we work: every Academy article is written by a specialist, reviewed by a working fashion photographer, and re-checked against its sources when prices or rules change.