Guide
How to measure clothes for selling: pit to pit, length, inseam and sleeve
Every measurement a buyer asks for, where the tape goes for each one, and how to write and photograph the numbers so a listing answers “will it fit?” before anyone has to ask.

 By Elena Varga
 · Reviewed by Sofia Moretti |Fact-checked|13 min read
Key takeaways
- 1Measure the garment flat on a hard surface, closed and smoothed but never stretched. Tops: pit to pit, shoulders, length and sleeve. Pants: waist, rise, inseam and leg opening.
- 2Write each number in inches and centimeters, and say whether it was taken flat or all the way around. A 21 inch pit to pit is about a 42 inch chest, and a buyer needs to know which one you mean.
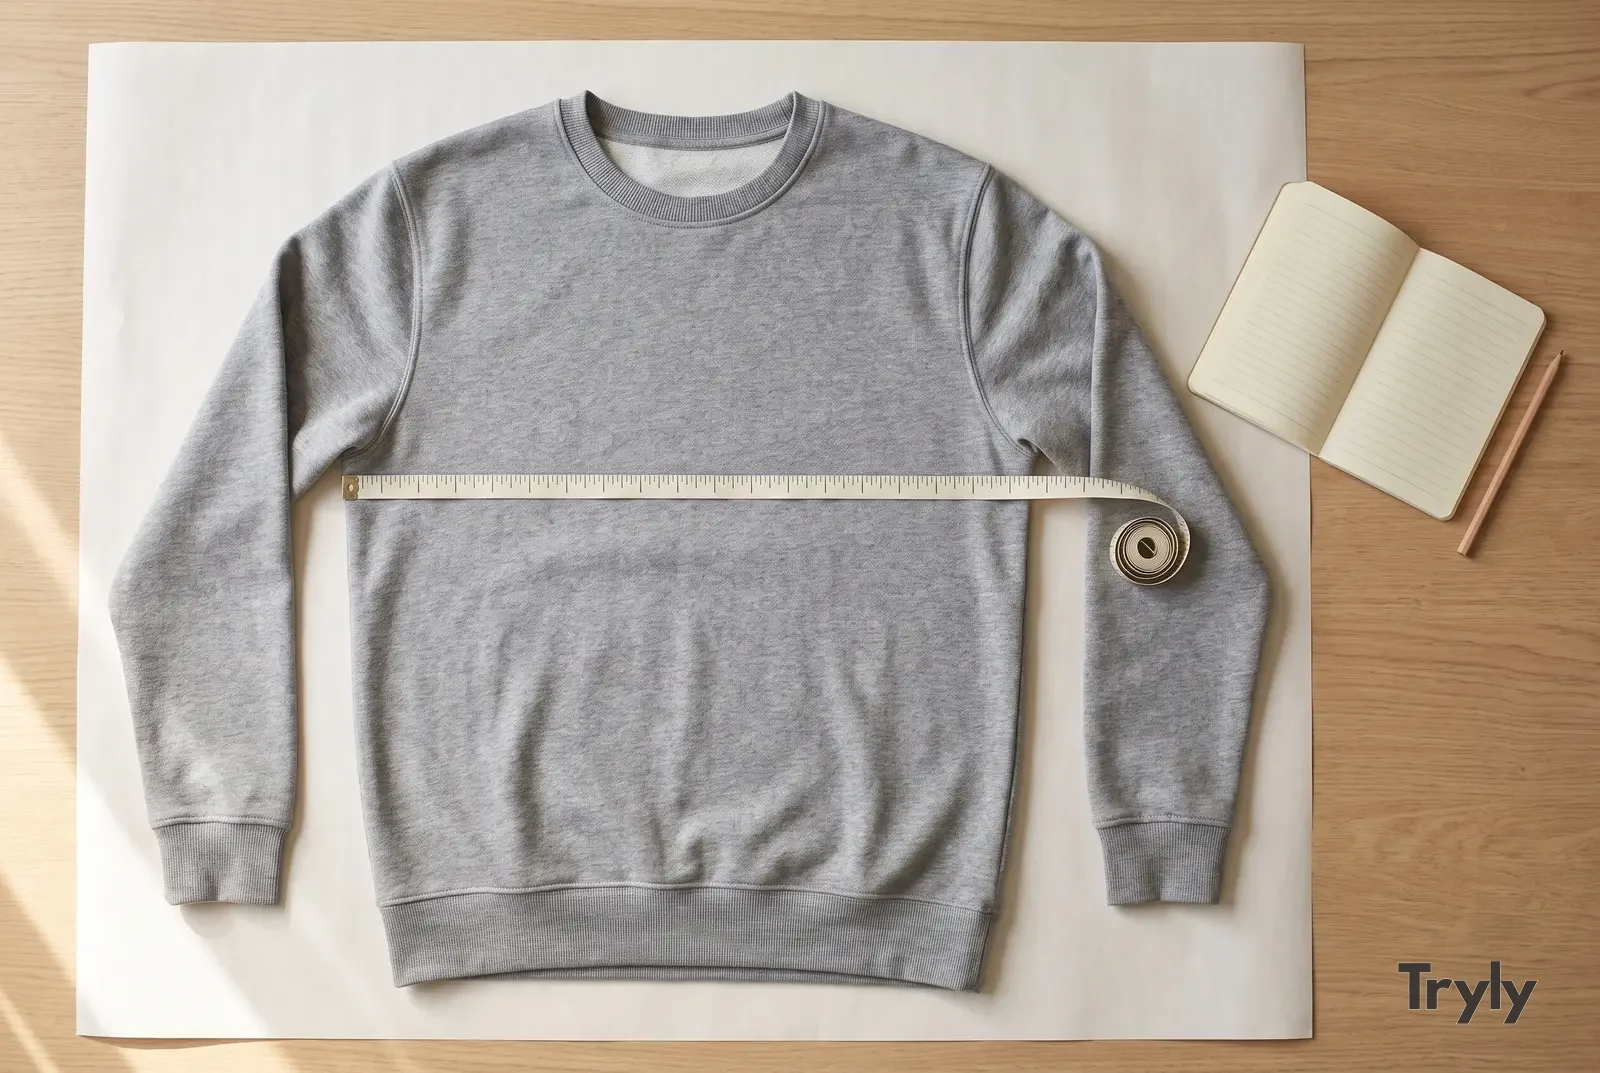
- 3Add a photo with the tape across the item. Shoppers ask for it, and it makes your numbers believable.
10 free photos, no card. Photos as low as $0.25 each.
On this page+
How do you measure clothes for selling?
The short answer
Lay the item flat on a hard surface, closed and smoothed without stretching, and measure straight across with a soft tape. For tops, take pit to pit, shoulder to shoulder, length and sleeve. For pants, take waist, rise, inseam and leg opening. Write each number in inches and centimeters, say it was measured flat, and add a photo of the tape across the item.
That is how to measure clothes for selling on Depop, Poshmark, Vinted, eBay, Mercari or your own store. The rest of this guide shows exactly where the tape goes for each measurement, garment by garment, then how to write the numbers up and photograph them. For the photos themselves, see how to photograph clothes to sell.
Why do measurements matter when selling clothes online?
The short answer
Measurements matter because the size on the tag does not tell a buyer whether an item will fit. The same size differs from one label to the next, and nobody can try a piece on through a screen, so the numbers do the job of a fitting room.
The platforms say so in their own help pages. Depop’s tips for describing your item say sizes can vary between brands, so add “the exact measurements of the item and let buyers know how it fits.” eBay’s guide to selling clothes agrees: “Since sizes aren’t standardized, it’s helpful to include measurements and brand sizing information to avoid confusion.”
Vinted’s describing an item page lists “The item’s measurements” first among what a description should include. Poshmark asks for them too (see Step 5).
Measurements answer the question a buyer would otherwise message you about, often instead of buying, and they stop a sale turning into a “does not fit” return.
What do you need to measure clothes?
The short answer
To measure clothes for a listing you need a soft sewing tape measure marked in inches and centimeters, a hard flat surface such as a table or a clean floor, and somewhere to write the numbers down. A metal tape or a ruler works for straight lines but not for curves.
- A soft tape with both units. It bends round a sleeve or a rise, and saves converting.
- A hard surface. A bed lets the fabric sink and bunch, which adds error. A table, a desk or the floor with a sheet of paper on it keeps the garment flat.
- A notes template (below), so every listing gets the same measurements in the same order, and your phone for the measurement photo.
Step 1: Lay the garment flat without stretching it
The short answer
To measure clothes accurately, close every button and zip, lay the item face up, and smooth it with flat hands from the center out until it lies without wrinkles. Do not pull it: stretched fabric gives a bigger number than the buyer will get.
- Empty the pockets, then button and zip the garment closed, the way it is worn.
- Lay it face up with the side seams at the edges, so front and back lie exactly on top of each other.
- Smooth it outwards with your palms. Straighten the hem and the waistband.
- Keep the tape straight and flat, and read it at eye level, not at an angle.
- Measure twice. If the two readings differ, take the smaller one.
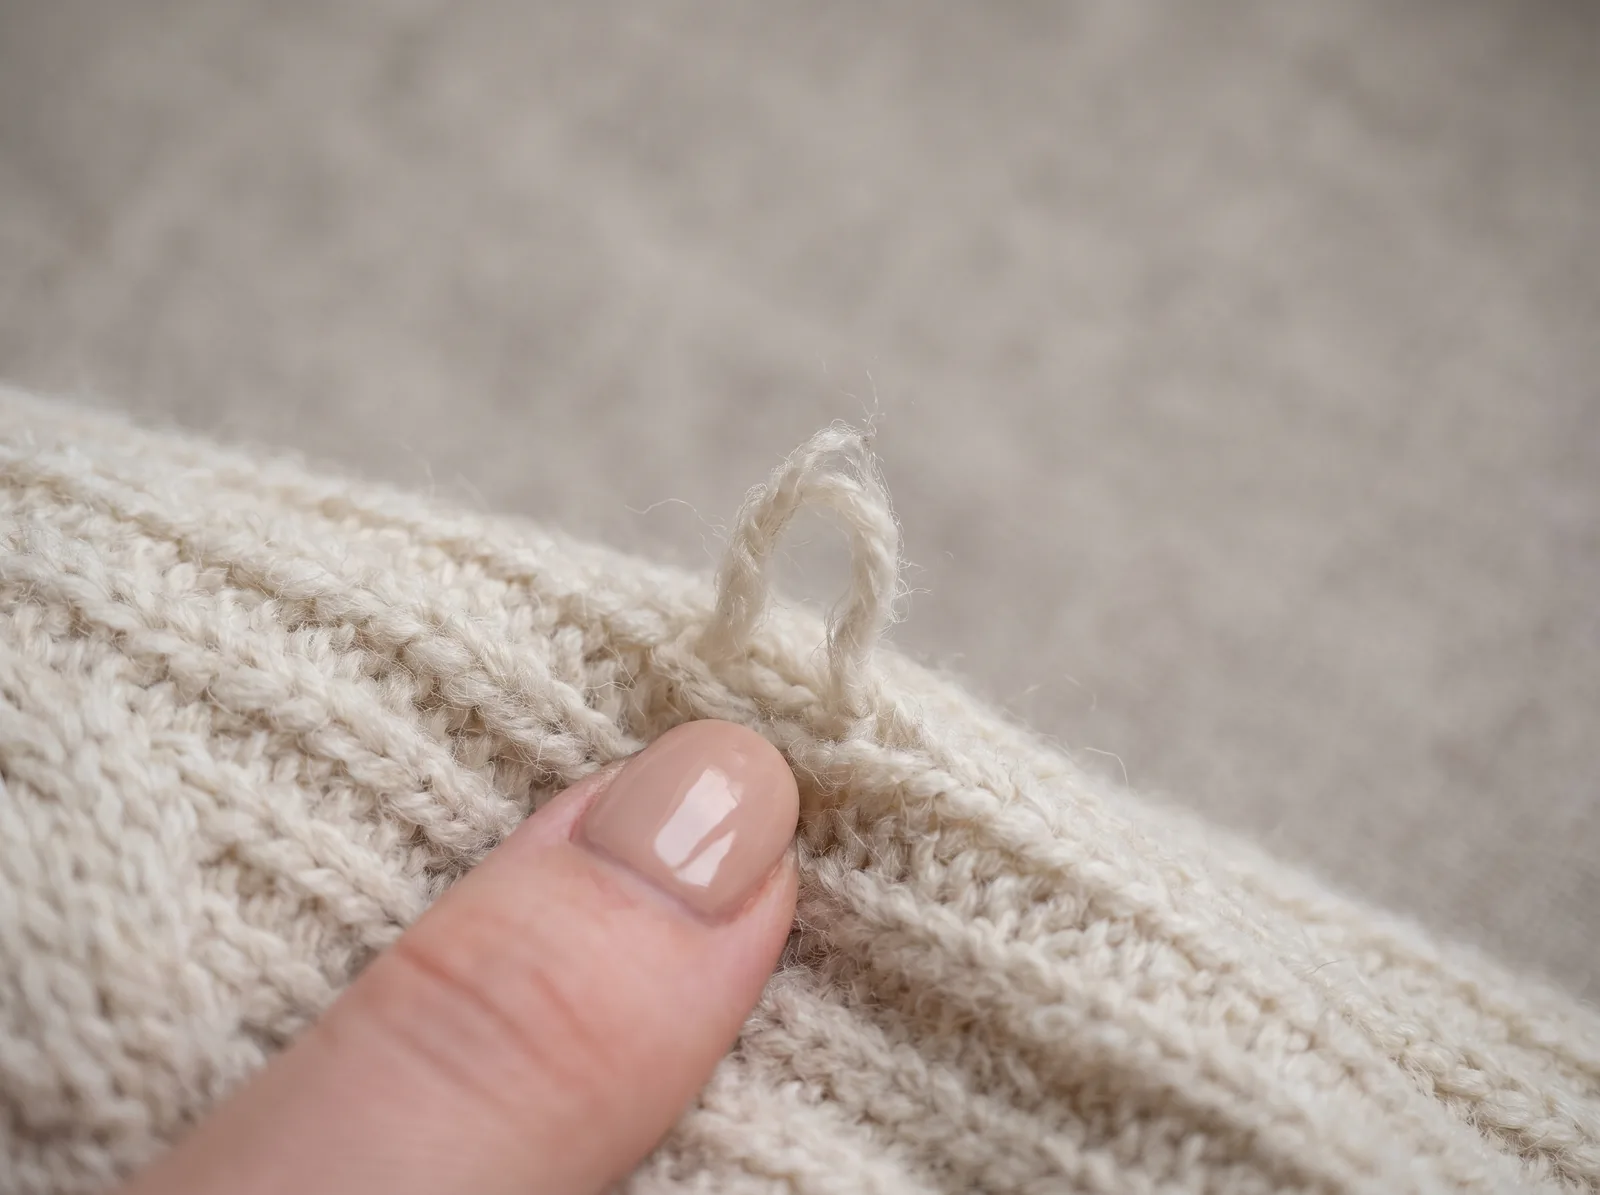
While it is laid out, look it over for flaws. You will photograph and list them anyway, and the flat garment under good light is when a pulled thread or a mark is easiest to spot.
Step 2: How to measure a shirt, a hoodie or any top
The short answer
Four measurements cover almost every top: pit to pit (width), shoulder to shoulder, body length from the high point of the shoulder to the hem, and sleeve length. Take each one flat and give pit to pit and length at minimum.
Pit to pit measurement
Measure straight across the front from the bottom of one armhole to the bottom of the other, where the sleeve seam meets the side seam. Keep the tape parallel to the hem. This is the number eBay’s clothing guide asks for on men’s shirts: “the length of the chest from armpit to armpit.”
Double it for a rough chest measurement all the way around: 21 inches pit to pit is about a 42 inch chest. The flat number is the one a buyer can check against a top of their own laid flat. Label it either way: “Pit to pit (flat): 21 in” cannot be misread; “Chest: 21” can.
Shoulder to shoulder
Turn the top over and measure across the back from one shoulder seam to the other. It tells a buyer whether a shirt or jacket will sit right. Skip it on raglan and drop-shoulder pieces.
Body length
Measure from the high point of the shoulder (HPS), where the shoulder seam meets the collar, straight down to the bottom of the hem. Some sellers measure from the center back of the collar instead; that number is shorter, so say which you used.
How to measure sleeve length on a shirt
Sleeve length is measured from one of two starting points, and the listing should name which one. For a sleeve with a shoulder seam, lay the sleeve flat alongside the body and measure from the shoulder seam, along the top edge of the sleeve, to the end of the cuff.
For raglan sleeves (the seam runs from the underarm to the collar) and drop shoulders, measure from the center of the back of the neck, over the shoulder, to the end of the cuff. eBay’s clothing guide measures men’s shirt sleeves “from the center of the neck to the end of the cuff.”
How to measure a hoodie
A hoodie takes the same four measurements as a top, with small changes:
- Pit to pit with the zip closed.
- Length from the high point of the shoulder to the bottom of the hem band, not from the top of the hood.
- Sleeve from the center back of the neck, since most hoodies are raglan or drop-shoulder.
- Ribbed hem and cuffs measured relaxed, with “ribbed hem” in the notes so a buyer knows the hoodie gathers at the hip.
Step 3: How to measure pants: waist, rise, inseam and leg opening
The short answer
To measure pants, button and zip them, lay them flat, and take the waist straight across the top of the waistband, the rise from the crotch seam to the top of the waistband, the inseam from the crotch seam to the hem, and the leg opening across the hem. Add hip and thigh for slim fits.
How to measure waist for pants
Measure straight across the top edge of the closed waistband, from one side to the other. That is the flat waist; double it for the waist around. A pair of jeans at 15.5 inches flat has a 31 inch waist. For an elastic waist, give the relaxed number and, separately, how far it stretches.
Front rise and back rise
The front rise runs from the crotch seam, where the four seams meet, up the front seam to the top of the waistband. The back rise runs from the same point up the back seam to the top of the waistband at the back. Rise tells a buyer whether the pants sit high, mid or low.
How to measure inseam of pants
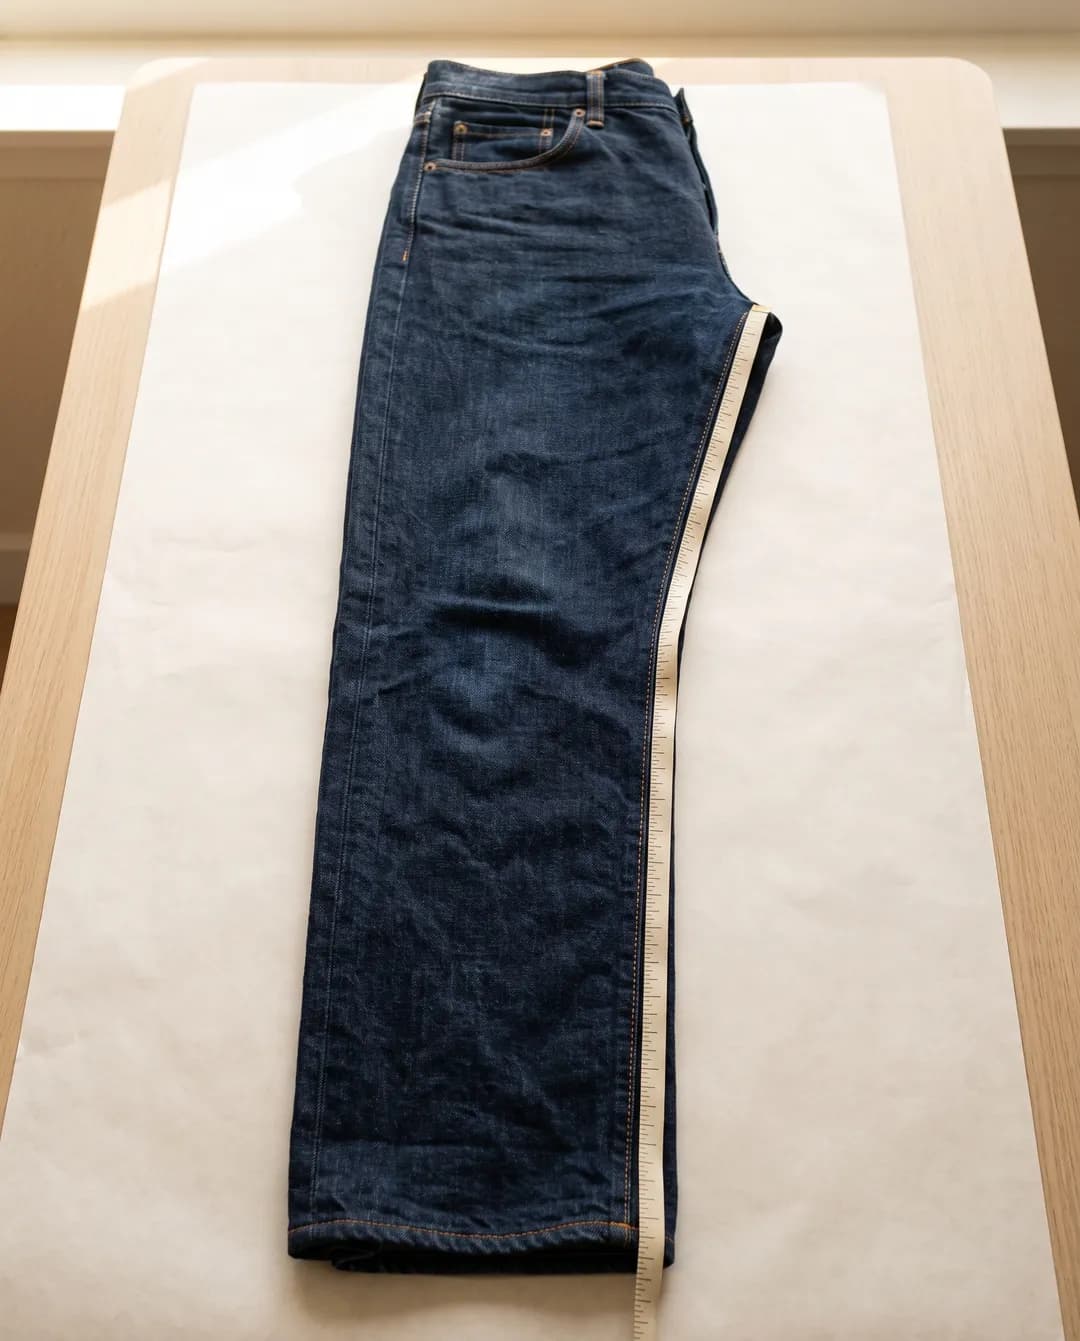
Fold one leg back so the inner seam of the other lies flat, then measure from the crotch seam straight down the inner leg seam to the bottom of the hem. eBay’s clothing guide lists “the length of the inseam” as the measurement for pants and shorts. Mention any hemming.
Leg opening, hip and thigh
- Leg opening: straight across the bottom of the hem, flat. It separates a skinny from a straight from a flare.
- Hip: straight across the widest part, usually level with the bottom of the fly.
- Thigh: across one leg, about an inch (2.5 cm) below the crotch seam. Useful for slim cuts.
Step 4: How to measure a dress length, and skirts
The short answer
To measure a dress length, lay the dress flat and measure from the high point of the shoulder straight down to the hem. Add pit to pit for the bust, the waist at its narrowest point and the hip at its widest. For a skirt, take waist, hip and length from the top of the waistband to the hem.
eBay’s clothing guide asks for “the waist size and dress length” on dresses. Length decides where the hem falls, so a buyer holds that number against their own leg. For a strapless dress, measure from the top edge. For a wrap dress, tie it as worn before measuring. For a skirt with a slit, add the slit length. For a jumpsuit, add the inseam.
How to measure jackets, sweaters and stretch fabrics
The short answer
Measure coats and jackets closed, like a top: pit to pit, shoulders, length and sleeve. Measure knits and stretch fabrics relaxed, never pulled, and say in the notes that the piece stretches.
- Coats and jackets. Zip or button closed before pit to pit. Take length at the center back from the base of the collar when there is a hood or a big collar, and say so. A note like “room for a sweater underneath” helps.
- Knitwear. Heavy knits grow when hung, so measure them lying flat and never after hanging overnight. Lay the ribbed hem and cuffs relaxed.
- Stretch denim, jersey and activewear. Give the relaxed number, then describe the stretch: “stretchy”, “slight stretch” or “no stretch”. If you add a stretched measurement, label it as one.
How to measure shoes, bags and hats
The short answer
For shoes, measure the insole length and the length and width of the sole. For bags, measure width, height, depth and strap drop. For hats, measure the inside circumference of the band and the brim width.
For shoes, eBay’s clothing guide asks for “the length and width of the shoe”. The insole length is the number a buyer compares with a pair they own. For bags, the strap drop runs from the top of the strap to the top of the bag. For hats, run the tape round the inside of the band.
The photo side of each is in the shoe photography guide, bag photography and hat photography.
What to measure by garment type
The short answer
The table below lists what to measure for each kind of item, all taken flat unless noted. Pit to pit and length are the minimum for any top; waist and inseam are the minimum for any pants.
| Item | Measure |
|---|---|
| T-shirts and tops | Pit to pit, shoulder to shoulder, length (HPS to hem), sleeve |
| Button-up shirts | Pit to pit, shoulders, length, sleeve; the collar if it is marked in inches or cm |
| Hoodies and sweatshirts | Pit to pit, length (not the hood), sleeve from center back if raglan or drop shoulder |
| Knitwear | Pit to pit and length measured relaxed; sleeve; note if the knit stretches |
| Jackets and coats | Pit to pit closed, shoulders, length, sleeve; center-back length if there is a hood or collar |
| Jeans and pants | Waist, front rise, back rise, inseam, leg opening; hip and thigh for slim fits |
| Shorts | Waist, rise, inseam, leg opening |
| Skirts | Waist, hip, length from the top of the waistband |
| Dresses and jumpsuits | Pit to pit, waist, hip, length (HPS to hem); inseam for a jumpsuit |
| Shoes | Insole length, outsole length and width |
| Bags | Width, height, depth, strap or handle drop |
| Hats | Inside circumference of the band, brim width |
Step 5: How to write measurements in the listing
The short answer
Put the measurements in the description, one per line, in inches and centimeters, and label them “laid flat”. Say where each was measured from when there is more than one way, and add a short fit note.
eBay’s clothing guide suggests giving measurements “in both inches and centimeters to help any potential international buyers understand the sizing of your item.” Round to the nearest half inch or whole centimeter. Copy this block into your notes and fill it in for each item:
Measurements (laid flat, unstretched):
Pit to pit: 21 in / 53 cm (double for chest)
Shoulder to shoulder: 18 in / 46 cm
Length (shoulder to hem): 27 in / 69 cm
Sleeve (shoulder seam to cuff): 24.5 in / 62 cm

Fit: tagged M, fits true to size, boxy.
Model/you: 5'7", usually wears M.
Measurements (laid flat, unstretched):
Waist: 15.5 in / 39 cm flat (31 in / 79 cm around)
Front rise: 11 in / 28 cm
Inseam: 30 in / 76 cm
Leg opening: 8 in / 20 cm

Fit: tagged 32, runs small, no stretch.
What each platform asks for
- Depop: exact measurements plus how it fits, per its tips page. The Depop guide covers the rest of the listing.
- Vinted: the item’s measurements, alongside materials, alterations and flaws, per its describing page. More in the Vinted guide.
- Poshmark: item condition, measurements, date codes and fabric content in the description, per its listing guide. More in the Poshmark guide.
- eBay: armpit to armpit and sleeve for shirts, waist and length for dresses, inseam for pants, per its clothing guide. More in how to sell clothes on eBay.
On your own store, put the same numbers in a “measurements” tab or line on each product page. Choosing where to list in the first place? Where to sell clothes online compares the platforms.
Step 6: How to photograph clothing measurements
The short answer
To photograph clothing measurements, lay the tape across the flat garment at pit to pit (or the waistband for pants) and take a photo from straight above with the numbers readable. A measurement photo backs up the numbers in the description, and shoppers ask for it.
Do both: numbers in the description, which buyers can copy and search, and the tape in a photo, which makes them believable. Shoot it in the same spot and light as your flat lay (the flat lay guide has the setup), while the garment is still laid out.
- One photo, the key number. Pit to pit for a top, waist for pants. Add a second for length or inseam if you have photo slots to spare.
- Straight overhead, zero at the seam. Then the reading at the other side is the measurement, and nothing looks off.
- Use a real tape, not typed numbers. eBay’s picture policy does not allow “Photos with added text, artwork or marketing material”, so keep the numbers on the tape and in the description.
Do measurements show how clothes fit?
The short answer
Measurements tell a buyer whether an item is their size. They do not show how it hangs on a body: how long a sleeve looks at the wrist, where a hem falls, how boxy a knit is. A photo of the item worn does that, and together they answer both questions.
Where the worn photo can come from depends on each marketplace’s photo rule:
- Depop: the worn photo is one you take. Its stock images page says “Only use photos taken by yourself”.
- Vinted: the same. Its photos page says “Use your own pics” and rules out stock images and pictures you find online.
- eBay: its picture policy bans photos that don’t accurately represent the item and stock photos for used items, so keep eBay listings to your own photos.
- Poshmark: its seller policy asks for “your original photos of the items”, with the item “clearly represented in the main photo”. Your own photo stays first; an on-model photo can sit further down the set.
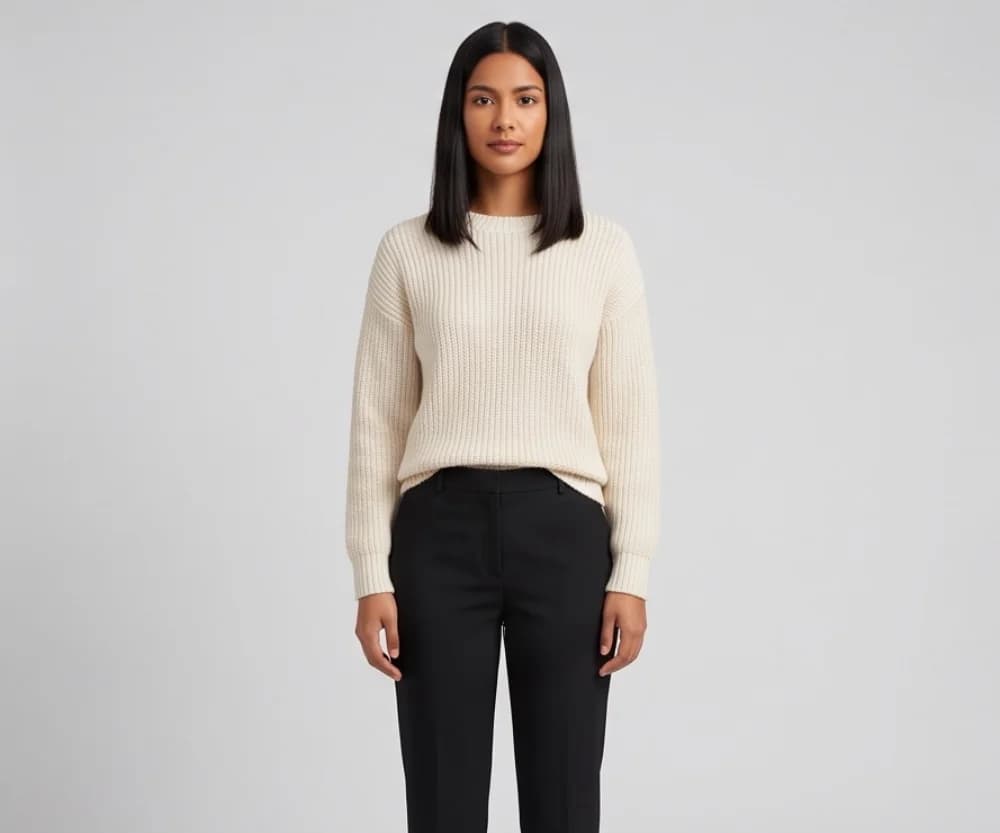
On your own store, Instagram and ads, the worn shot does not have to be a mirror photo. Tryly’s AI clothing photography takes a flat, hanger or mannequin photo of the piece (shoot one without the tape) and shows it on a model in about 15 seconds.
Pick one of 500+ models, your own model or yourself. Photos made on a paid plan can be used on your store, in ads and on social media.
The test that matters
Try it on your hardest garment first.
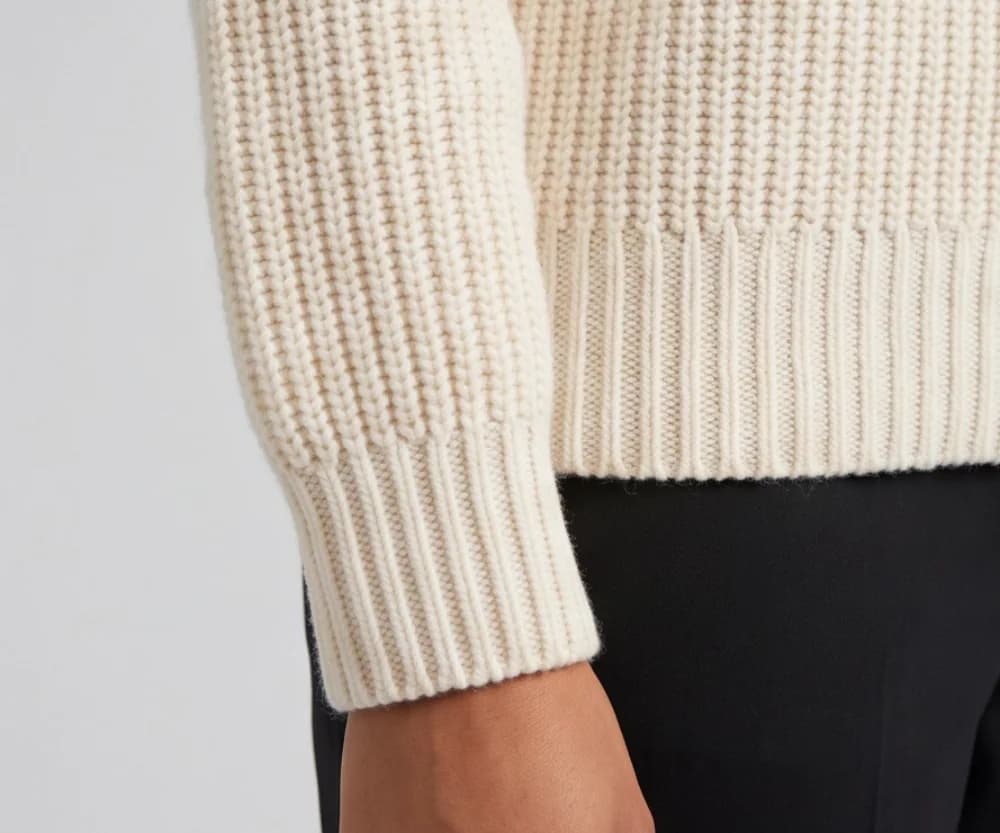
Sellers judge an AI photo tool on the piece most likely to go wrong: a print, a logo, sheer fabric or a detail that has to sit exactly right. Check the result at full size before you publish it. Here: a cream rib-knit sweater with black tailored trousers.
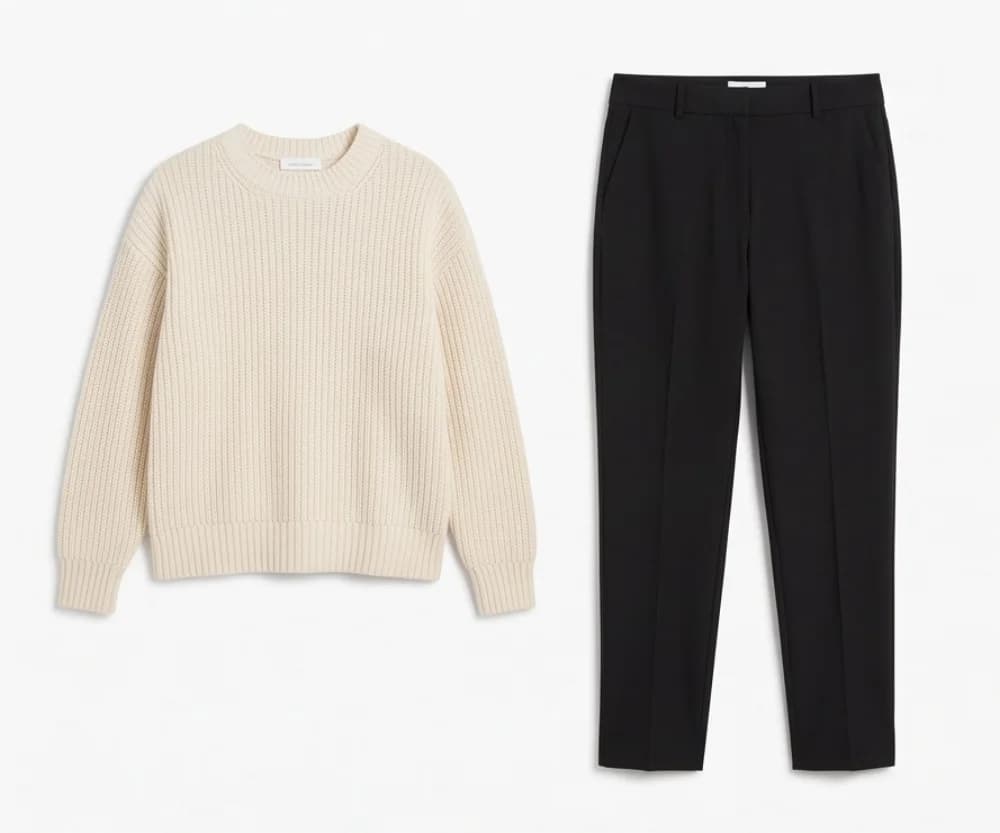
01 Product photo
02 On the model
03 Full-size check
10 free photos, no card.
The cost: from $0.33 a day, which is from $9.99/month (Starter plan, billed annually), and as low as $0.25 per photo. At Tryly’s lowest rate, one on-model photo for each of 40 pieces is $10.
Measuring mistakes that cause returns
The short answer
Most measuring mistakes that cause returns come down to five habits: stretching the fabric, not saying flat or around, not naming the starting point, giving only one unit, and trusting the tag instead of the tape.
- Stretching while you measure. Pulling a knit or an elastic waist flat adds inches the buyer will not get. Smooth, do not pull.
- Not saying flat or around. “Waist 16” reads as a child’s size to one buyer and a 32 to another. Write “flat”.
- Not naming the starting point. Sleeve from the shoulder seam and sleeve from center back differ by several inches. So do length from the high point of the shoulder and from the collar.
- Only one unit. International buyers skip a listing they have to convert. Give inches and centimeters.
- Trusting the tag. Vintage sizes, shrinkage and alterations all move a garment away from its label. Measure every item, even two of the same brand and size.
How to measure clothes for selling: questions sellers ask
What is the pit to pit measurement?+
Pit to pit is the width of a top laid flat, measured straight across from the bottom of one armhole to the bottom of the other, where the sleeve seam meets the side seam. It is the single most useful number for a top, because a buyer can lay their own best-fitting top flat and compare.
Do you double pit to pit for chest size?+
Doubling pit to pit gives a rough chest circumference, so a 21 inch pit to pit is about a 42 inch chest around. Give the flat number labeled “flat” or “pit to pit”, and add the doubled figure if you like. What matters is saying which one you gave.
How do you measure sleeve length on a shirt?+
For a sleeve with a shoulder seam, lay it flat and measure from the shoulder seam along the top of the sleeve to the end of the cuff. For raglan or drop-shoulder sleeves, measure from the center of the back of the neck, over the shoulder, to the end of the cuff. eBay’s clothing guide measures men’s shirt sleeves from the center of the neck to the end of the cuff, so say which method you used.
How do you measure the inseam of pants for a listing?+
Lay the pants flat with one leg folded back, then measure from the crotch seam straight down the inner leg seam to the bottom of the hem. Give it in inches and centimeters. If the hem has been taken up or let down, say so.
How do you measure the waist of pants lying flat?+
Button and zip the pants, lay them flat and measure straight across the top of the waistband from one side edge to the other. Double it for the waist around: 15.5 inches flat is a 31 inch waist. For an elastic waist, give the relaxed measurement and, separately, how far it stretches.
Should I give measurements in inches or centimeters?+
Give both, if you can. eBay’s clothing guide suggests inches and centimeters so international buyers understand the sizing, and a buyer on any platform may think in either unit. Write inches first for US buyers, then centimeters in brackets.
How do you measure a dress length?+
Lay the dress flat and measure from the high point of the shoulder, where the shoulder seam meets the neckline, straight down to the hem. For a strapless dress, measure from the top edge. Add pit to pit, waist and hip so a buyer can check the fit as well as the length.
Written by
Elena Varga
Head of Content, Tryly Academy
Former e-commerce photo producer who ran catalogue shoots for fashion labels for over a decade. Writes the Academy’s guides.
- 11 years in fashion e-commerce
- 1,200+ catalogue shoots produced
Expert review
Sofia Moretti
Fashion photographer · Expert reviewer
Has shot campaigns and on-model e-commerce for fashion brands for 14 years. Reviews every Academy article for accuracy.
- 14 years in fashion photography
- Campaign and catalogue work across Europe
How we work: every Academy article is written by a specialist, reviewed by a working fashion photographer, and re-checked against its sources when prices or rules change.