Guide
Shoe photography at home: how to photograph shoes that sell
A practical shoe photography guide for sellers and resellers with a phone and no studio: the setup, the light, the angles a listing needs, and on-foot shots without booking a model.

 By Elena Varga
 · Reviewed by Sofia Moretti |Fact-checked|11 min read
Key takeaways
- 1A phone, a window and a white sweep are enough. Keep the camera at shoe height: shooting down from where you stand makes the toe look big and the heel short.
- 2One listing needs the full angle set: outer side, three-quarter front, toe, heel, top, sole, inner side, the pair and the details. On a resale pair, the sole wear and the size label matter most.
- 3On-foot shots show scale and styling. Take them yourself sitting on a step, or make them from your product photo with Tryly, and check each one at full size before you publish.
10 free photos, no card. Photos as low as $0.25 each.
On this page+
How do you photograph shoes at home?
The short answer
Put the shoe on a white paper sweep beside a bright window, out of direct sun. Stand your phone on a small tripod at shoe height, not above it, turn the flash off and let the window light the shoe from the side, with a white card filling the shadows. Then shoot the same set for every pair: outer side, three-quarter front, toe, heel, top, sole, inner side, the pair and the details.
That is shoe photography at home in one paragraph. The rest of this guide is the detail, plus the photo buyers ask for next: the shoe on a foot.
What is the best shoe photography setup at home?
The short answer
A white sweep or a lightbox big enough for a boot, a window, a white card, and your phone on a tripod at shoe height. Height matters most: shoot the shoe from its own level, not from where you stand.
The whole shoe photography setup fits on a table by a window:
| Item | What it does | Free alternative |
|---|---|---|
| Phone | Sharp photos at 1× or 2× | The phone you already have |
| Tripod | Holds the phone at shoe height, framed the same every time | A stack of books |
| Window light | Soft light that shows true color and texture | Any window out of direct sun |
| White sweep or lightbox | A seamless background; a lightbox must fit a boot | White poster board curving up the wall |
| White card | Bounces light into the shadow side | Foam board or a white folder |
| Stuffing or shoe trees | Gives the shoe its worn shape | Tissue paper or rolled socks |
| Putty or a small block | Props a shoe on its side for the sole shot | A folded towel |
Put the phone at shoe height, not above it
Shot from standing height, the toe looks big, the heel short and the sole disappears. Put the phone on a tripod or a stack of books with the lens level with the middle of the shoe, and shoot the side straight on. Use the 1× or 2× lens and step back: the ultra-wide up close stretches the toe.
Phone or camera?
A recent phone is enough for most listings. Spend on light and a backdrop before a camera.
How do you prepare shoes for a photo?
The short answer
Clean it, stuff it, lace it and fasten it. A dusty, loosely laced shoe looks worn even when it is new.
- Clean what the camera sees. Wipe the upper, scrub the midsole, brush suede, swap grubby laces, and clean the outsole: it gets its own photo.
- Stuff the toe with tissue paper or shoe trees. It gives the shoe its worn shape and pushes out most toe creases. A rolled magazine holds a boot shaft upright.
- Lace both shoes the same way, ends tucked in or tied in a small bow, tongue centered.
- Fasten buckles, straps and zips, as the shoe is worn.
On a used pair, clean but do not hide: creases, scuffs and sole wear get their own photos below.
How do you light shoes for product photos?
The short answer
With one soft light from the side: a window out of direct sun, flash and room lights off. Side light shows the texture of leather, suede and mesh; a white card opposite fills the shadows.
- Turn the room lights off. Warm bulbs and daylight together give two colors of light.
- Set up side-on to the window. Soften direct sun with a sheer curtain or baking parchment.
- Turn the flash off. eBay’s photo tips advise against flash and overhead lighting, to reduce glare.
- Add a white card opposite the window, closer for lighter shadows.
Keep a soft shadow under the shoe: it makes the shoe stand on the ground instead of floating. If a shoe looks flat, move the light, not the edit slider.
How do you photograph leather, suede, patent, mesh and white sneakers?
The short answer
Leather and patent need their reflections controlled, suede and mesh need side light, and white sneakers and colored soles need exposure and color checked against the real shoe.
Smooth leather
Leather shine shows every crease and scuff. Light it from the side for a soft highlight, and keep the flash off: it leaves hot white spots.
Suede and nubuck
Brush the nap one way first, since suede changes shade with its direction. Low side light shows the texture; front light makes it look like felt.
Patent leather
Patent is a mirror. Use one large, soft light, turn the shoe away from the window rather than into it, and step back with the self-timer.
White sneakers
Phones turn white-on-white gray. Set the exposure on the shoe, stop when the stitching starts to fade, and keep a soft shadow under it.
Mesh and knit
Side light shows the weave. Stuff the shoe firmly so the mesh does not sag, and add a close-up of the texture.
Colored and gum soles
Warm bulbs turn a gum sole orange. Set the white balance on the white paper, then compare the screen with the real shoe.
Which shoe photography angles does a listing need?
The short answer
The standard set for one listing: outer side profile, three-quarter front, front toe, back heel, top-down, sole, inner side, the pair, and close-ups of the details, the size label and any flaws. Add the box when it is included.
Here is what each shot in a shoe product photography set does:
| Shot | Why it sells | How to take it |
|---|---|---|
| Outer side profile | Silhouette and side logo. It becomes the thumbnail. | Camera at shoe height, straight on, the toe the same way in every listing. |
| Three-quarter front | Toe, side and depth in one view. | Turn the shoe about 45 degrees; raise the camera slightly. |
| Front toe | Toe shape and width. | Straight on, camera at toe height. |
| Back heel | Heel counter, heel tab and heel height. | Straight behind, camera at heel height. |
| Top-down | Lacing, insole and width. | Phone directly above, parallel to the table. |
| Sole | Tread, sole logo and, on a used pair, wear. | Prop the shoe on its side and shoot the sole straight on. |
| Inner side | Zips, logos and wear can differ from the outside. | Mirror the outer profile. |
| The pair | Both shoes are included, and they match. | Side by side, one slightly ahead. |
| Details | Stitching, logos, eyelets and materials. | Move in and tap to focus on the detail. |
| Size label | The size, often with the style code. | Inside the tongue or collar, readable. |
| Box, if included | Shows what arrives; collectors care. | The pair beside the box, same light. |
| Every flaw | Seen before paying, it is less likely to become a return. | A close-up, then a wider shot showing where. |
Lead with the outer side profile, since it becomes the thumbnail.
Sneaker photography: the details that sell
Sneaker buyers zoom in on the parts that identify the shoe: tongue label, heel tab, side logo, midsole text and insole print. Give each a close-up, focus tapped on the detail. The size label often carries the style code too.
Photographing shoes for resale
On eBay, Depop or Poshmark, buyers ask two things first: how worn is the sole, and what size is it really. Answer both in photos: the sole straight on, the size label sharp enough to read, the insole, and every crease, scuff and bit of heel drag in a close-up.
eBay’s photo tips ask for clear close-ups of any flaws, allow up to 24 photos and recommend about 1600 × 1600 pixels. Its picture policy does not allow stock photos for used items, or added borders, text or watermarks. For clothes, see the guide to photographing clothes to sell.
How do you get a clean white background and a consistent catalog?
The short answer
Shoot on a white sweep in even light, expose for the shoe so the paper is white but the stitching still shows, and set a neutral white balance. Then keep the setup, angles and crop the same for every pair.
Exposure and white balance
Phones make a white sweep gray. Tap the shoe and slide the exposure up until the paper is white; with white sneakers, stop when the stitching starts to fade. Set the white balance with your editing app’s dropper on the paper.
Retouching: light only
Remove dust, straighten and crop every photo to the same ratio. Never recolor the shoe or edit out wear. More in the guide to white background product photography.
What the platforms ask for
Google Merchant Center’s image requirements ask for a solid white or transparent background, with the product taking up 75% to 90% of the image, and suggest showing shoes alone in the main image and on a model in additional images. Shopify’s help center says 2048 × 2048 px usually displays best for square product images.
Keep every listing the same
Buyers compare pairs side by side. Same direction, same light, same crop, and the catalog reads as one shop. Write your angle list down and shoot it in order.
How do you take on-foot shoe photos without a model?
The short answer
Wear them yourself: sit on a step by a window, with the phone on a tripod at ankle height. Or make the on-foot shot from your product photo: Tryly’s shoe tool puts the shoe on a foot or on a model you choose, for one credit a photo.
An on-foot photo shows what a product shot cannot: the shoe’s size on a real foot, how it sits at the ankle and what to wear it with. It is also the photo for social media and ads.
On-foot shots you take yourself
- Skip the mirror: it shrinks the shoes and tilts everything. Use a tripod at ankle height and the self-timer.
- Sit on a step or a chair edge for the side and three-quarter views; stand for one front shot and one mid-step.
- Mind the trouser length: cropped or rolled trousers show the whole shoe. With boots, show where the shaft ends.
- Pick the socks: no-show with sneakers and loafers, none with heels and sandals.
- Only if they fit: the wrong size shows the wrong shape.
On-foot and studio angles with Tryly
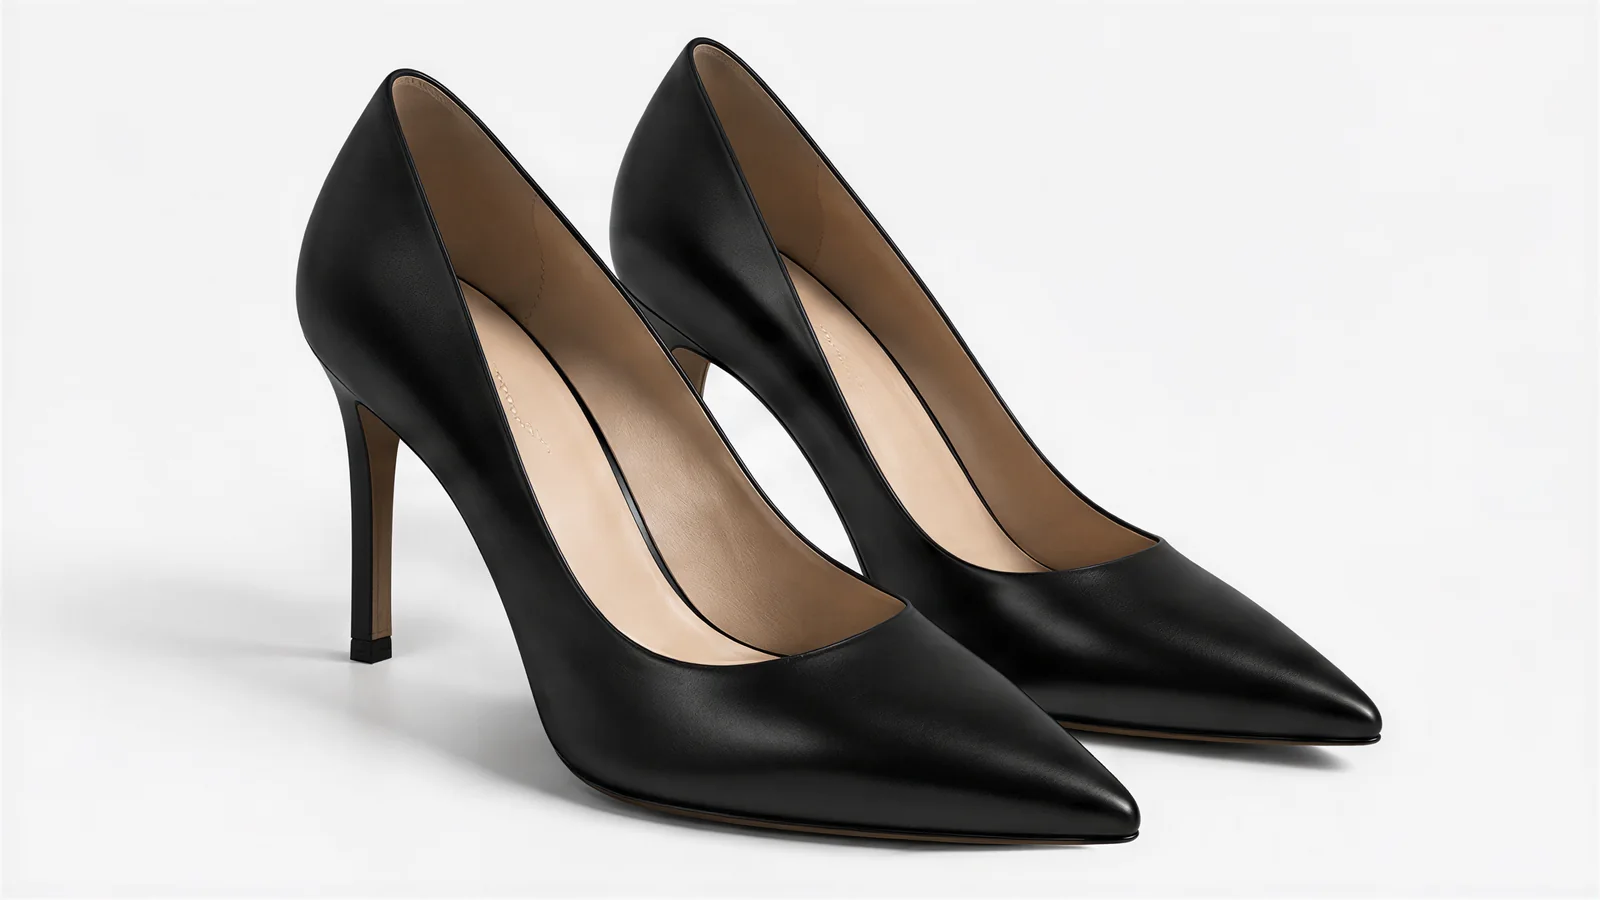
With Tryly’s AI shoe photography tool, you upload one photo of the shoe. A side profile is the best start, and a second angle, such as the sole or the back, can be added. Sneakers, heels, boots, sandals, loafers and flats run through the same flow. Then you choose:
- Lifestyle Shot: a model wears the shoes, with an outfit styled around them. Pick from 500+ models, filtered by hair color, age, ethnicity, size and style, or use your own model or yourself.
- Studio Shot: 18 angles in three groups. Single Product: both side profiles, the front toe, the back heel and two three-quarter views. Pair Compositions: the pair front-on, floating, stacked and crossed, symmetrical, from behind, and side-lit. Lifestyle On-Foot: the shoe on a foot from the side, walking, as a walking pair, seated, from above and in a full-body action shot.
You pick up to four angles per run, each a separate photo costing one credit, and add a studio, outdoor, lifestyle or abstract background. The review step shows the credit cost before anything is spent.
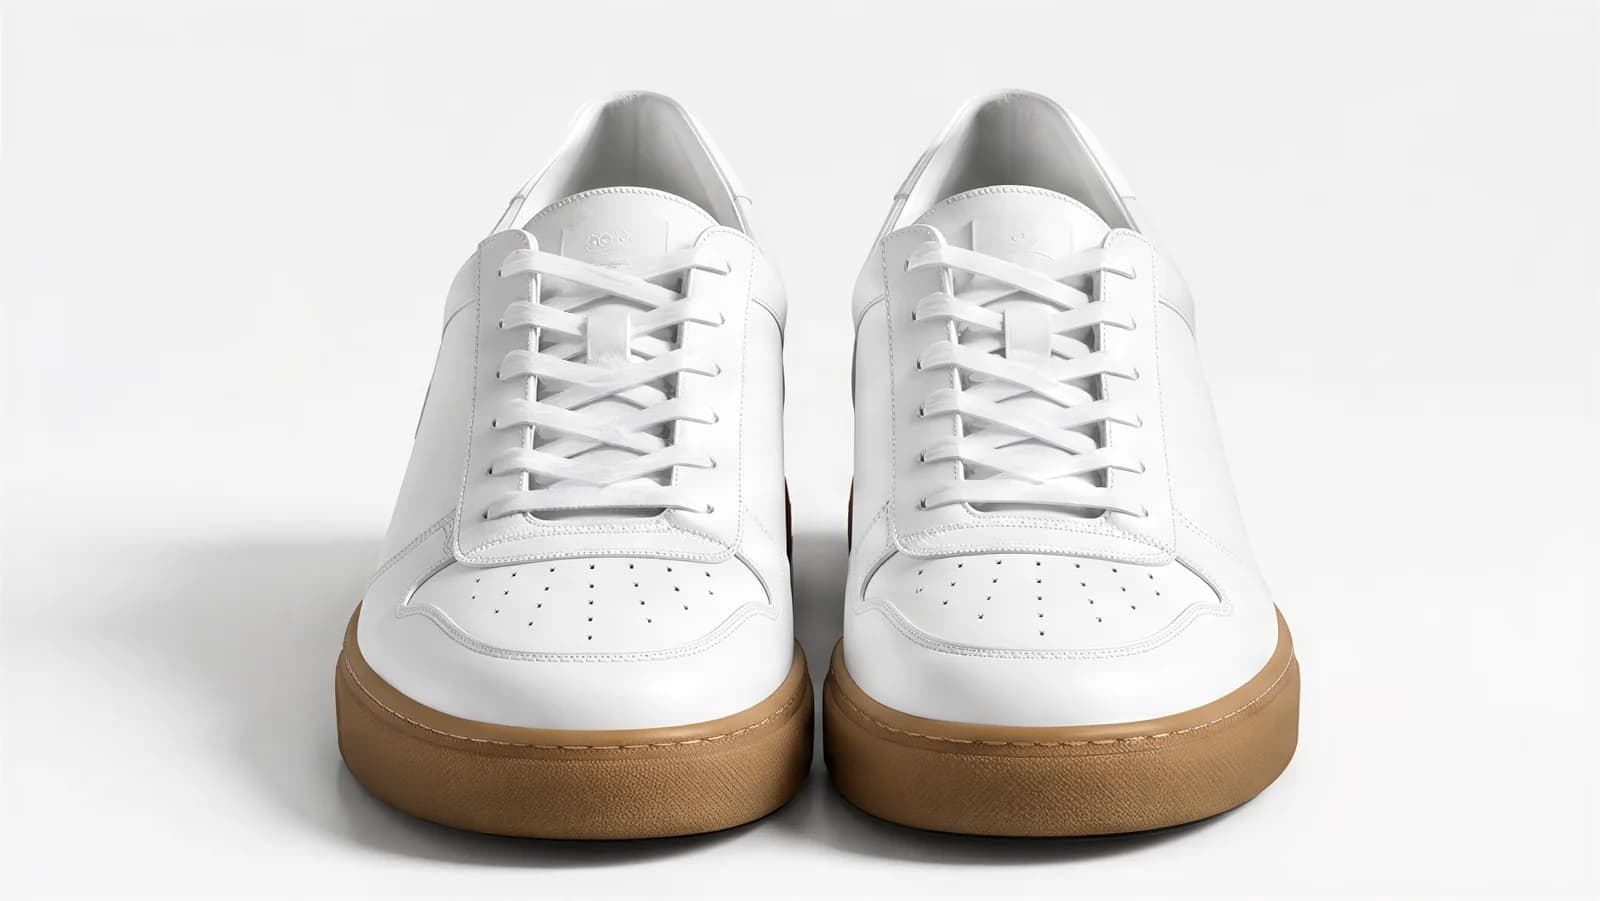
01 Source photo
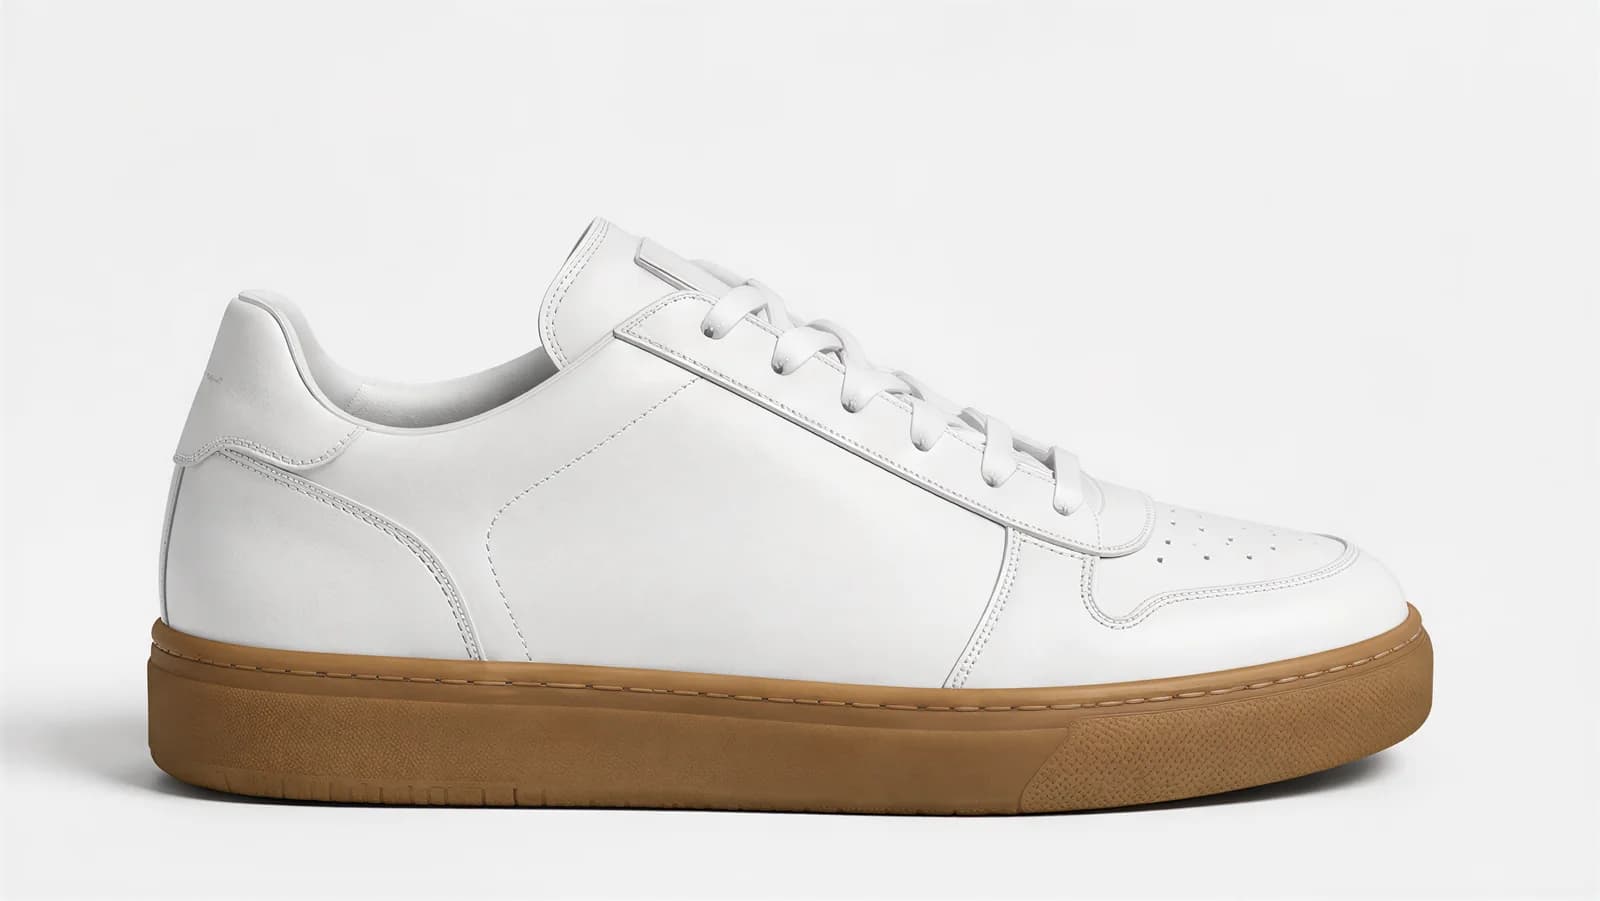
02 Side profile
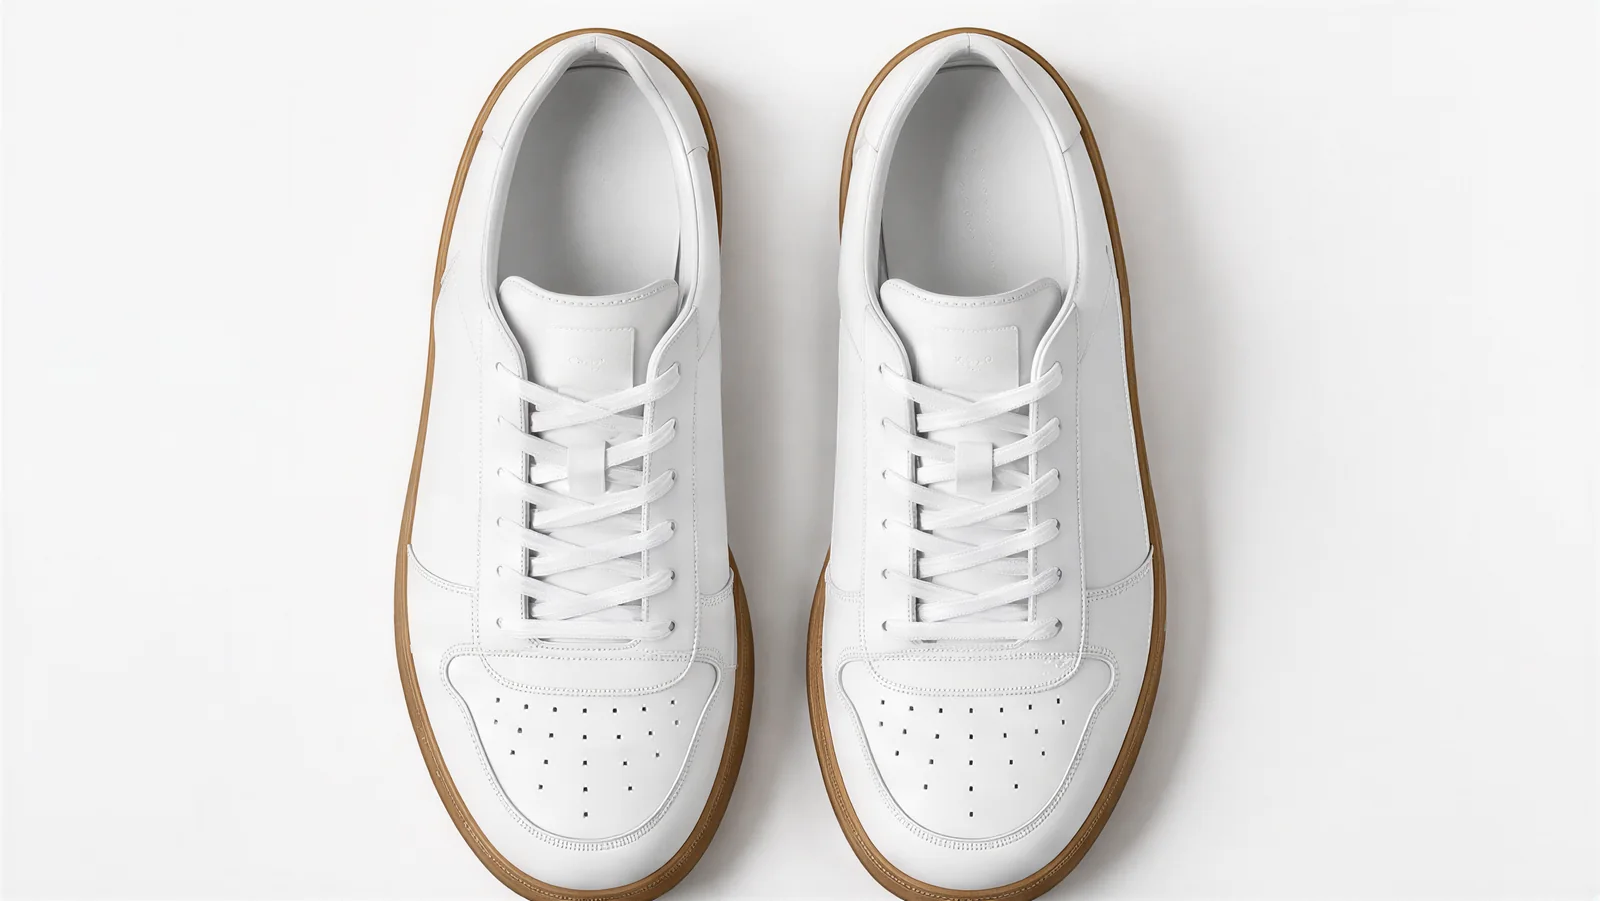
03 Pair, top down
01 Source photo
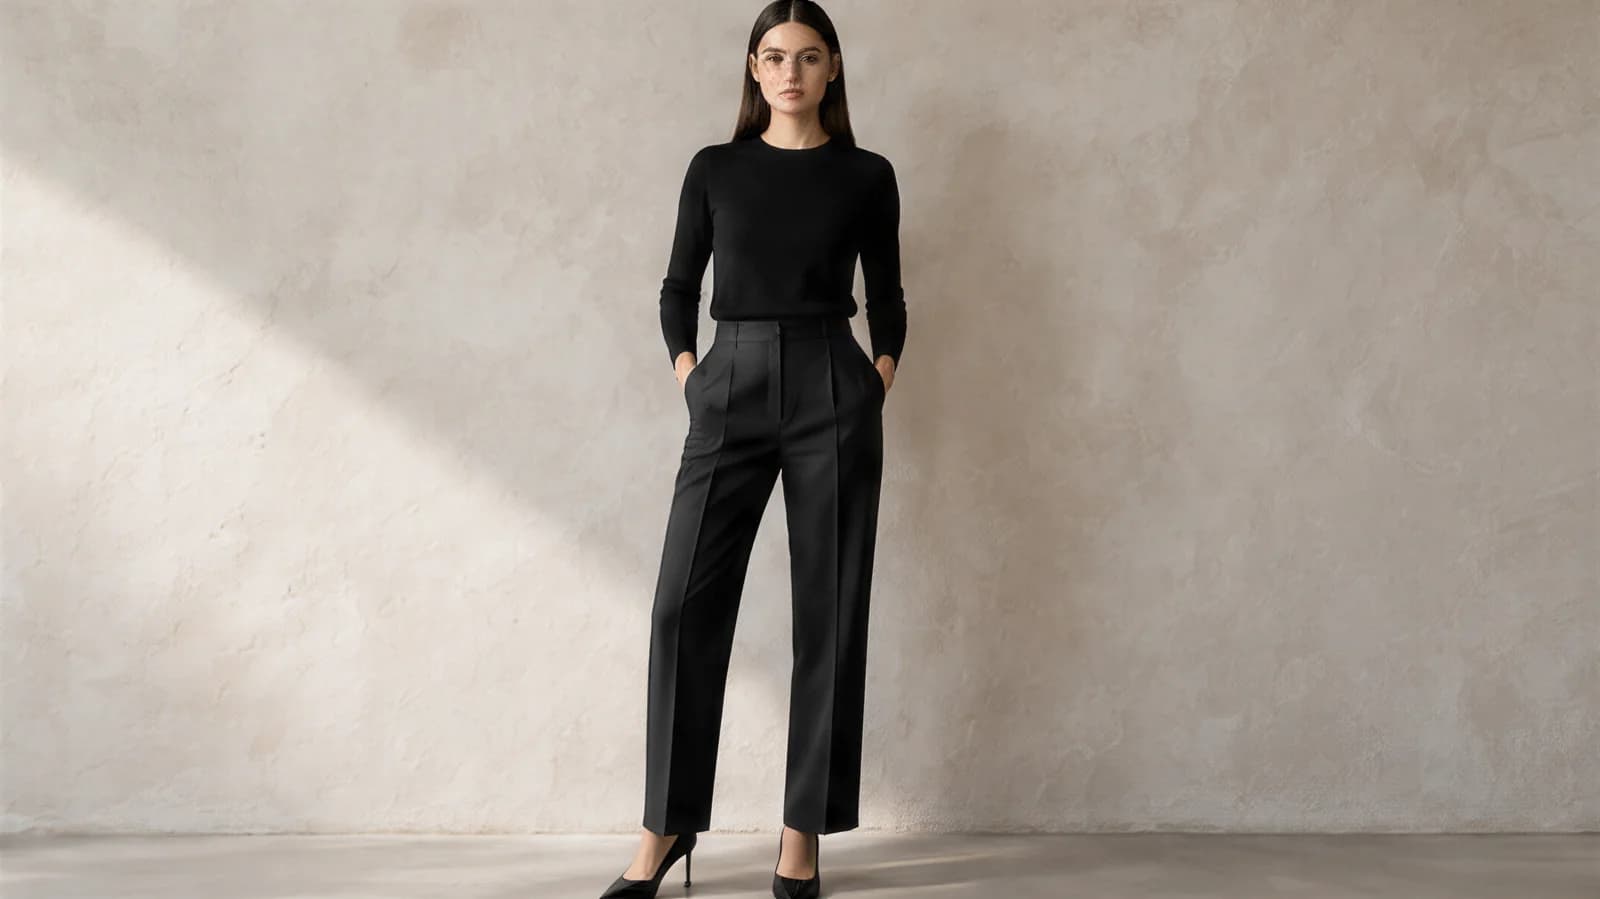
02 On the model
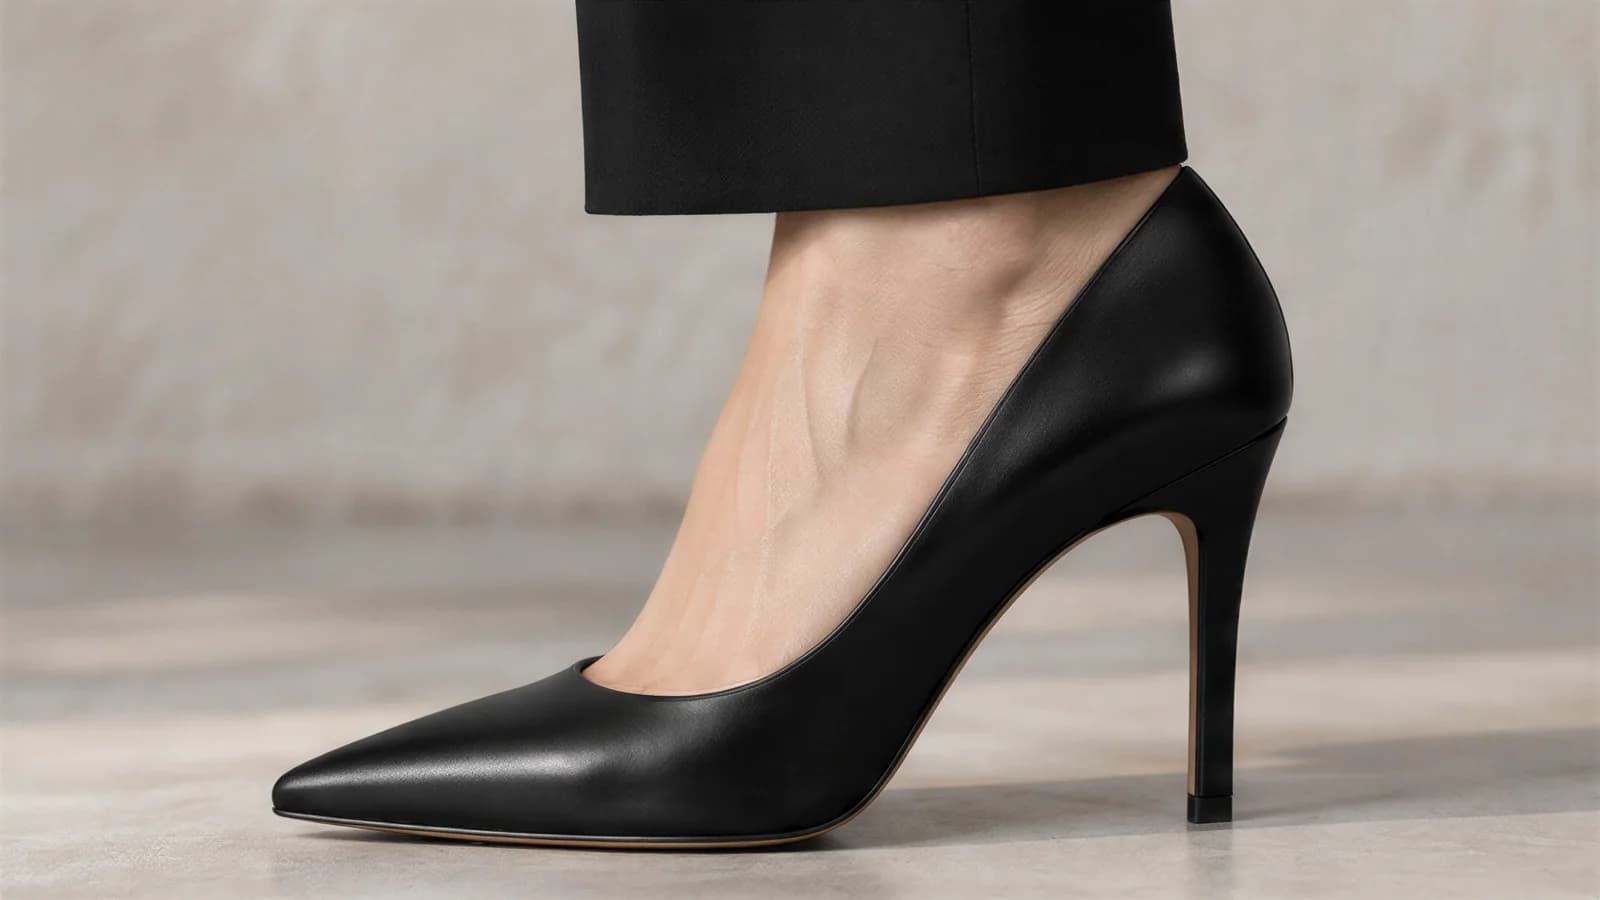
03 On-foot detail
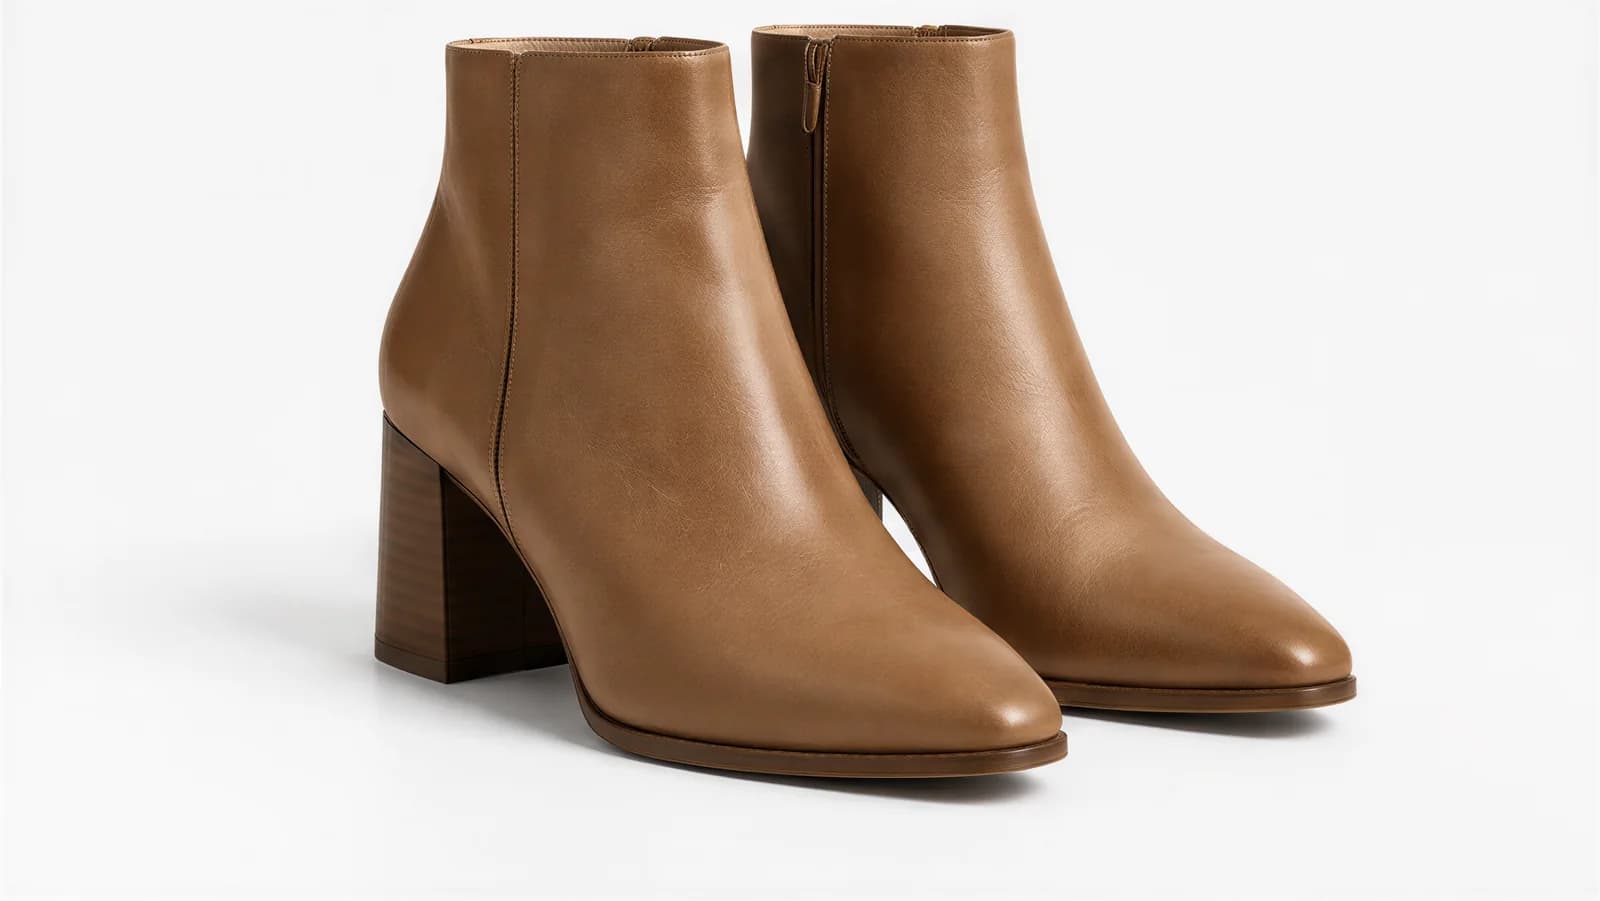
01 Source photo
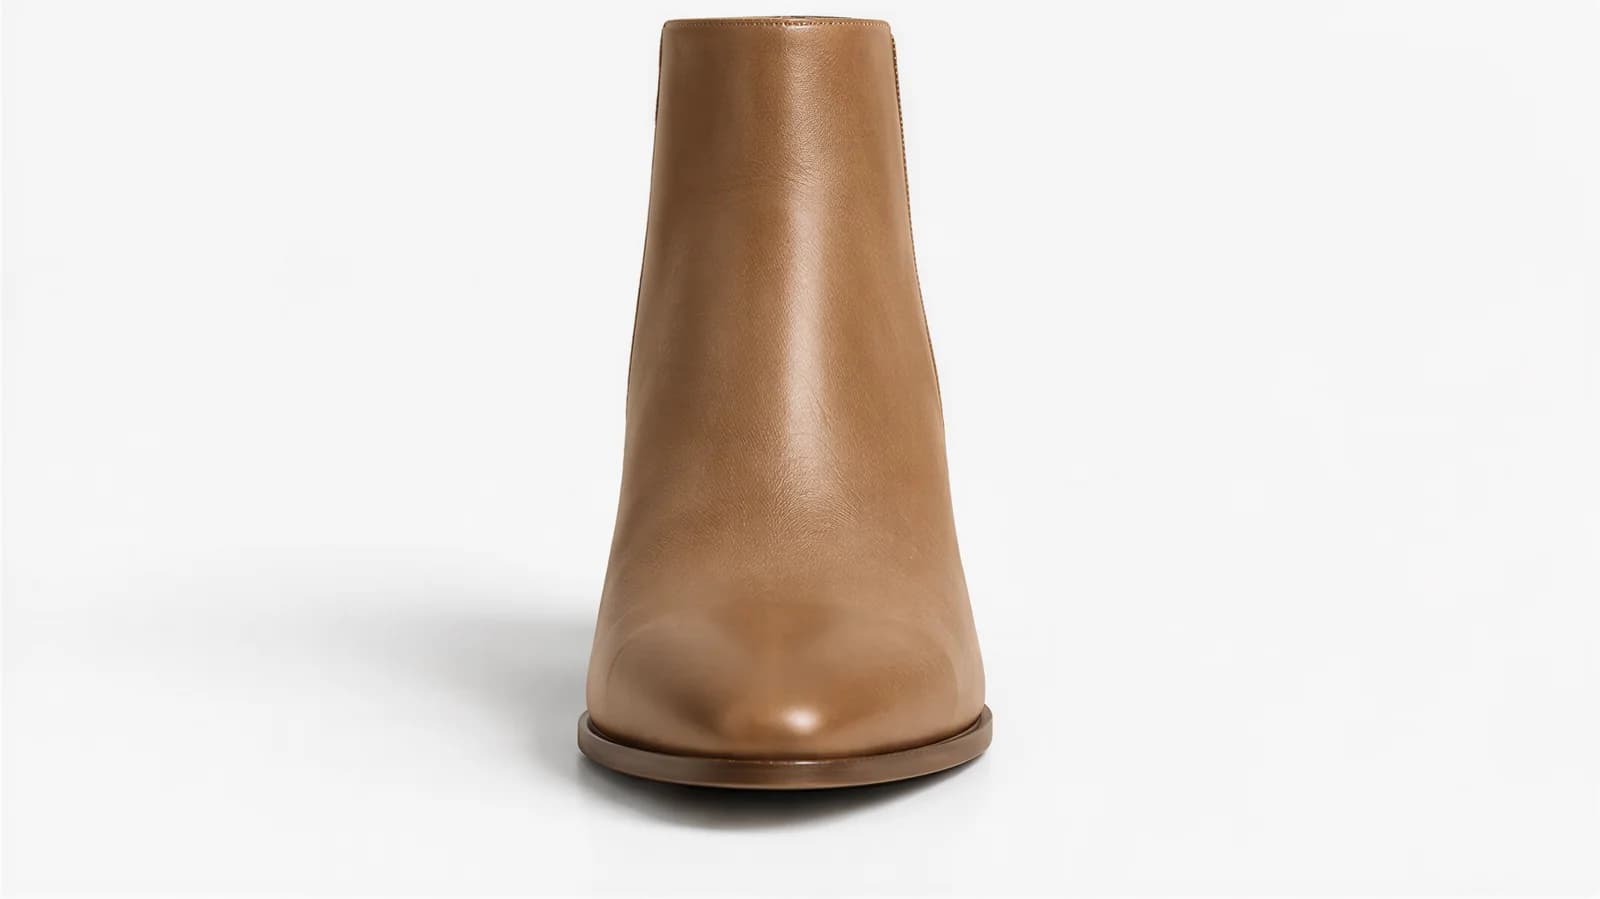
02 Front toe view
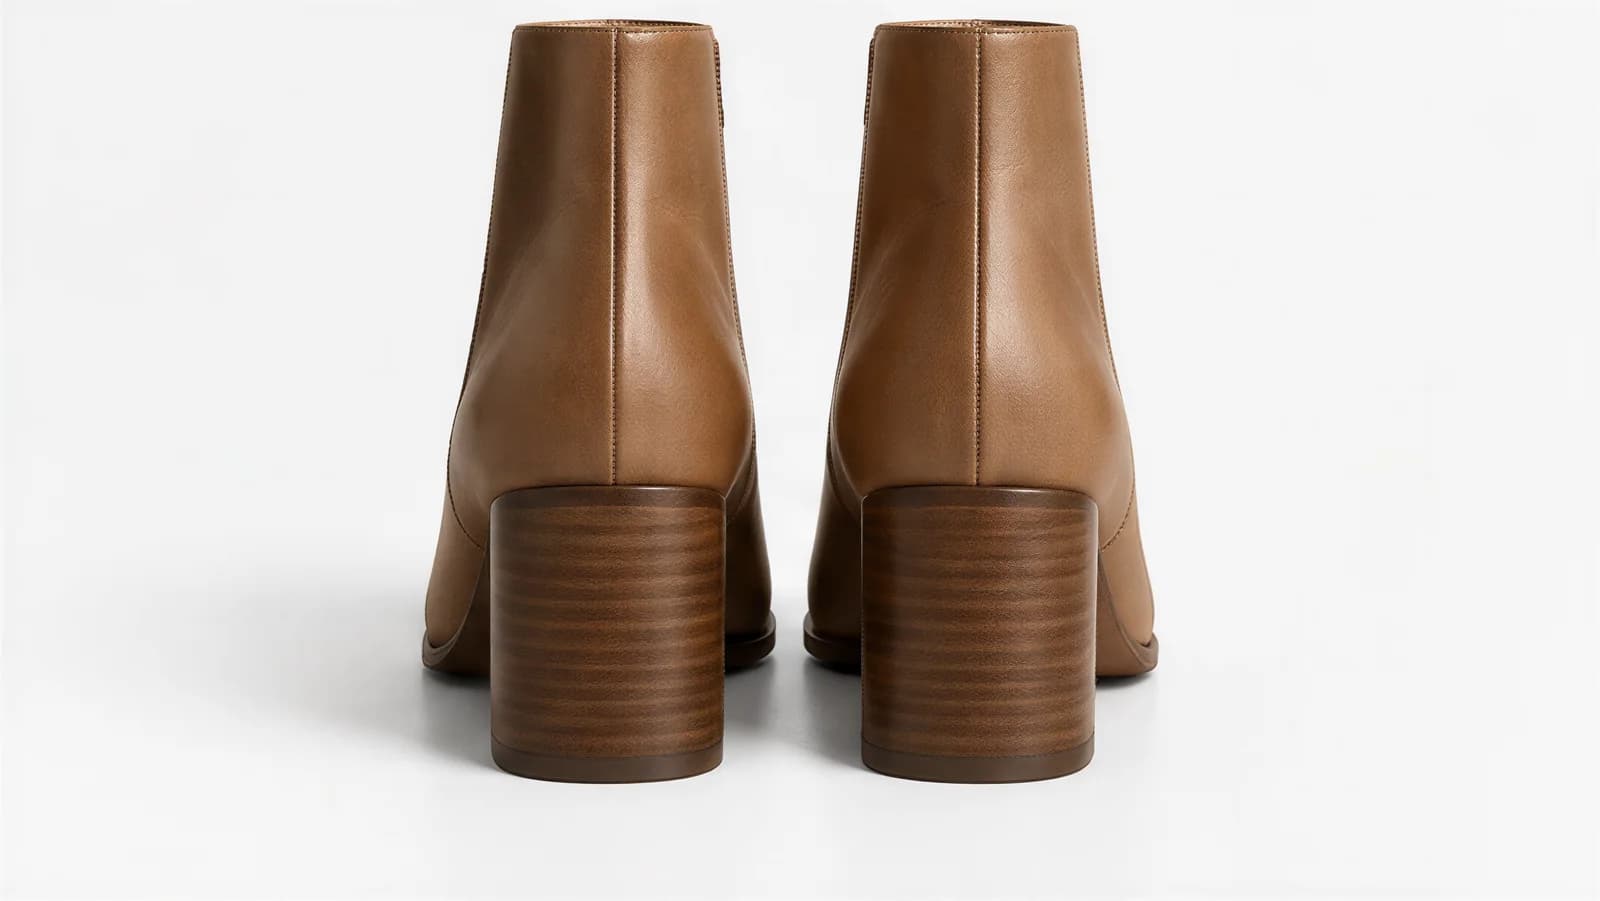
03 Back heel view
The sole, the size label and any wear still come from your own photos: on a resale listing, those are the shots buyers trust most. Photos made on a paid plan can be used on your store, in ads and on social media. Start with 10 free photos, no card.
For scale: a product photographer charges $50 to $350 per image, according to Shopify’s pricing guide. At Tryly’s lowest rate, four angles for 25 pairs, 100 photos, cost $25. More in the true cost of fashion photoshoots.
Selling more than shoes? The same upload-and-generate flow covers bags and clothing, and you can keep one model across the whole range.
What are the most common shoe photography mistakes?
The short answer
Shooting from above, dirty or floppy shoes, flash on shiny leather, gray white sneakers, and no sole shot or size label. Check this list before each batch.
- Shooting down from standing height. Put the phone at shoe height.
- Dusty uppers and dirty midsoles. Clean first, but never hide wear.
- A floppy toe box and messy laces. Stuff the shoe and lace both the same way.
- Flash on patent leather. Window light, flash off.
- Gray white sneakers. Expose for the shoe and check the stitching.
- No sole shot, no size label. Always add both, especially on resale.
- Toes pointing different ways. One direction, one setup, every listing.
Questions shoe sellers ask
What is the best angle for shoe photography?+
The outer side profile, shot straight on with the camera at shoe height. It shows the silhouette and the side logo, and it becomes the thumbnail. Follow it with the three-quarter front, toe, heel, top, sole, inner side, the pair and the details.
How many photos should a shoe listing have?+
Eight to twelve for most pairs: the angle set, a detail close-up and the size label, plus every flaw on a used pair. eBay allows up to 24 photos per listing.
How do I photograph shoes for resale?+
Show what a resale buyer checks first: the sole wear, the size label, the insole and every crease or scuff, each in a close-up, plus the box if included. eBay does not allow stock photos for used items.
How do I show shoes on feet without a foot model?+
Wear them yourself, sitting on a step with the phone on a tripod at ankle height. Or upload a photo of the shoe to Tryly: Lifestyle Shot puts it on a model you choose, and the Lifestyle On-Foot angles show it on the foot. Start with 10 free photos, no card.
How much does shoe photography cost?+
Doing it yourself costs little beyond your phone. A hired product photographer costs $500 to $3,000 per day, or $50 to $350 per image, according to Shopify’s product photography pricing guide. Tryly starts from $9.99/month (Starter plan, billed annually), which is from $0.33 a day, and photos cost as low as $0.25 each. At Tryly’s lowest rate, 100 photos cost $25.
Sources: photographer rates from Shopify’s product photography pricing guide; image size from the Shopify Help Center, product media types; background, framing and on-model guidance from Google Merchant Center, image requirements; photo count, size, lighting and flaws from eBay’s photo tips and picture policy.
Written by
Elena Varga
Head of Content, Tryly Academy
Former e-commerce photo producer who ran catalogue shoots for fashion labels for over a decade. Writes the Academy’s guides.
- 11 years in fashion e-commerce
- 1,200+ catalogue shoots produced
Expert review
Sofia Moretti
Fashion photographer · Expert reviewer
Has shot campaigns and on-model e-commerce for fashion brands for 14 years. Reviews every Academy article for accuracy.
- 14 years in fashion photography
- Campaign and catalogue work across Europe
How we work: every Academy article is written by a specialist, reviewed by a working fashion photographer, and re-checked against its sources when prices or rules change.