Guide
White background product photography at home: the setup, the light and the edit
A practical guide for sellers with a phone and no studio: the sweep, the light, the phone settings, the edit that gets the background truly white, and the shot to add next.

 By Elena Varga
 · Reviewed by Sofia Moretti |Fact-checked|11 min read
Key takeaways
- 1A white sweep, a window and a white foam board are the whole setup. The light matters more than the camera.
- 2White in the photo is rarely white in the file. Lock the exposure, raise it a little, then finish the background in the edit without washing out the product.
- 3Use white for the main image and add on-model shots of the same product for context. Tryly makes those from the photo you just took.
10 free photos, no card. Photos as low as $0.25 each.
On this page+
How do you take product photos with a white background?
The short answer
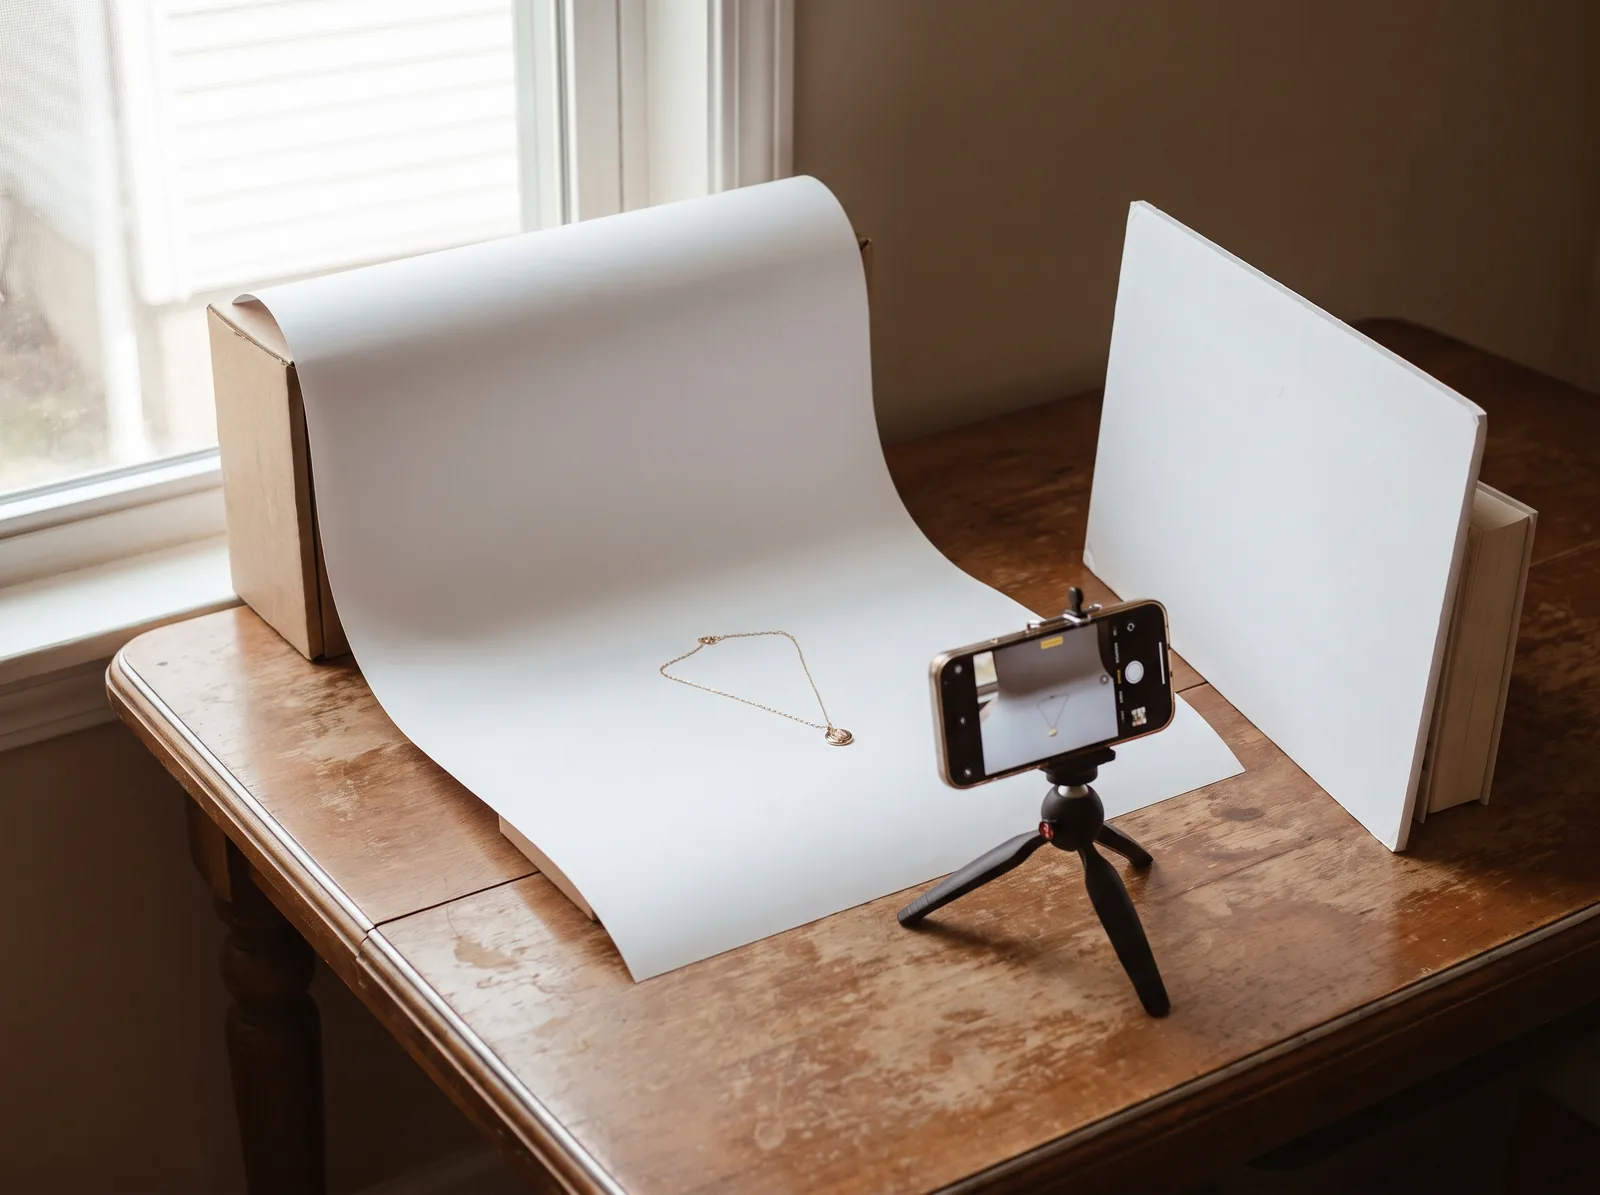
Curve white paper or poster board from a box or the wall down onto a table, next to a window with no direct sun. Put the product toward the front, bounce light into the shadows with a white board, and shoot with your phone on a tripod, flash off, exposure raised slightly. Then set the white balance and push the background to white in the edit.
That is how to take product photos with a white background at home, in seven steps:
- Build a white sweep. Curve white poster board or paper down onto the table, with no fold.
- Set up side-on to a window. No direct sun, room lights off.
- Bounce the light. A white foam board opposite the window fills the shadows.
- Place the product forward. Away from the back of the sweep, so its shadow stays out of sight.
- Set up the phone. Tripod, main lens, flash off, focus and exposure locked, exposure nudged up.
- Shoot the same angles every time. The same shot list for every product in a category.
- Edit to true white. White balance, exposure and whites, then the same crop for every main image.
Why do marketplaces want photos on a white background?
The short answer
White puts all the attention on the product, looks consistent across hundreds of listings, and matches what the big marketplaces ask for. Amazon and Google both point sellers to a white background for product shots.
Amazon’s guide for sellers on product photos says that in most cases product shots should be taken against a white background, RGB 255, 255, 255, and calls it “an industry standard and also a default setting with Amazon.” It adds: the product filling 85% or more of the frame, images larger than 1,000 pixels on each side for zoom, and at least six images. Its detailed listing rules sit in Seller Central: read them before you upload a batch.
Google’s Merchant Center image guidelines ask for:
- A solid white or transparent background. Staged or lifestyle images that clearly show the product are also acceptable.
- The product taking up no less than 75%, but not more than 90%, of the image.
- At least 500 × 500 pixels, with 1500 × 1500 or above recommended.
- No watermarks, borders, promotional text or other overlays on the image.
Shopify’s help center is about size, not color: 2048 × 2048 px usually displays best for square product images, with one consistent aspect ratio across your main images.
The pattern is the same everywhere: a clean background, the product large in the frame, nothing added on top.
When is a white background not the best choice?
The short answer
On social posts, ads and your homepage, where the photo sells a feeling, and wherever buyers need scale or fit. Don’t drop white; add to it: a white hero image first, then worn and lifestyle shots of the product.
White cannot show how a dress moves, how big a bag looks on the shoulder or how a ring sits on a hand. Many buyers want that context, especially on social media.
Both are right, for different photos. Google’s guidelines say the same: show non-clothing products such as shoes, handbags and accessories alone in your main images, and on a model in your additional images.
So plan each listing as a set: white first, for search and the thumbnail, then the product worn, then the details, as the clothing product photography guide shows.
What is the best product photography setup at home?
The short answer
A white sweep, a window, a white foam board, a tripod and your phone. For jewelry and watches, a small lightbox makes even light easier.
Besides your phone, the whole product photography setup fits on a table:
| Item | What it does | Cheaper alternative |
|---|---|---|
| Tripod with a phone clamp | Keeps every shot sharp and framed the same | A stack of books |
| White sweep | A seamless white surface with no horizon line | Poster board curved from a box onto the table |
| White foam board | Bounces window light into the shadows | Printer paper, for small items |
| Diffuser | Softens direct sun | A sheer curtain or baking parchment on the glass |
| Lightbox (optional) | Even light around small pieces | A cardboard box, sides cut out, covered in parchment |
Which product photography background works best?
A sweep: one white surface that curves from under the product up behind it, with no fold. It removes the horizon line, the edge where table meets wall that makes a home photo look homemade. From small to large:
- Poster board or foam board, curved, with the top taped to a box or the wall. Enough for jewelry, watches, shoes and small bags.
- A roll of backdrop paper, clamped to a stand or shelf and rolled across the table or floor. For clothes, big bags and anything a lightbox cannot take.
- A lightbox, a small tent with translucent walls. Best for small, shiny pieces.
- A white wall or door, for clothes on a hanger, if it is clean and evenly lit.
How do you light a white background photoshoot?
The short answer
With one soft light from the side, usually a window without direct sun, and a white foam board on the other side to fill the shadows. Keep the product away from the back of the sweep, and expose a little brighter than your phone suggests.
Window light and a bounce board
- Set up side-on to the window, not facing it or with it behind you.
- Turn the room lights off. Warm bulbs mixed with daylight give two colors of light that no edit fully fixes.
- Soften direct sun with a sheer curtain or baking parchment.
- Stand a white foam board opposite the window: closer for lighter shadows.
- Turn the flash off. It flattens texture and adds hot spots.
One soft light or two?
One is enough for most home photos: the window plus the board. Two lights earn their place when you shoot after dark: two lamps with identical daylight bulbs, one each side at about 45 degrees, softened with a diffuser. Never mix lamps with daylight.
Distance, and a slightly brighter background
Gray shadows on white usually mean the product is too close to the background. Pull it forward on the sweep, or hang a garment a step or two in front of the wall. Then make the background a touch brighter than the product, with more light on the sweep or the exposure raised slightly, so it goes white while the product keeps its detail.
Which phone settings give you a clean white background?
The short answer
Use the main lens, turn the flash off, lock focus and exposure on the product, then raise the exposure a little. Keep the phone on a tripod, turn on the grid, and step back rather than zoom.
- Wipe the lens. A fingerprint makes a white background look hazy.
- Main lens, no digital zoom. Zooming softens detail. Move closer, or step back and crop later.
- Grid on, in your camera settings, so the product sits straight and centered.
- Lock focus and exposure. On most phones, press and hold on the product until a lock appears (AE/AF LOCK on iPhone). Then slide the exposure up until the background looks white and the product still shows detail.
- Flash off, portrait mode off. Portrait mode blurs edges; the flash makes glare.
- Tripod and self-timer. Every shot stays the same distance and angle, and pressing the button does not shake the phone.
How do you photograph clothes, shoes, bags and jewelry on white?
The short answer
The setup stays the same; only the way you hold the product up changes: a hanger, dress form or flat lay for clothes, the sweep for shoes and bags, a lightbox for small pieces.
Clothes: hanger, dress form or flat
Steam first: creases show as gray lines on white. Hang the garment a step in front of a white wall or door and shoot straight on from the middle of its height, or put it on a neutral dress form in front of a paper sweep. For a flat lay, use white foam board or paper and shoot from directly above, the phone parallel to the floor; the flat lay photography guide covers folding and styling.
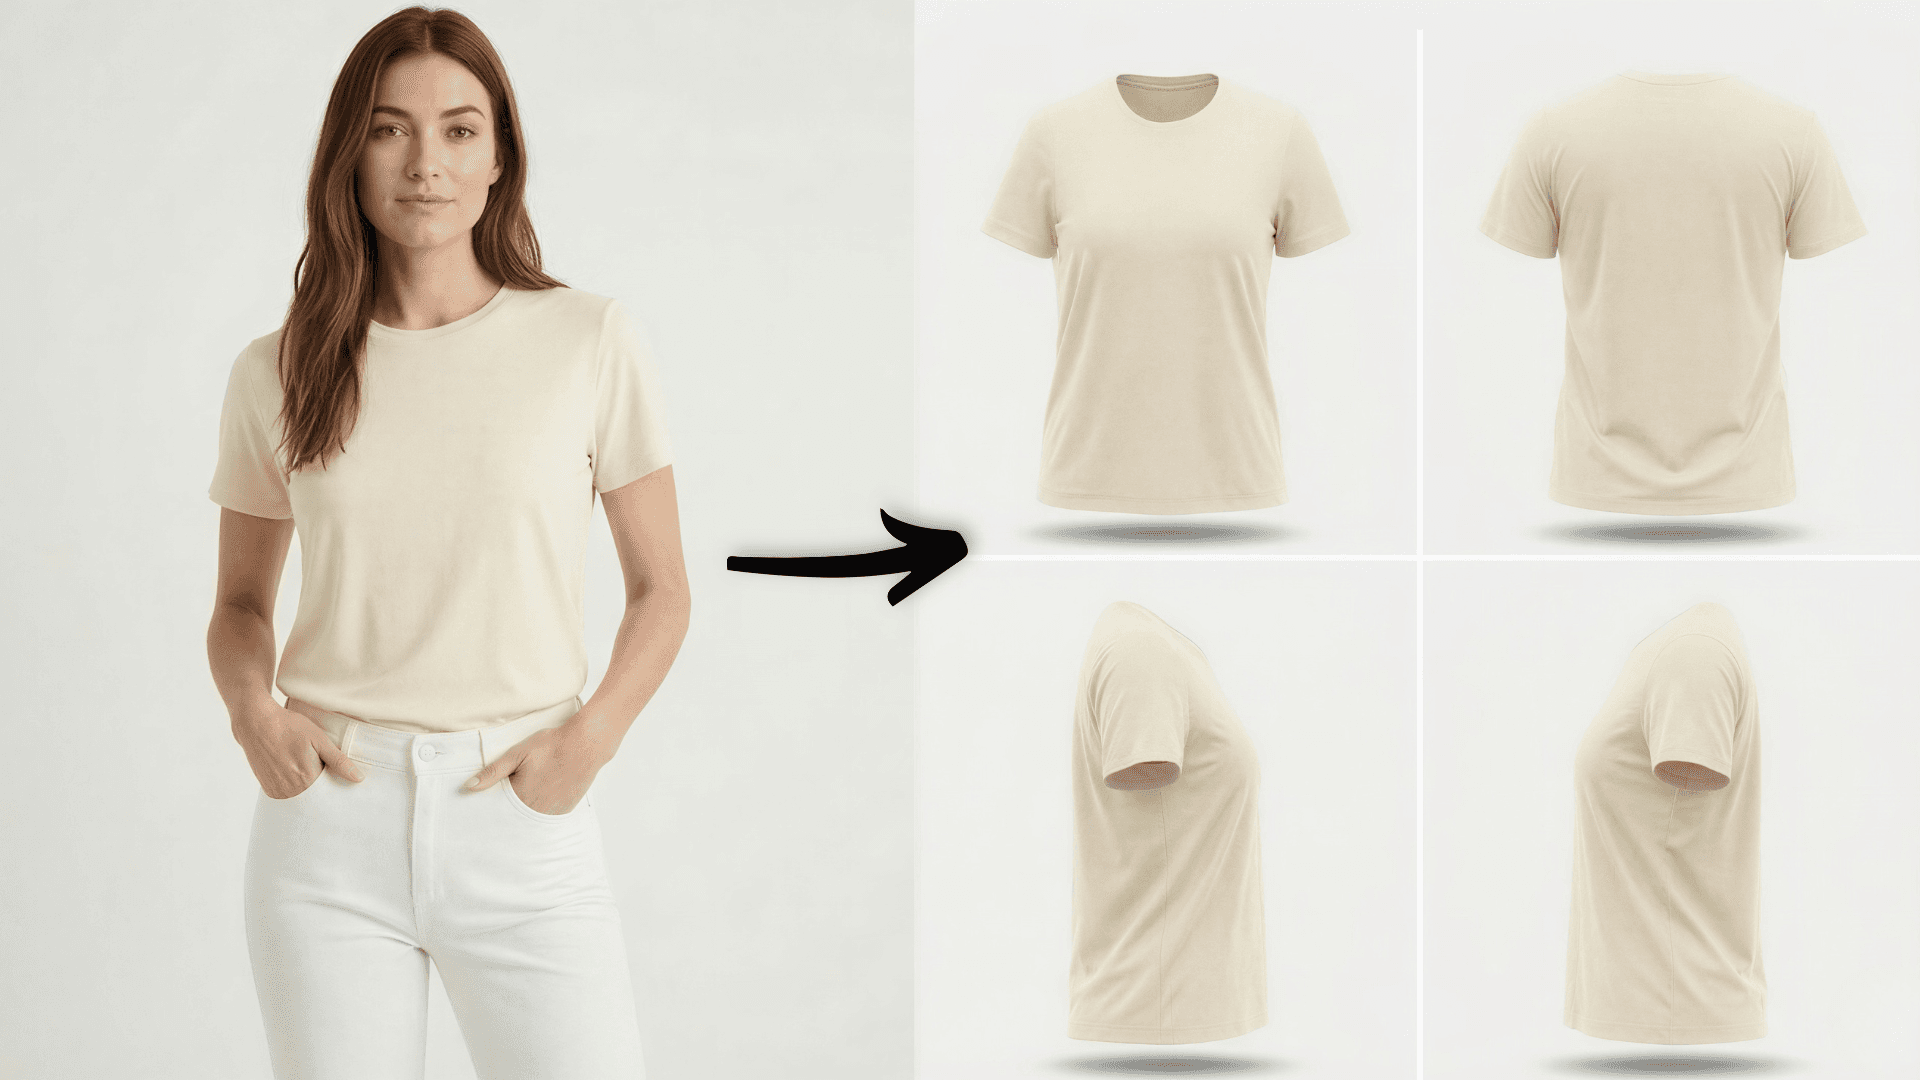
A ghost mannequin shot shows the garment in a worn shape with no body, hanger or form. Tryly makes ghost mannequin photos from a flat or hanger photo, and its plain studio backgrounds get neutral, even lighting.
Shoes
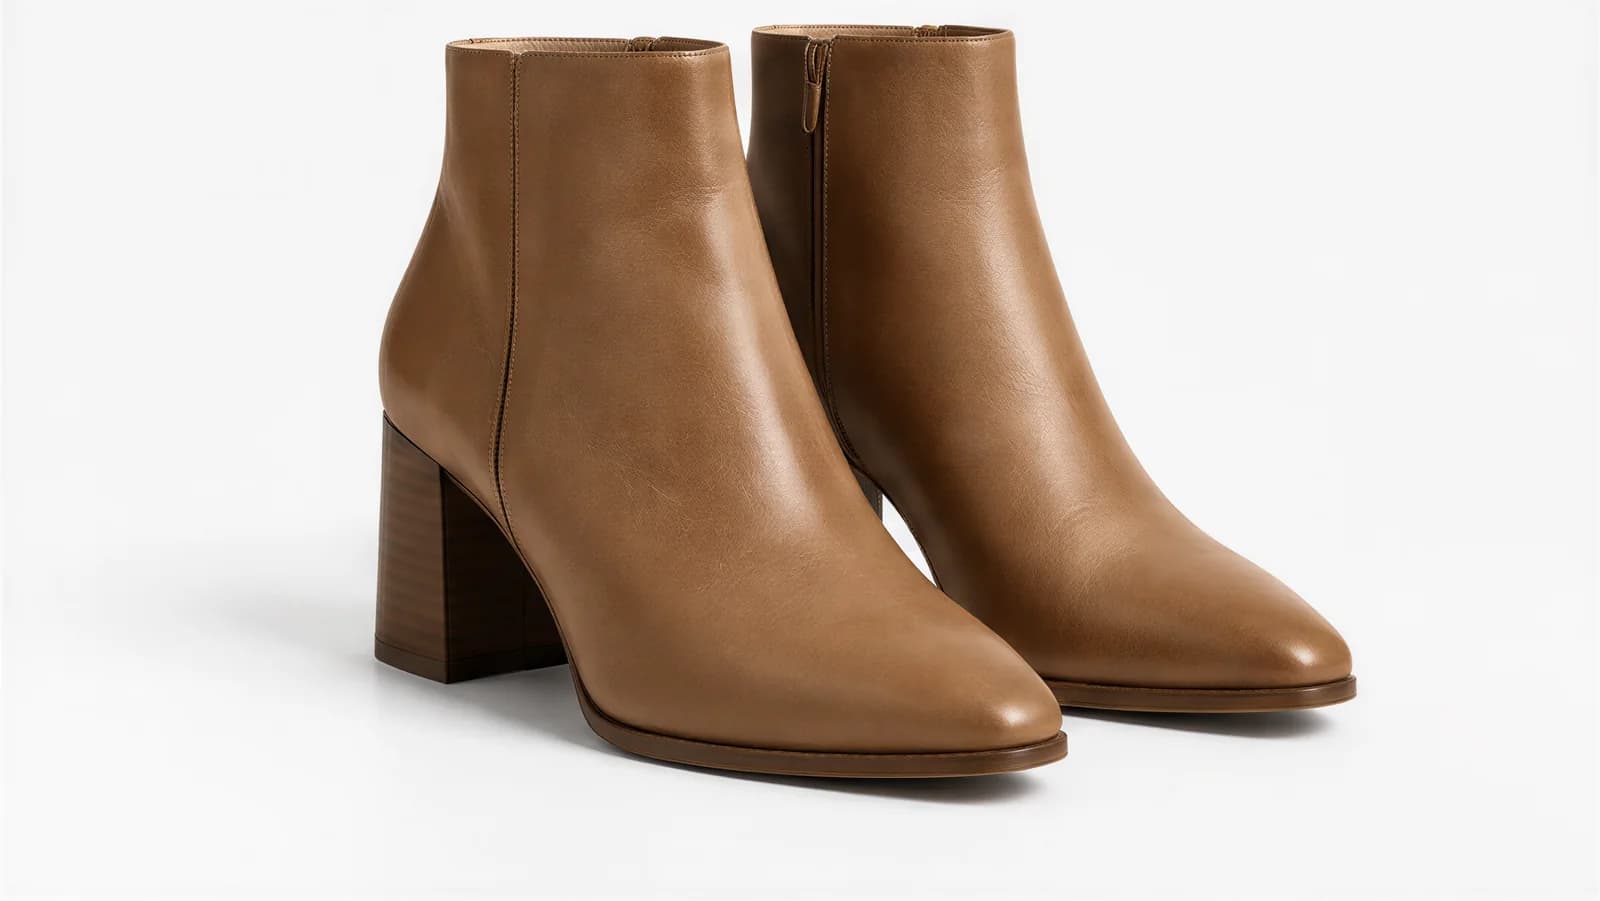
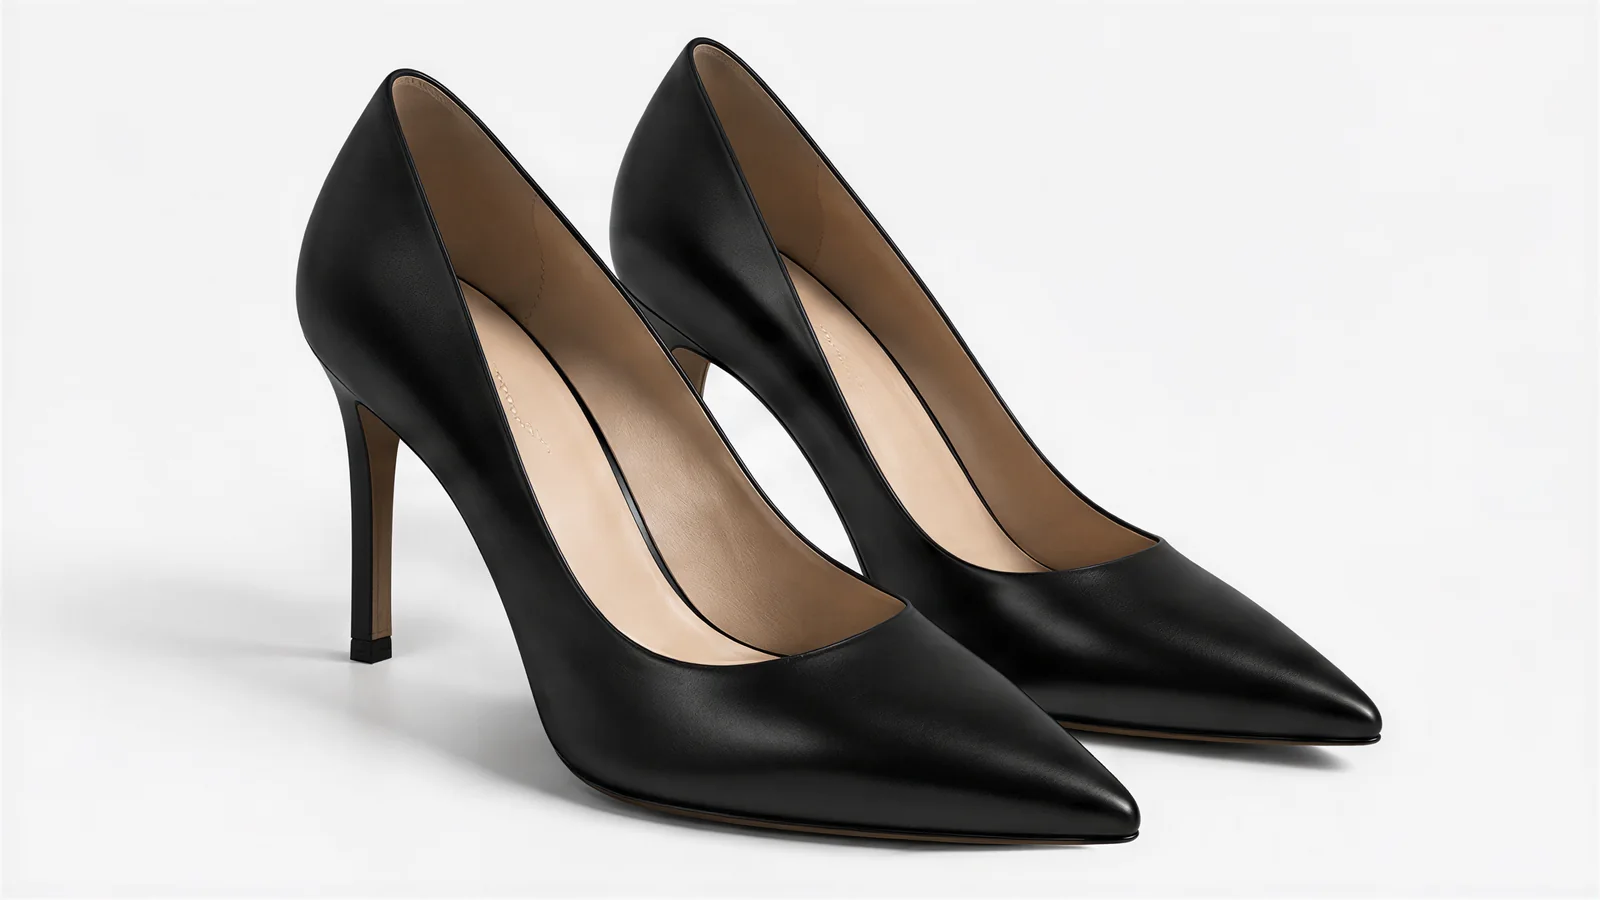
Clean the soles, tie the laces neatly and stuff the shoes with paper. Shoot the outer side profile at shoe height as the main image, then the pair, toe, heel and sole. More in the shoe photography guide.
Bags
Stuff the bag to its real shape, let the strap fall the way it hangs, and turn the hardware to the camera. Shoot straight on at mid-height, then a three-quarter view, the inside and the base. Turn patent leather away from the window to avoid glare.
Jewelry and watches
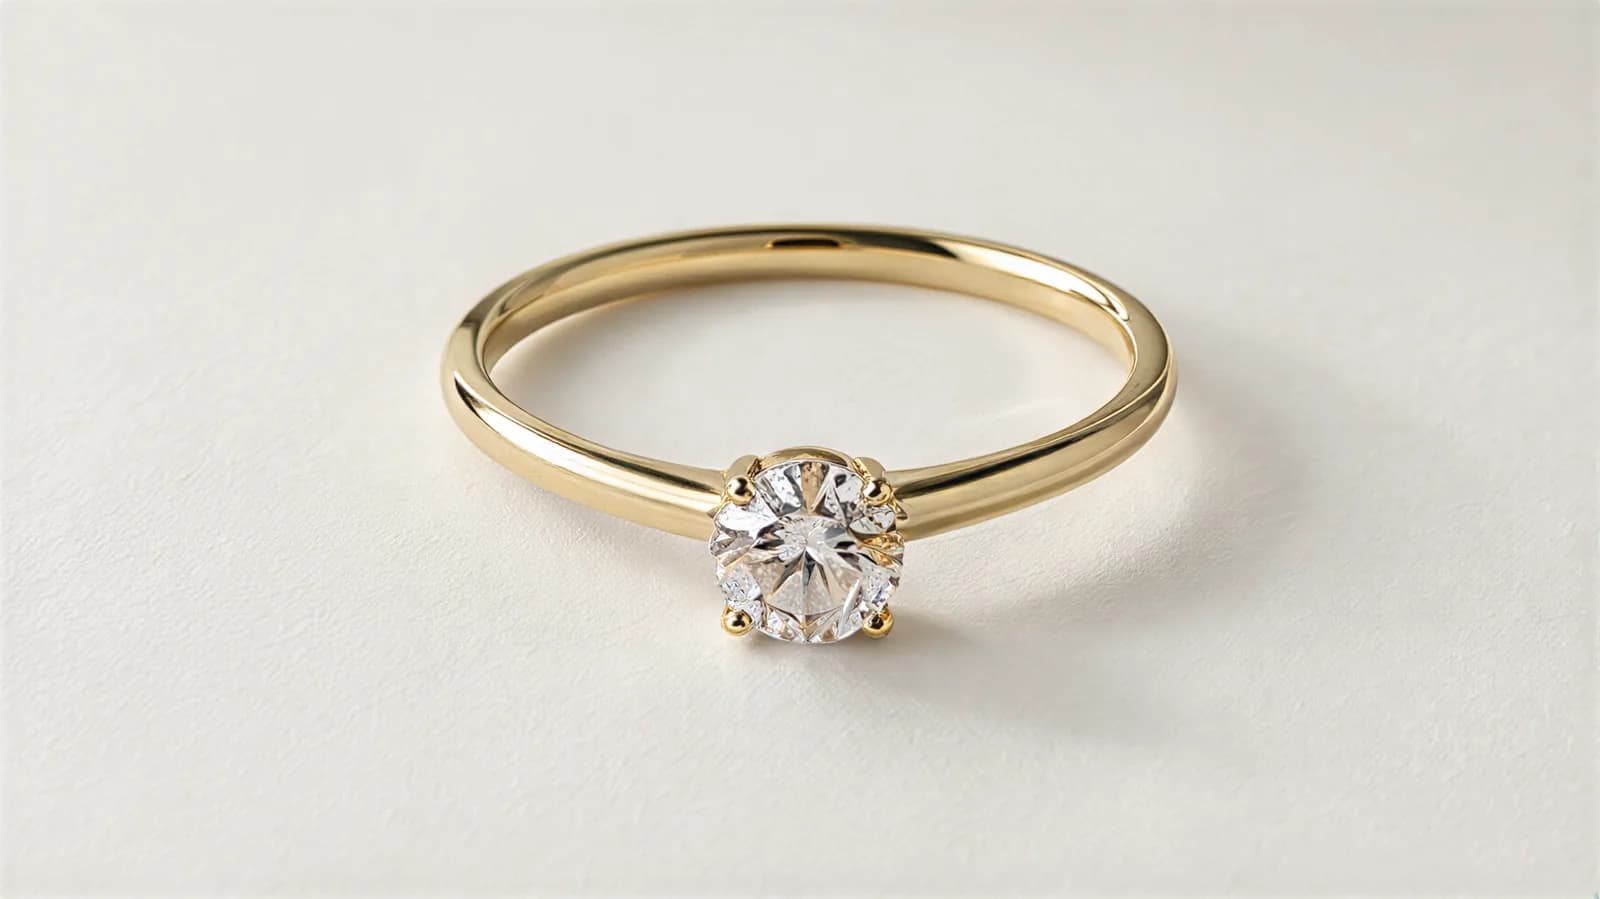
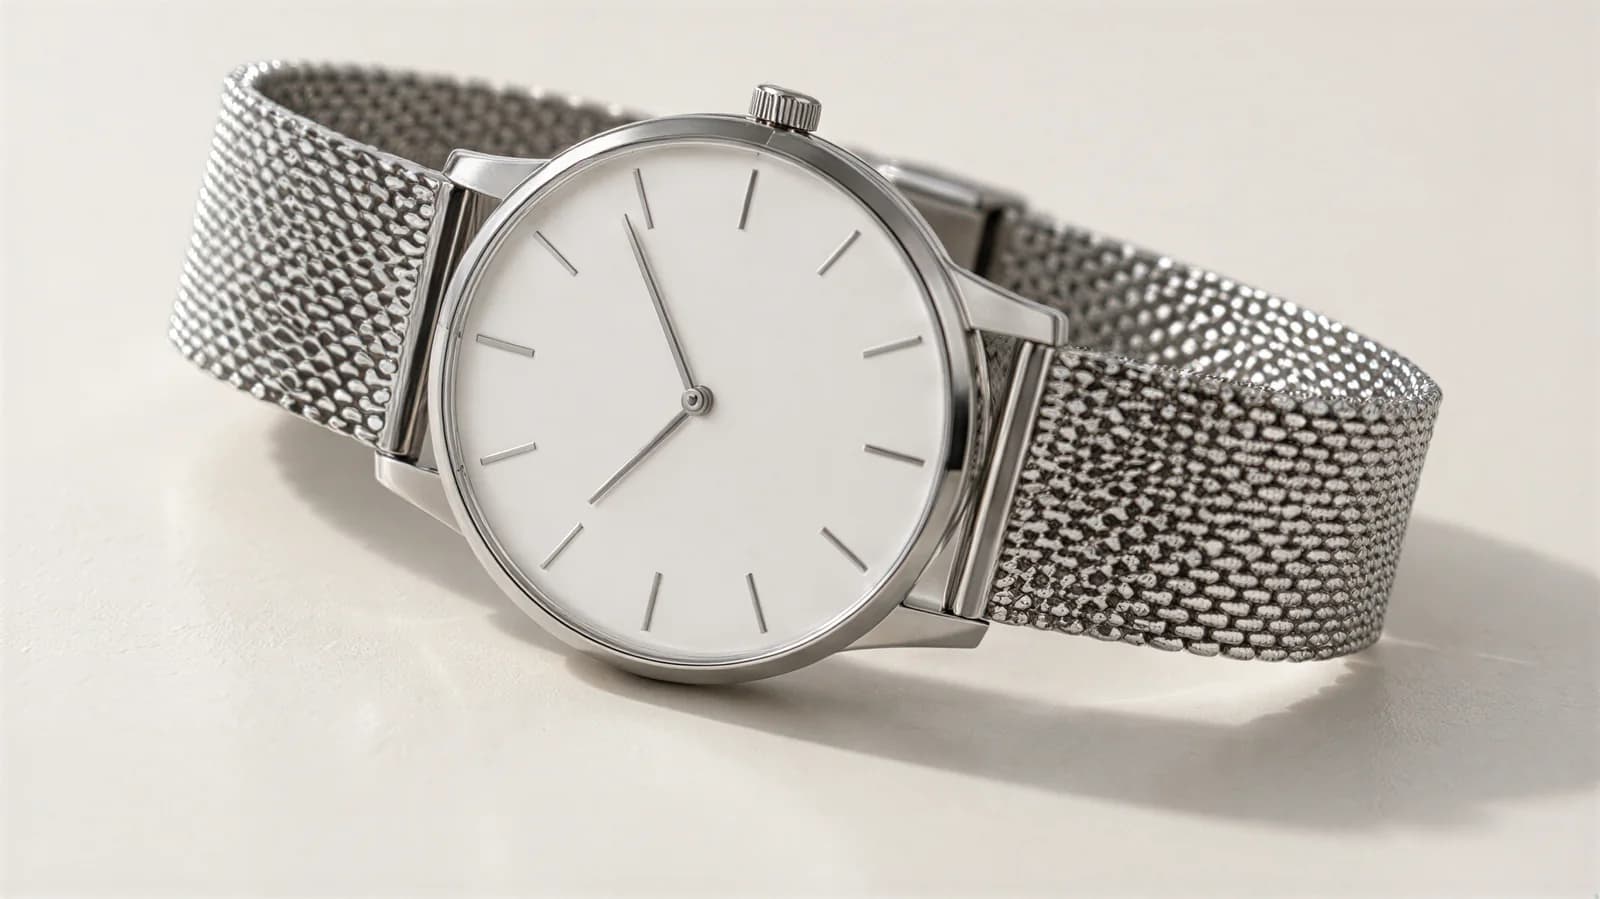
Use a lightbox or a small card sweep, and wipe every piece just before the shot. A white card gives polished metal highlights; a black card gives it defined edges. Set a watch’s hands to about ten past ten. The jewelry photography guide goes deeper on reflections and stones.
How do you get a true white background in editing?
The short answer
Fix the white balance first, then the exposure, then push only the background to pure white. Stop before a white product loses its folds and stitching, and never change the product’s color.
A background that looks white on your screen is often light gray or cream in the file:
01 Neutral gray
02 Warm cream
03 Warm cream
- White balance. Use the dropper on the background, or the temperature and tint sliders, until the paper is neutral: not yellow, not blue.
- Exposure. Raise it until the background is nearly white. If the brightest part of the product starts losing detail, stop.
- Whites or levels. Raise the whites to push the background the rest of the way. In an editor with a color picker, pure white reads 255, 255, 255, the value Amazon’s guide gives.
- Clean up. Remove dust and marks, and brighten gray corners with a brush on the background only.
- Crop. The same ratio for every main image.
White products on a white background
White sneakers, a white shirt or pearls are where overexposure goes wrong: push too far and the product melts into the background. Keep a soft shadow under it, brighten the background rather than the whole photo, and stop while seams and texture still show. A black card just out of frame gives white edges a thin dark line.
How do you keep product photos consistent across a catalog?
The short answer
Build the setup once and repeat it exactly: same spot, same light, same distance, same angles, same crop and the same edit for every product. Consistency is what makes a small shop look like one brand.
- Mark the tripod’s feet and the product’s spot with tape, and leave the sweep up if you can.
- Shoot at the same time of day, or with the same lamps.
- Keep one shot list per category, for example bags: front, three-quarter, side, inside, hardware.
- Fix the camera height and distance per category, so items sit at the same size in your shop grid.
- Save your edit as a preset and apply it to the whole batch.
- If you add on-model shots, use the same model across the whole collection.
How do you turn a white background photo into an on-model shot?
The short answer
Upload it to Tryly. Pick a model, one of 500+ or your own model or yourself, and a background, and you get the same product worn. One photo is one credit, and you can start with 10 free photos, no card.
The photo you just took is exactly the kind of photo on-model shots start from. Tryly’s AI clothing photography page recommends the garment on a clean white or neutral background, in good light.
 Before
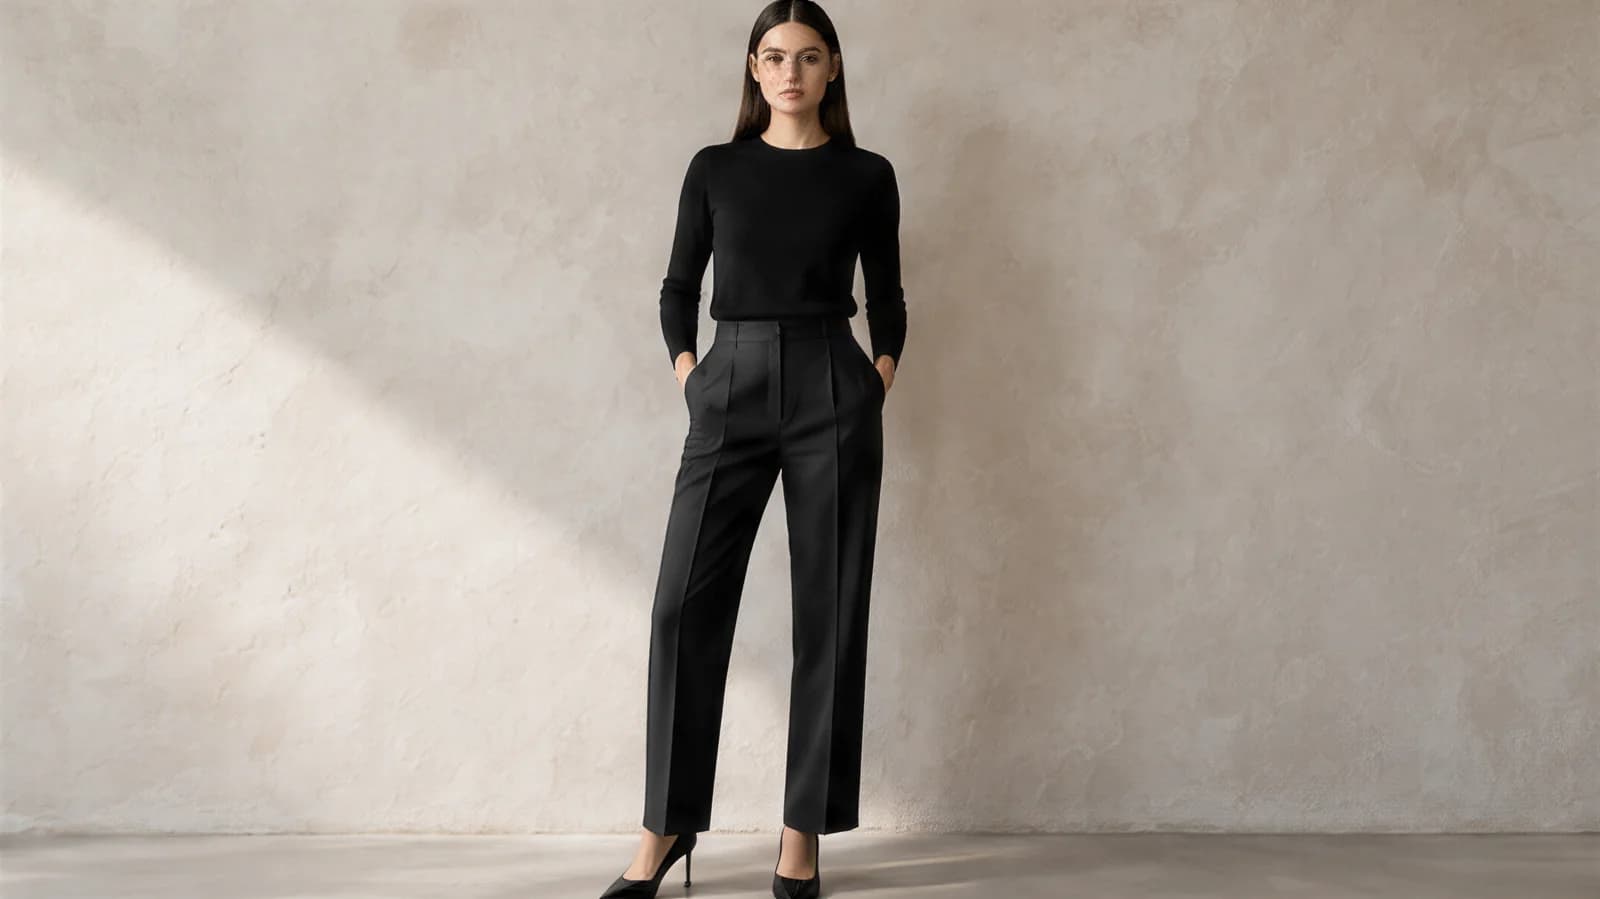 After
AfterBags can be carried by a model or placed in a styled scene. Shoes get on-foot shots, or product-only studio angles such as side profiles and pair shots. Watches go on a wrist, on a model, or onto a styled surface, including a classic diagonal laid flat on white. You choose a studio, outdoor, lifestyle or abstract background, and the review step shows the credit cost before anything is spent.
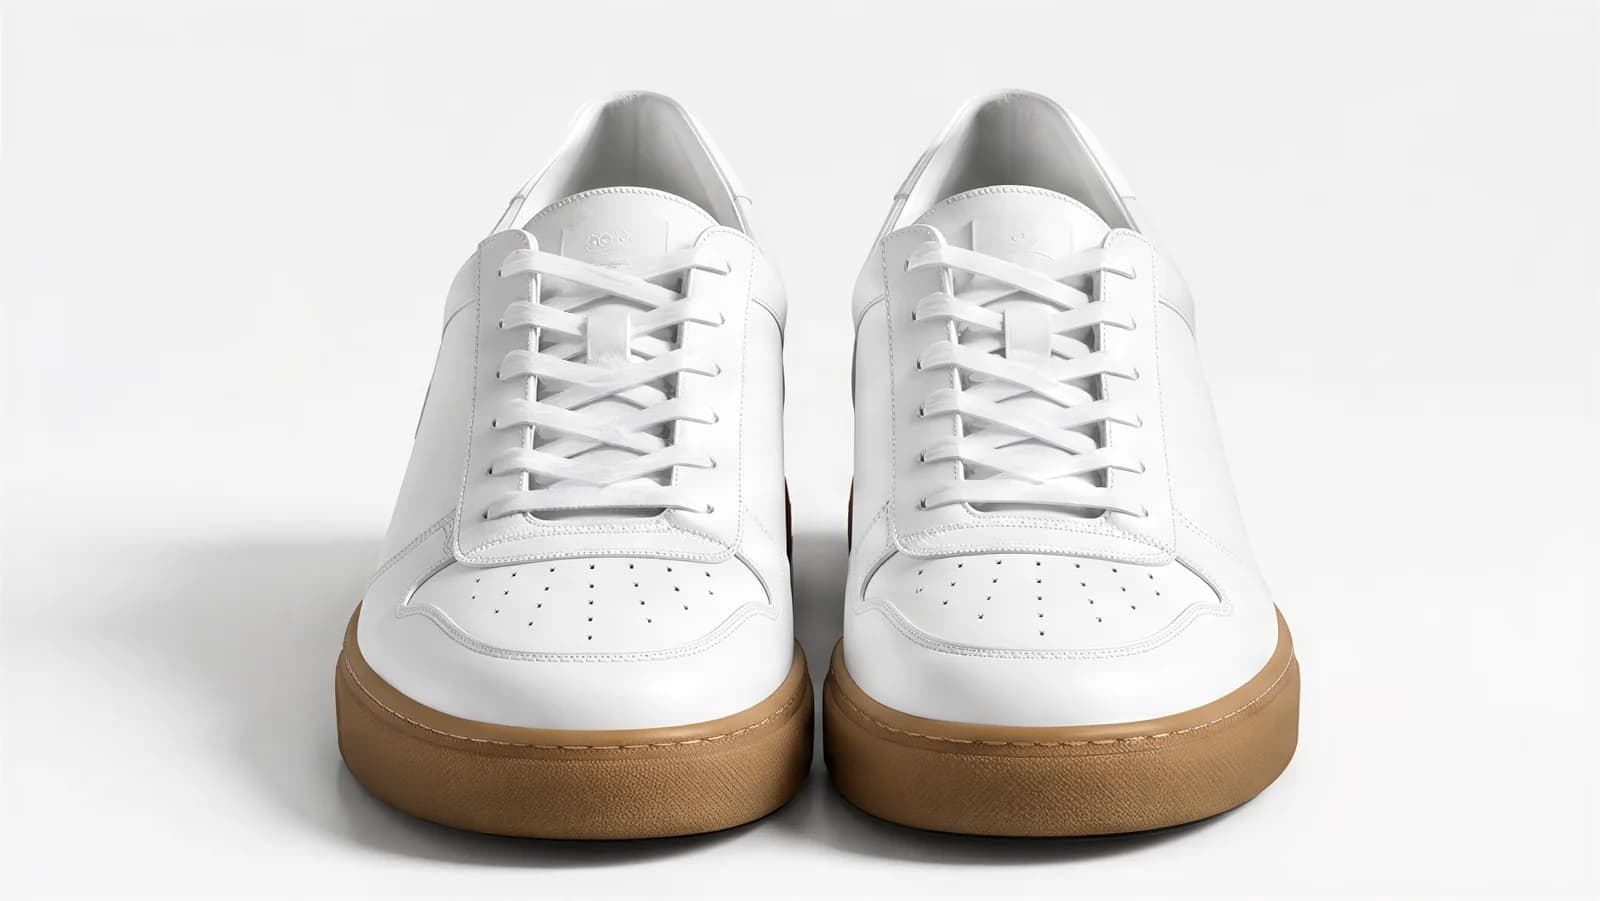
01 Source photo
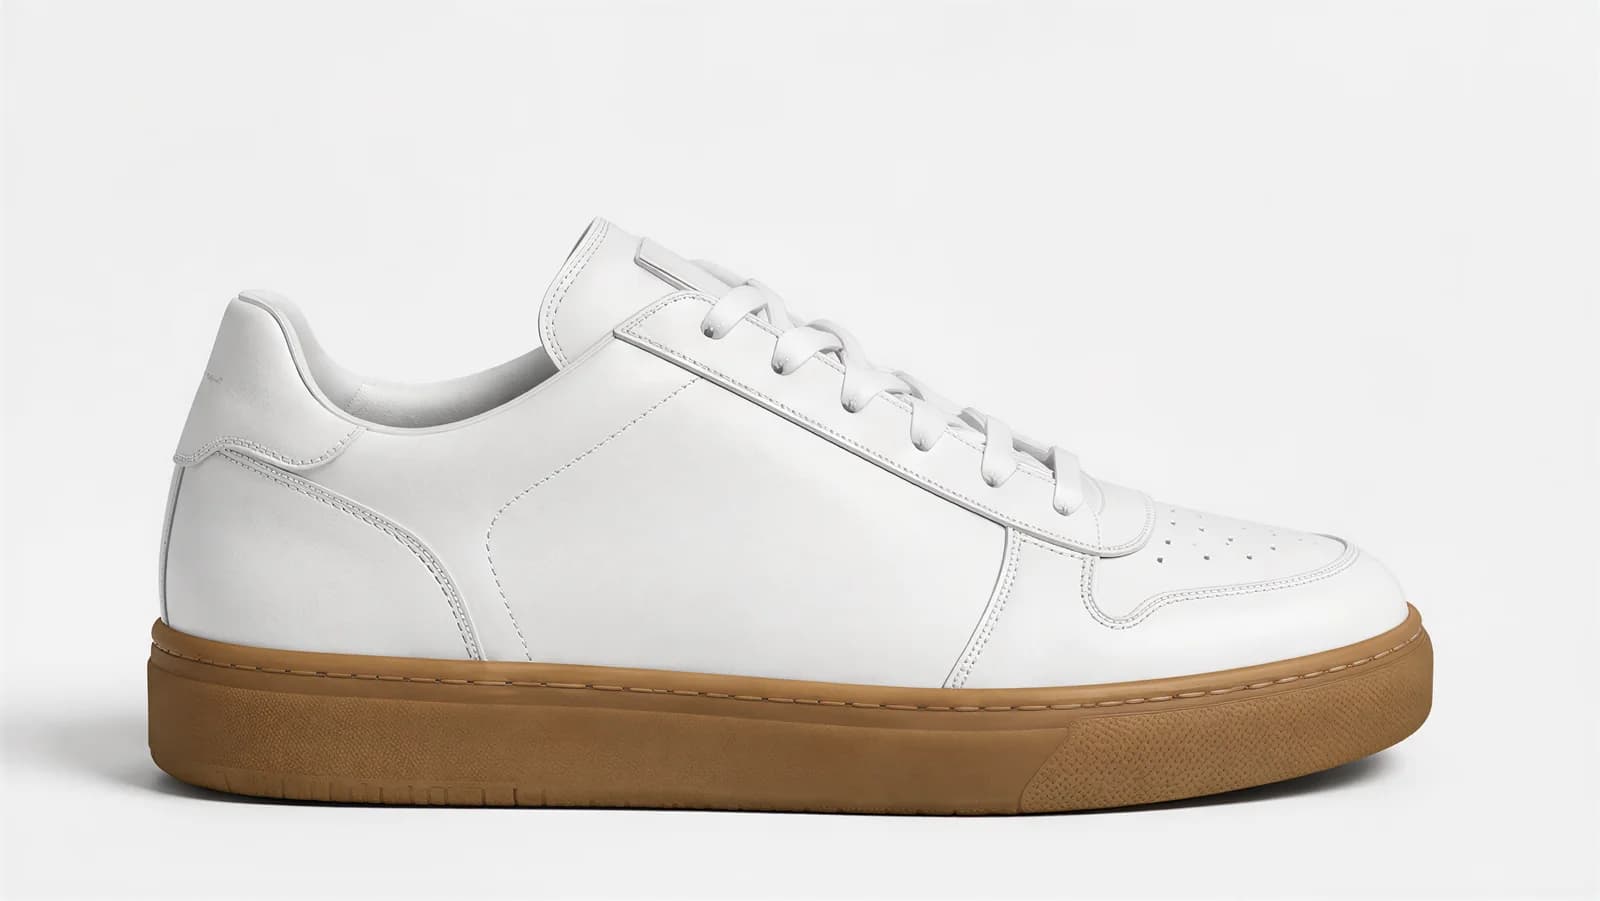
02 Side profile
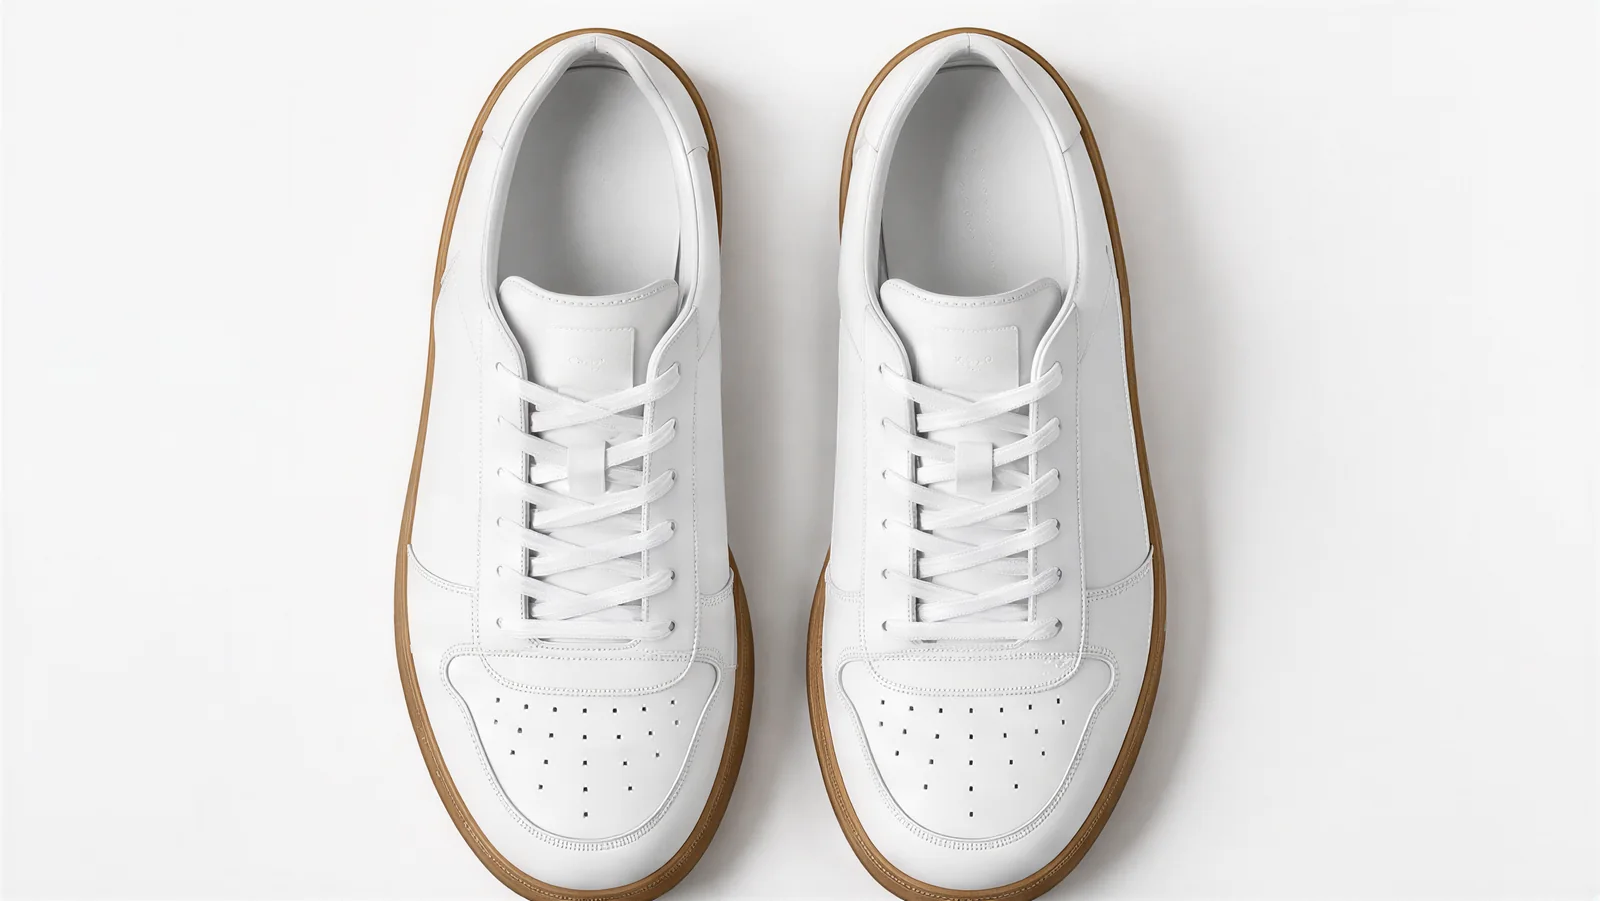
03 Pair, top down
What it costs next to a photographer
According to Shopify’s product photography pricing guide, product photographers charge $500 to $3,000 per day, and per-image pricing lands between $50 and $350. At Tryly’s lowest rate, as low as $0.25 per photo, 100 on-model photos come to $25. Plans start from $9.99/month (Starter plan, billed annually), which is from $0.33 a day. For a full budget, see what a fashion photoshoot really costs.
Questions sellers ask about white backgrounds
What is the best background for product photography?+
White, for the main image of most listings: it keeps the attention on the product, looks consistent across a catalog, and is what Amazon’s seller guide and Google’s Merchant Center guidelines point to. Use a seamless sweep of white paper or poster board so there is no horizon line. For social posts, ads and extra listing photos, a worn or lifestyle shot adds the context white cannot.
Do product photos have to be on a white background?+
Not everywhere. Amazon’s guide for sellers says product shots should be taken against a white background in most cases. Google’s image guidelines recommend a solid white or transparent background, and say staged or lifestyle images that clearly show the product are also acceptable. Shopify’s help center covers image size, not background color. Check each marketplace’s own rules in your seller account before you list.
How do I get a pure white background without expensive software?+
Most of it happens before the edit: a clean white sweep, soft side light, a white board to fill shadows, and the exposure raised slightly on your phone. Then, in your phone’s photo editor, set the white balance on the background, raise the exposure and the whites until the background is white, and brighten any gray corners. Stop before the product loses detail.
How do I photograph white clothes or white products on a white background?+
Expose for the product, not the background, and stop brightening while you can still see seams, stitching and texture. Keep a soft shadow under the product so it does not float, brighten the background only rather than the whole photo, and place a black card just out of frame to give white edges a thin dark line.
Do I need a lightbox for product photography?+
Only for small items. A lightbox spreads light evenly around jewelry, watches and small accessories. Clothes, shoes and most bags are too big for one, so use a paper sweep or a white wall with window light and a white foam board instead.
What size should product photos be?+
Square and large. Shopify’s help center says 2048 × 2048 px usually displays best for square product images. Google asks for at least 500 × 500 pixels and recommends 1500 × 1500 or above. Amazon’s seller guide prefers images larger than 1,000 pixels on each side, so shoppers can zoom.
How much does white background product photography cost?+
Doing it yourself costs little beyond your phone: poster board or backdrop paper, a white foam board, tape and a small tripod. A hired product photographer charges $500 to $3,000 per day, or $50 to $350 per image, according to Shopify’s product photography pricing guide. For on-model shots of the same product, Tryly’s lowest rate is $0.25 per photo, so 100 photos come to $25. Plans start from $9.99/month (Starter plan, billed annually), and you can start with 10 free photos, no card.
Sources: Amazon, guide for sellers on product photos; Google Merchant Center Help, image requirements; Shopify Help Center, product media types; Shopify, product photography pricing guide.
Written by
Elena Varga
Head of Content, Tryly Academy
Former e-commerce photo producer who ran catalogue shoots for fashion labels for over a decade. Writes the Academy’s guides.
- 11 years in fashion e-commerce
- 1,200+ catalogue shoots produced
Expert review
Sofia Moretti
Fashion photographer · Expert reviewer
Has shot campaigns and on-model e-commerce for fashion brands for 14 years. Reviews every Academy article for accuracy.
- 14 years in fashion photography
- Campaign and catalogue work across Europe
How we work: every Academy article is written by a specialist, reviewed by a working fashion photographer, and re-checked against its sources when prices or rules change.