Guide
Jewelry photography at home: how to photograph jewelry that sells
A practical guide for one-person jewelry shops with a phone and no studio: the kit, the light, a clean white background, the shots a listing needs, and worn photos without booking a model.

 By Elena Varga
 · Reviewed by Sofia Moretti |Fact-checked|10 min read
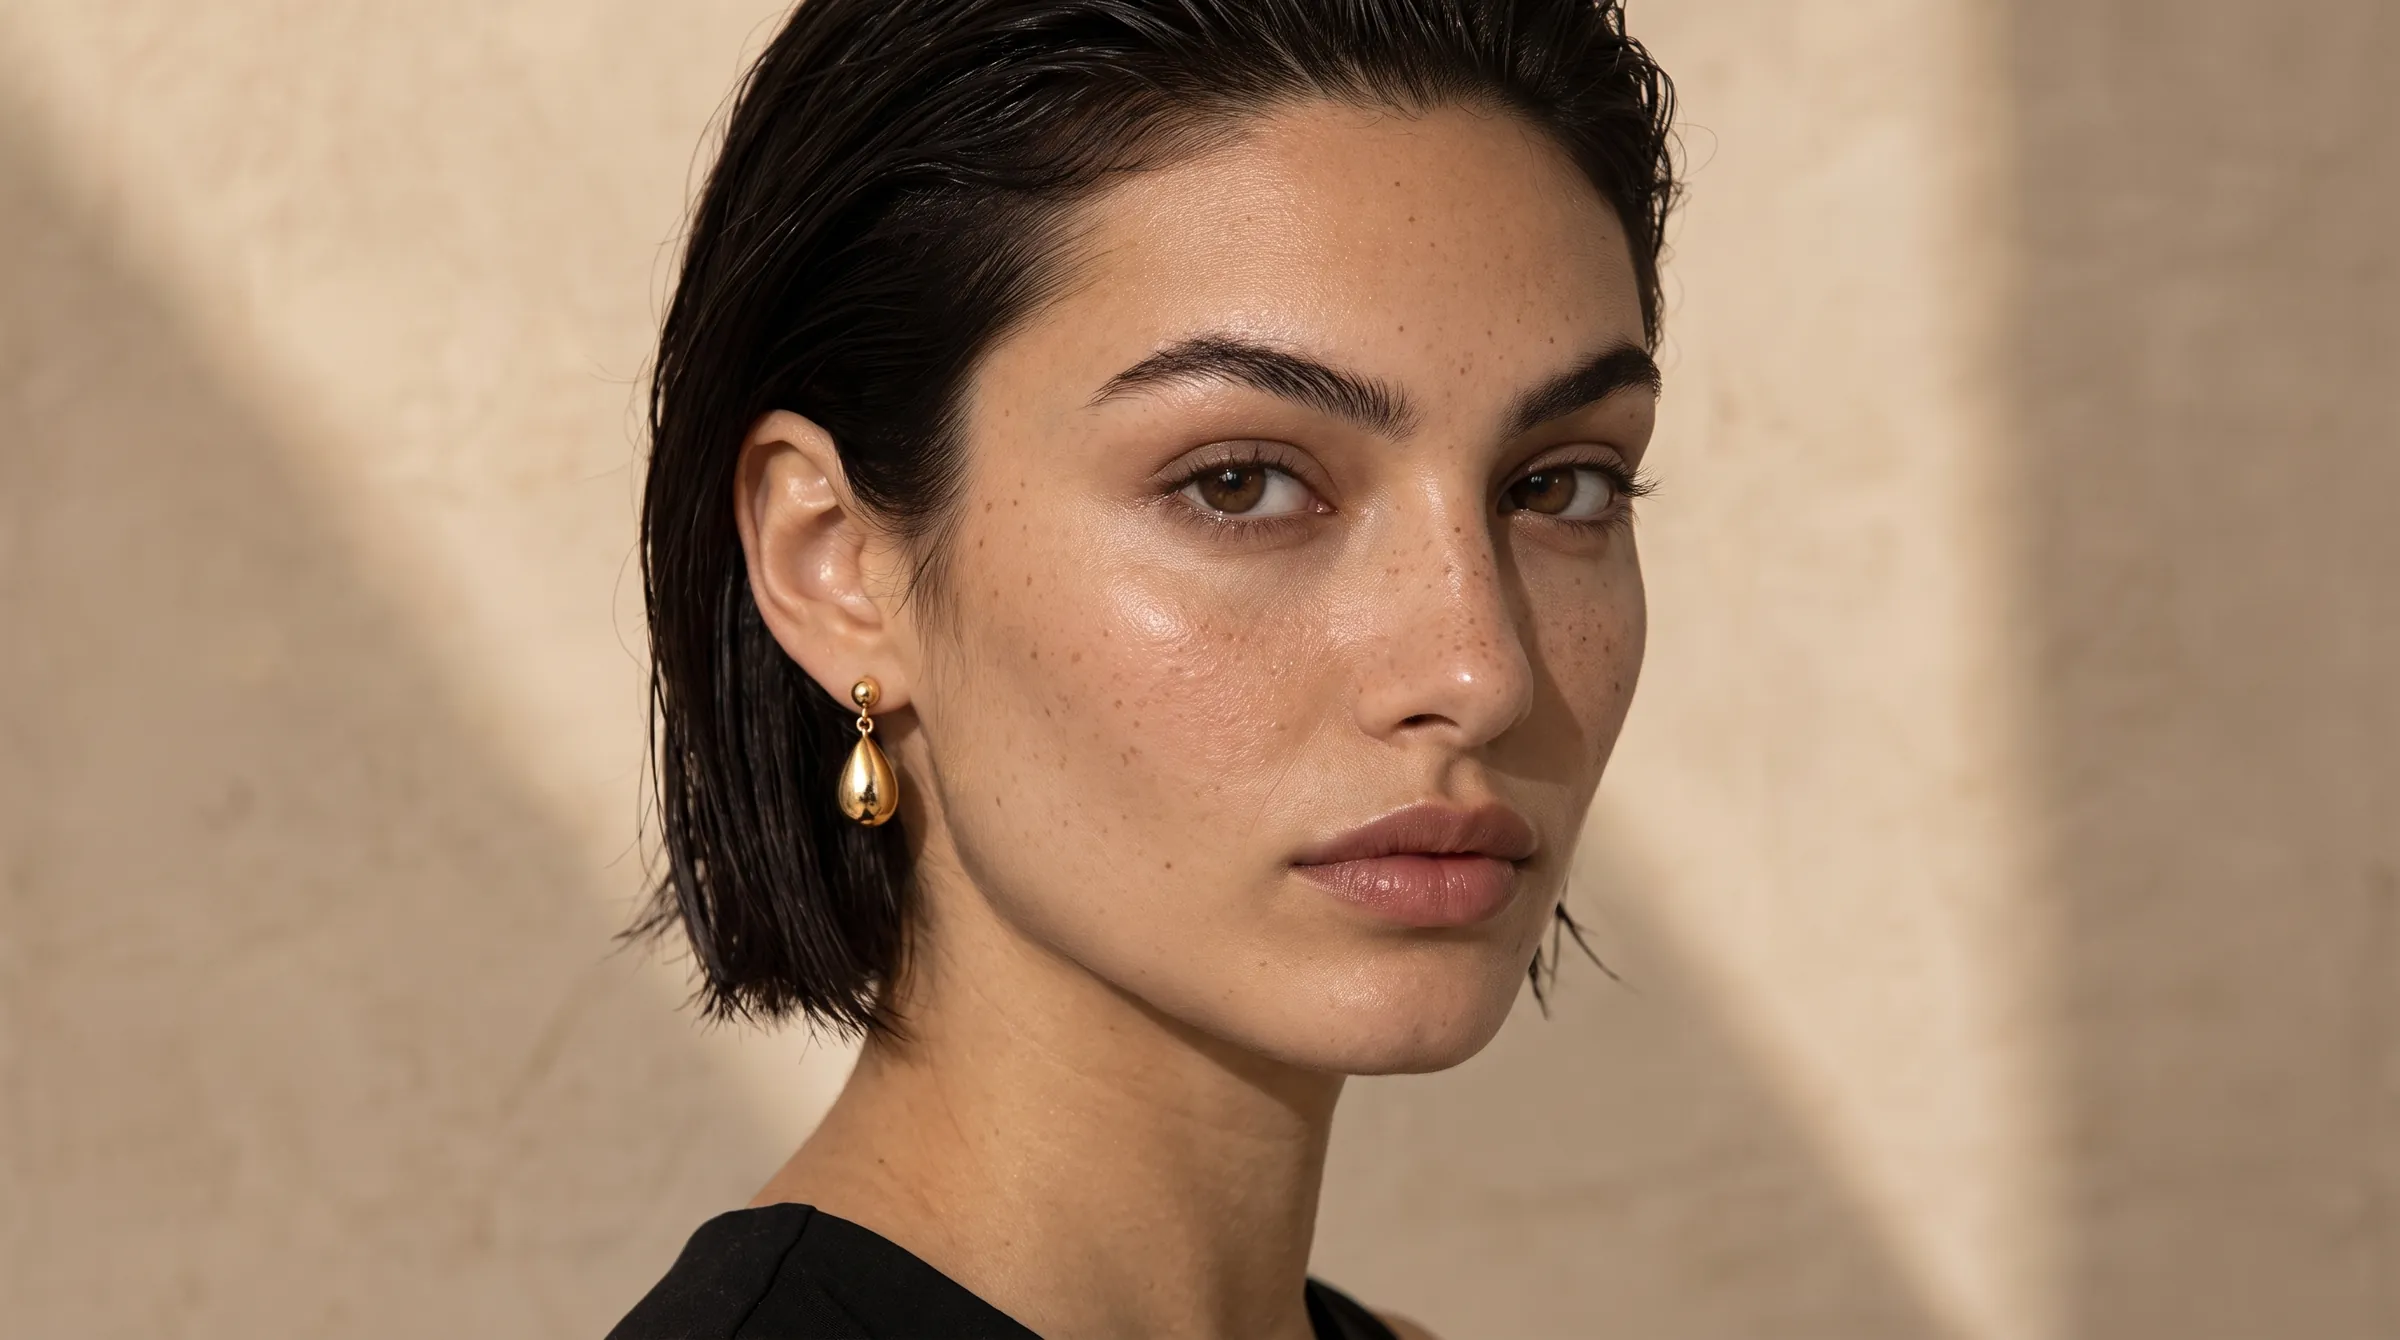
Key takeaways
- 1A phone, a window and white paper are enough. The skill is in the light: diffuse it, then shape the reflections on metal with a white card and a black card.
- 2Every listing needs four shots at minimum: the piece on white, an angle view, a detail close-up and the piece worn, with measurements in the text.
- 3You can show a piece worn without booking a model: Tryly turns one photo into a worn portrait or a close-up. Check each one at full size before you publish.
10 free photos, no card. Photos as low as $0.25 each.
On this page+
How do you photograph jewelry at home?
The short answer
Put the piece on white paper beside a bright window, out of direct sun. Hold your phone still on a small tripod or a stack of books, turn the flash off and get close. A white card fills the shadows and a black card gives polished metal clean edges. Then take four shots: the piece on white, an angle view, a detail close-up and the piece worn.
None of it needs a studio. The rest of this guide is the detail that makes a photo look like a brand rather than homemade.
What equipment do you need for jewelry photography at home?
The short answer
Less than you think: a phone that focuses close, something to hold it still, a window, white paper, white and black card, and putty. A macro lens and a light tent are upgrades, not requirements.
Whether you spell it jewelry or jewellery, the whole photography setup fits on a kitchen table:
| Item | What it does | Free alternative |
|---|---|---|
| Phone with macro or close focus | Sharp close-ups of small pieces | The phone you already have |
| Tripod | Keeps the phone still and every shot framed the same | A stack of books |
| Window light | Soft light that shows true colour | Any window without direct sun on it |
| White paper sweep | A seamless background with no horizon line | Printer paper taped to a box, curving under the piece |
| White card | Bounces light into the shadows | Printer paper folded to stand up |
| Black card | Gives polished metal dark, defined edges | A black notebook cover |
| Putty or a ring stand | Holds rings upright and earrings at an angle | A folded strip of card |
| Microfibre cloth | Removes fingerprints and dust | A glasses cloth |
| Light tent (optional) | Diffuses light all around the piece | Baking parchment taped over the window |
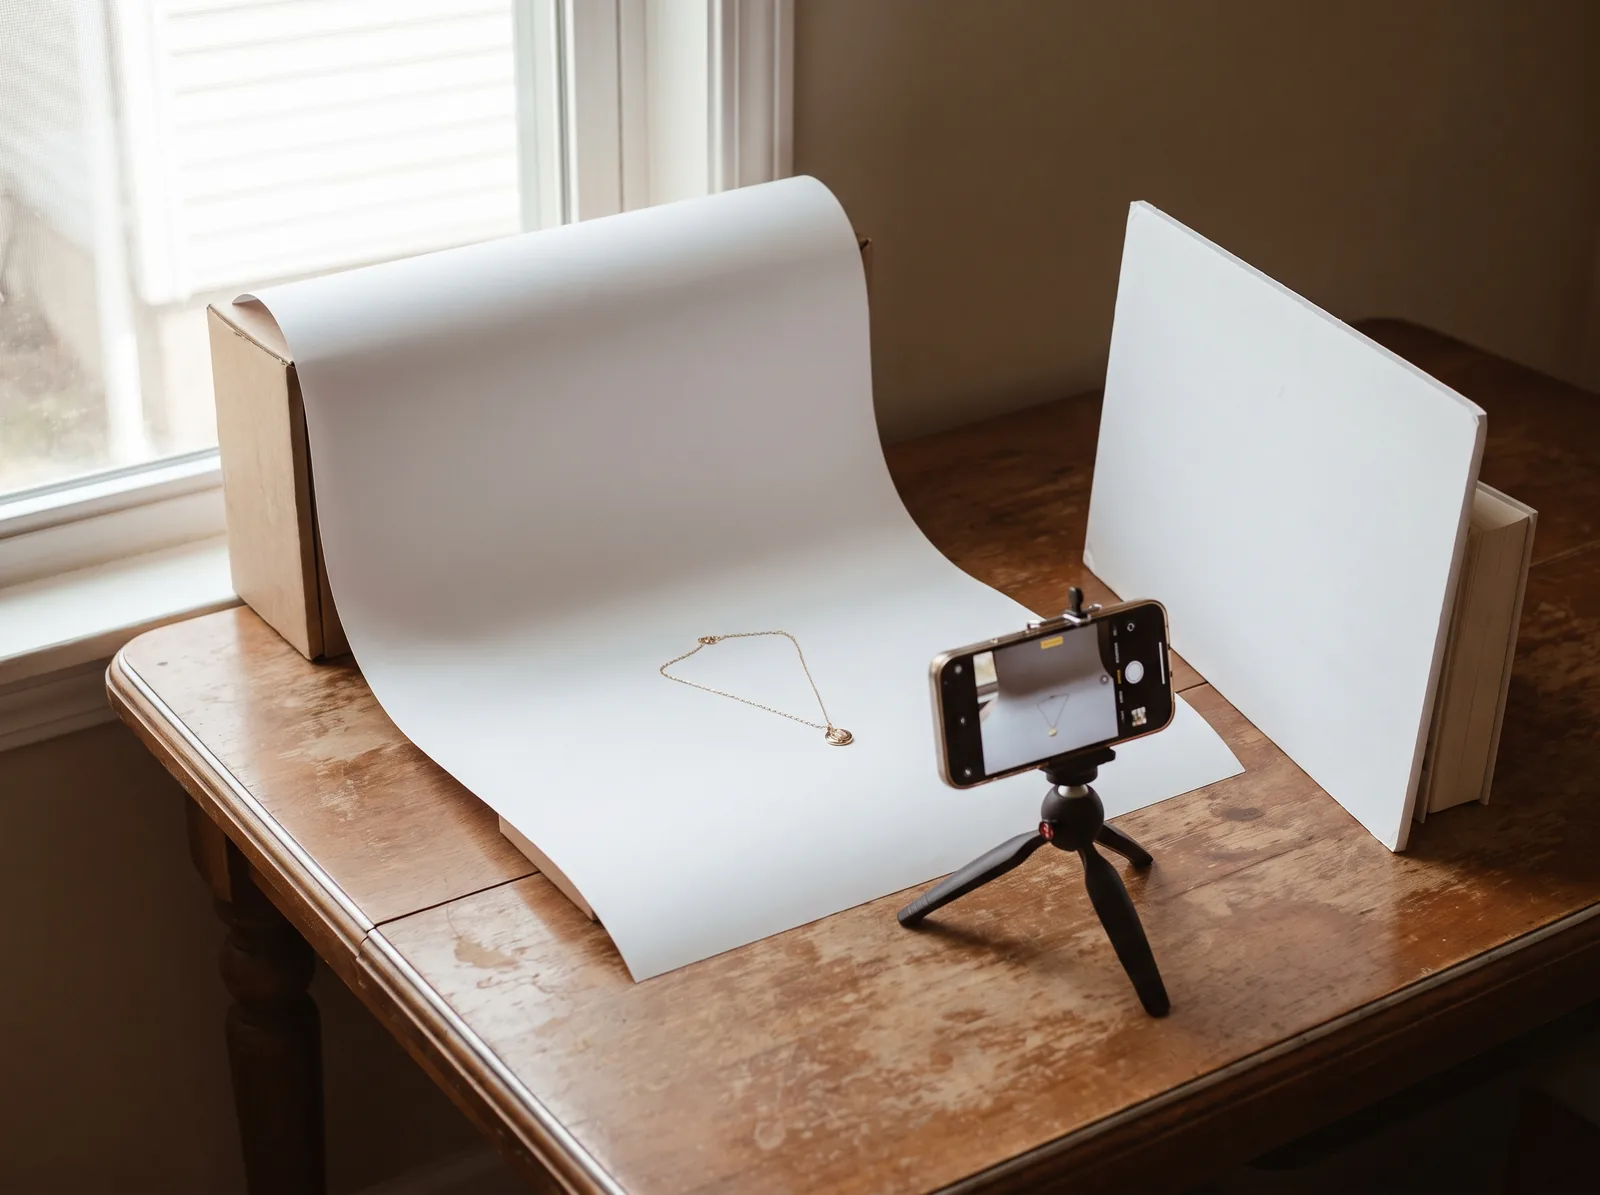
Phone or camera?
A recent phone is enough for most listings. Tap the piece to focus; if it blurs as you move in, back off and crop instead. A camera with a macro lens earns its place when your phone can no longer show the engraving or tiny stones you sell.
How do you light jewelry for photos?
The short answer
With soft daylight from a window: never direct sun, never the flash. Light the piece from one side, fill the shadows with a white card, and use a black card where polished metal needs a dark, defined edge. Then light every piece the same way.
Good jewelry photography lighting is about control, not brightness:
- Turn the room lights off. Warm bulbs mixed with daylight give two colours of light that no edit fully fixes.
- Set up side-on to the window. If sun hits the glass, soften it with a sheer curtain or baking parchment.
- Turn the flash off. It makes hot spots on metal and flattens stones.
- Add a white card opposite the window: closer for lighter shadows, further away for more contrast.
Keep reflections under control
Polished metal is a mirror, so the question is what it reflects. Look at the piece from the camera’s position and move or cover anything you do not want in it: the phone, your hand, a coloured wall. Use the self-timer so your hand is away when the shot is taken.
How do you get a clean white background for jewelry?
The short answer
Shoot on a curved sweep of white paper in bright, even light, raise the exposure until the paper is white rather than grey, and set a neutral white balance. Edit lightly, and never change the colour of the piece.
A sweep curves from under the piece up behind it, so there is no line where the table meets the wall. For small pieces, one sheet of printer paper taped to a box is enough.
Exposure and white balance
Phones aim for average brightness, so white often comes out grey. Tap the piece, then slide the exposure up until the paper is white but the brightest metal still shows detail. For white balance, tap the paper with your editing app’s dropper, then compare the real piece with your screen.
Retouching: light only
Remove dust, straighten, crop every photo to the same ratio and brighten grey corners. Do not recolour, smooth or reshape the piece: the photo must show exactly what the buyer will receive.
Check your marketplace’s own image rules for the main photo before you shoot a batch. If you sell on Shopify, its help center says 2048 × 2048 px usually displays best for square product images.
How do you photograph shiny metal, gemstones and pearls?
The short answer
Clean the piece, control what it reflects, and focus on the part you are selling. Faceted stones need a small point of light to sparkle, pearls need soft light from one side, and the metal colour needs checking against the real piece.
Fingerprints and dust
Wipe each piece with a microfibre cloth just before you shoot, and hold it by the edges. Up close, a fingerprint is a smudge and dust looks like a flaw.
Polished and brushed metal
Polished metal shows its surroundings, so build them: white card for highlights, black card for edges. Brushed and matte finishes spread the light into a soft sheen.
Gemstones and sparkle
Sparkle needs small, bright points of light. Keep the window as your main light, add a small LED or flashlight off to one side, and shoot several frames.
Focus on the stone
Up close, only a thin slice of the piece is sharp. Tap to focus on the stone and prongs of a ring, the engraving of a pendant or the clasp of a chain.
Pearls
Pearls sell on lustre, their soft glow. Use diffused light from one side, a white card on the other and no flash. Black card just out of frame stops white pearls melting into white paper.
Silver, gold and rose gold
Silver should look neutral, not blue; yellow gold warm, not orange; rose gold pink, not yellow. Correct the white balance of the whole photo rather than painting the metal.
Which shots does a jewelry listing need?
The short answer
Four at minimum: the piece on white, an angle view, a detail close-up and the piece worn. Add a scale shot when the size is not obvious, and packaging if you sell gifts.
Here is what each shot in a jewelry product photography set does:
| Shot | Why it sells | How to take it |
|---|---|---|
| Hero on white | It becomes the thumbnail in search and on your shop page. | Centred on the sweep, straight on or slightly from above, filling most of the frame. |
| Angle view | Shows depth: how high a stone sits, a ring’s profile, a hoop’s curve. | Turn the piece 30 to 45 degrees, or stand a ring upright in putty. |
| Detail close-up | Answers quality questions: prongs, clasp, engraving, hallmark. | Macro mode, phone on the tripod, focus tapped on the detail, self-timer on. |
| Scale | Size is hard to judge from a photo on white. | Worn on a hand, ear or neck, or next to a familiar object, plus measurements in the text. |
| Worn or lifestyle | Shows the piece on a person, and gives you photos for social media and ads. | Wear it yourself with the timer, ask a friend, or make it from your product photo (next section). |
| Packaging (optional) | Shows gift buyers what will arrive. | The open box or pouch with the piece inside, in the same light. |
Lead with the hero, since it becomes the thumbnail, and put the worn shot soon after: it answers the buyer’s next question, how will this look on me?
How do you show jewelry worn without booking a model?
The short answer
Wear it yourself with a tripod and the self-timer, ask a friend, or make the worn shot from your product photo. Tryly’s jewelry tool turns one photo of a necklace, bracelet, earrings or a ring into a worn portrait or a macro close-up, for one credit a photo.
Jewelry photography with a model used to mean booking one. Wearing a piece yourself works for rings and bracelets; necklaces and earrings are harder to frame alone.
With Tryly’s AI jewelry photography tool, you upload one photo and say what the piece is: Necklace (pendants, chains, chokers), Bracelet (bangles, cuffs, chains), Earrings (studs, hoops, drops) or Ring (bands, solitaires, stacks). That choice decides your poses, 13 in all:
- Necklaces: a front portrait, a side close-up that shows chain length, and a chest close-up.
- Bracelets: a hand raised to the face, a hand on the lap, and a wrist close-up.
- Earrings: a three-quarter portrait with the hair back, a downward-gaze profile, and an ear close-up.
- Rings: a hand to the face, hands clasped, hands on a lap, and a finger close-up.
Then pick a model, one of 500+ or your own model or yourself, and a studio, outdoor, lifestyle or abstract background. The review step shows the credit cost before anything is spent, and one photo is one credit.
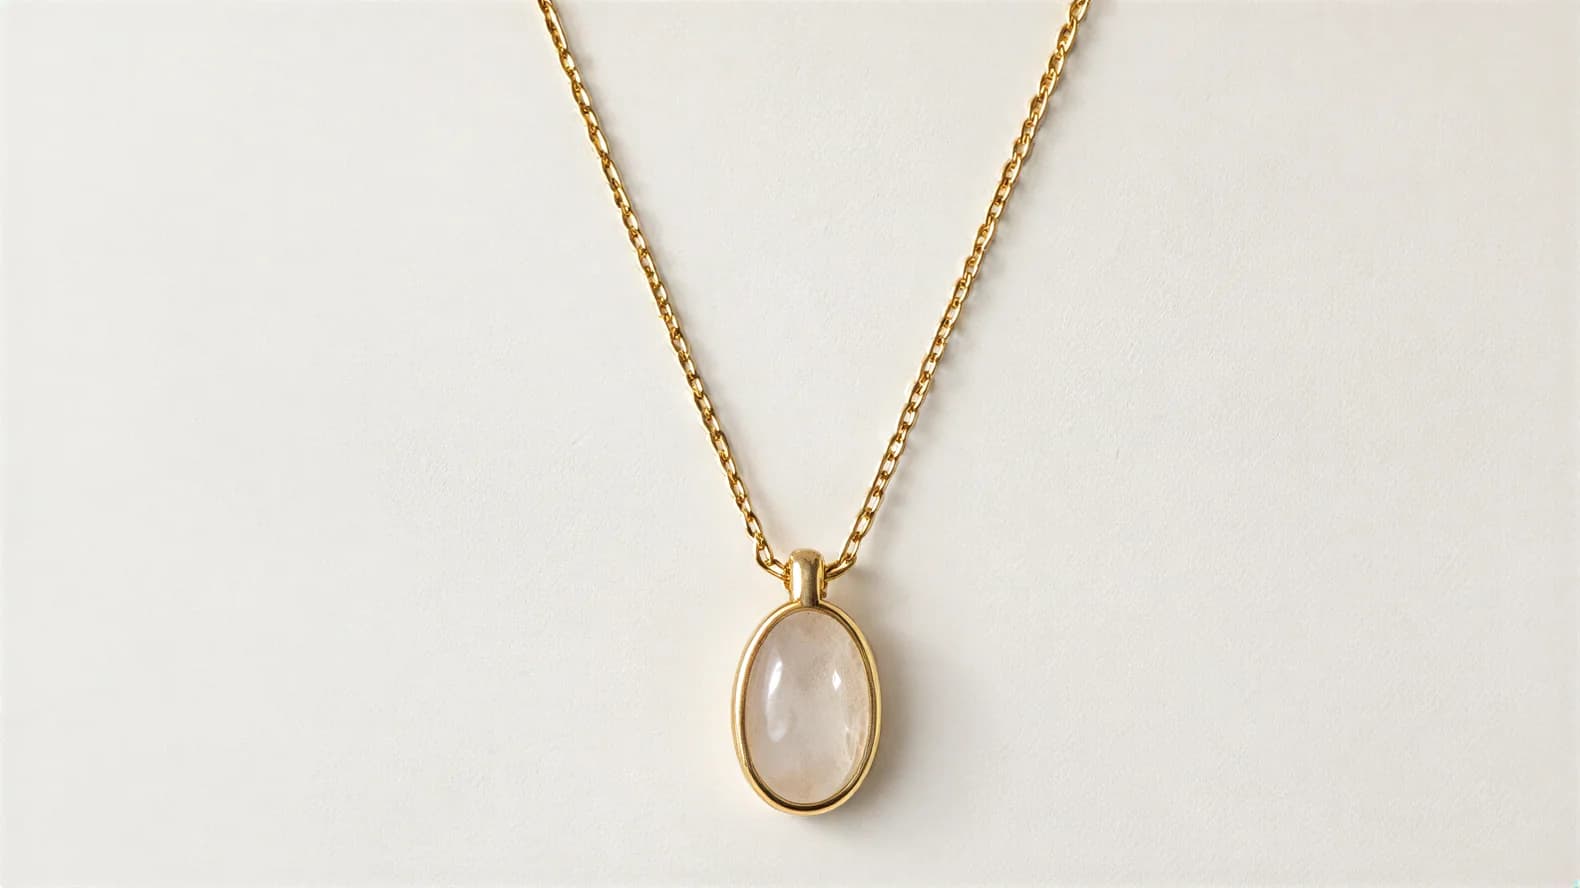
01 Source photo
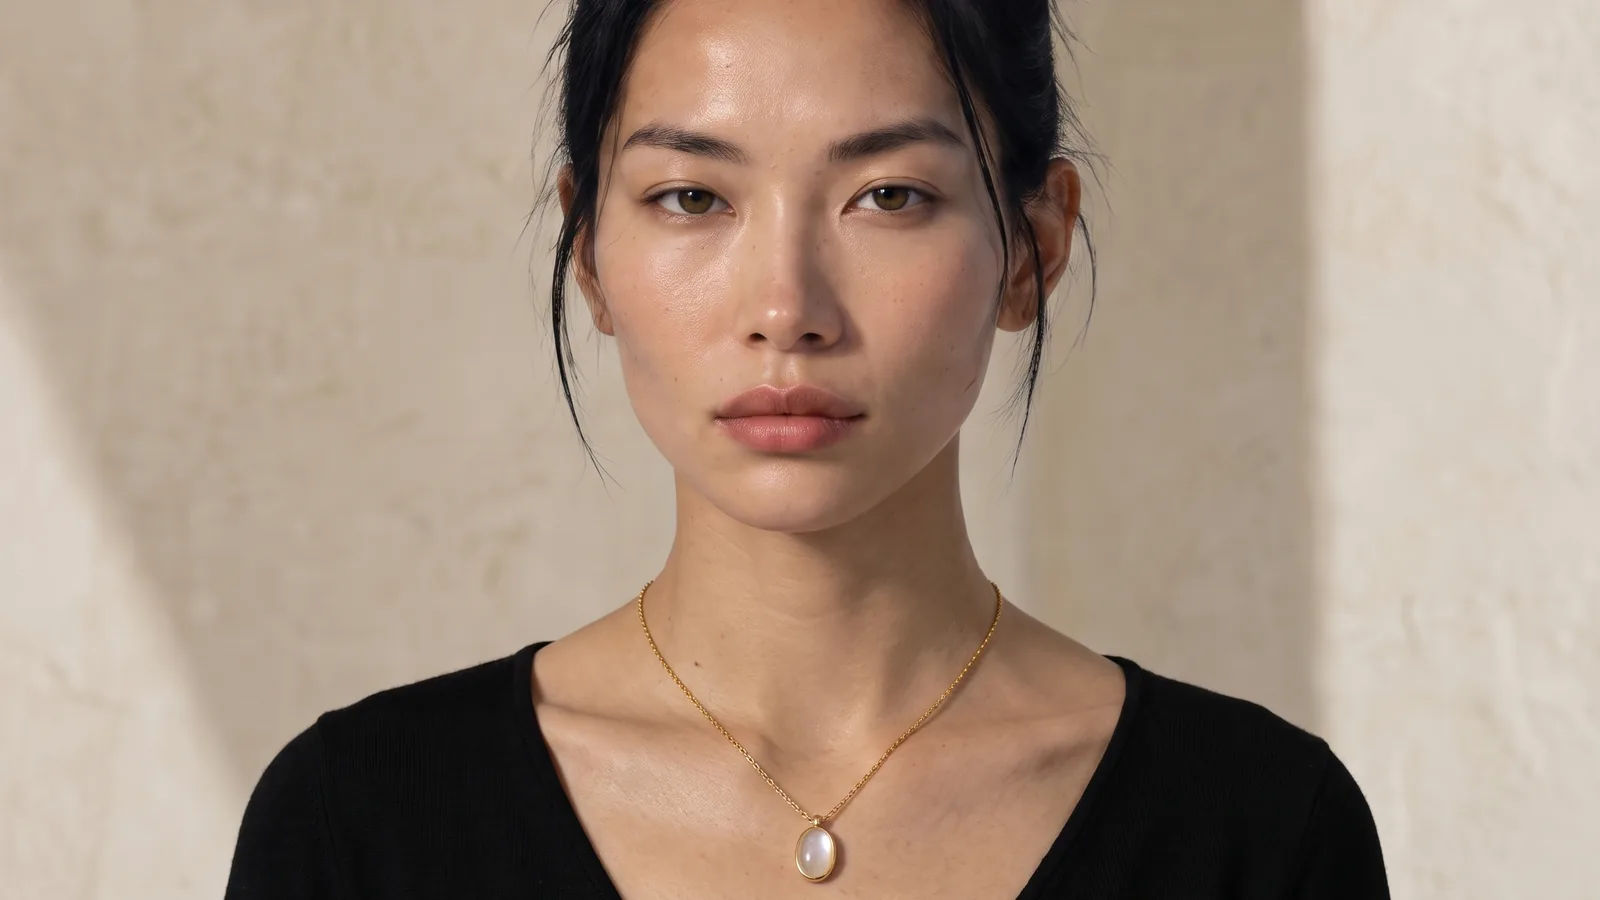
02 Front portrait
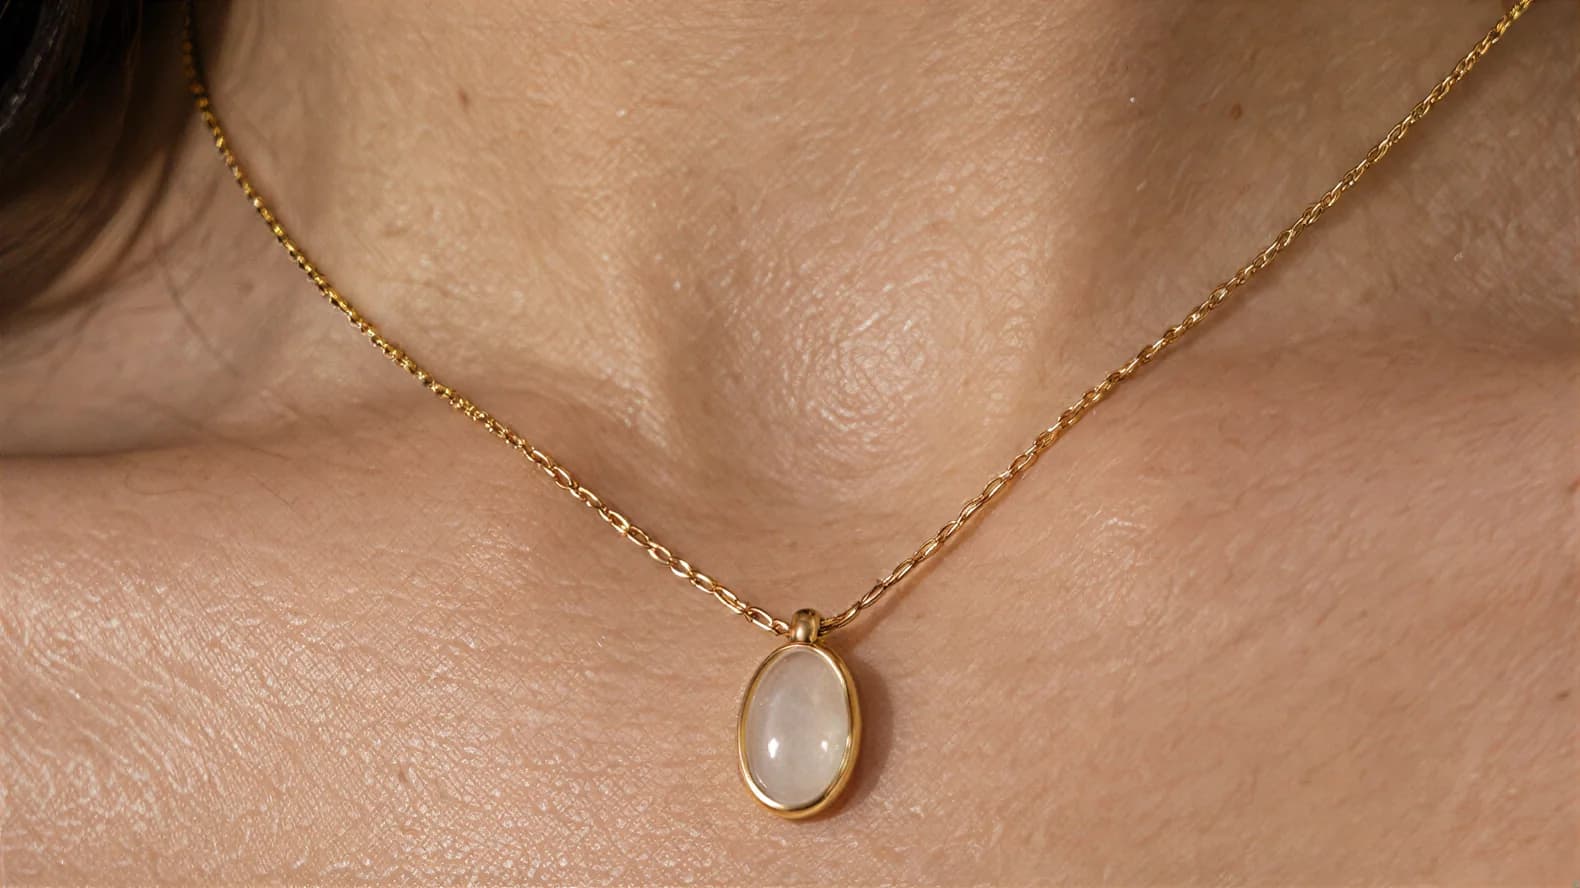
03 Chest close-up
Your upload is the photo from the sections above: sharp, filling the frame, laid out in its worn shape.
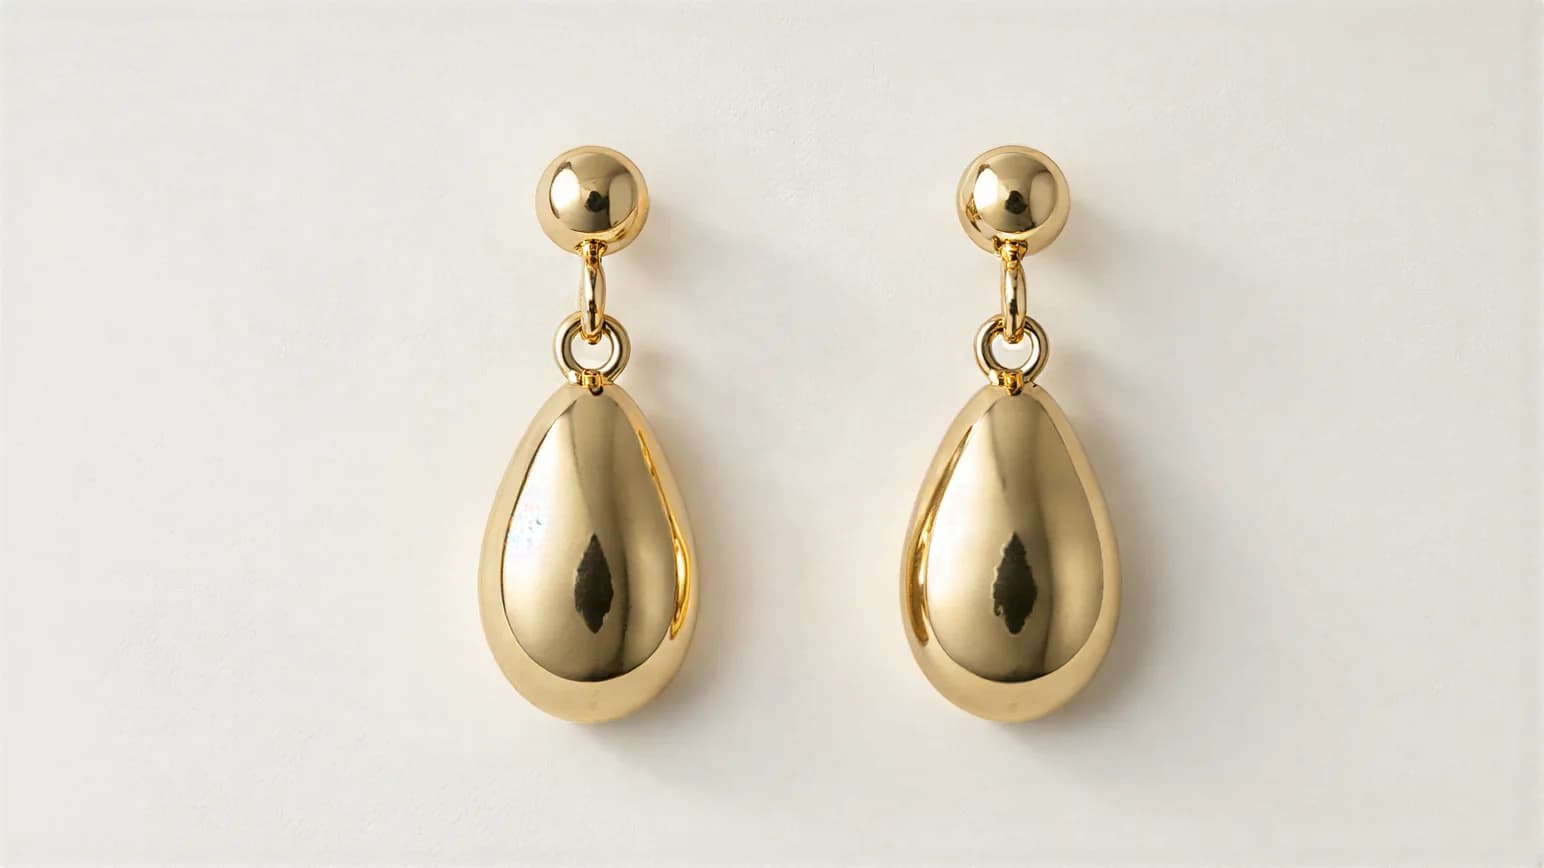
01 Source photo
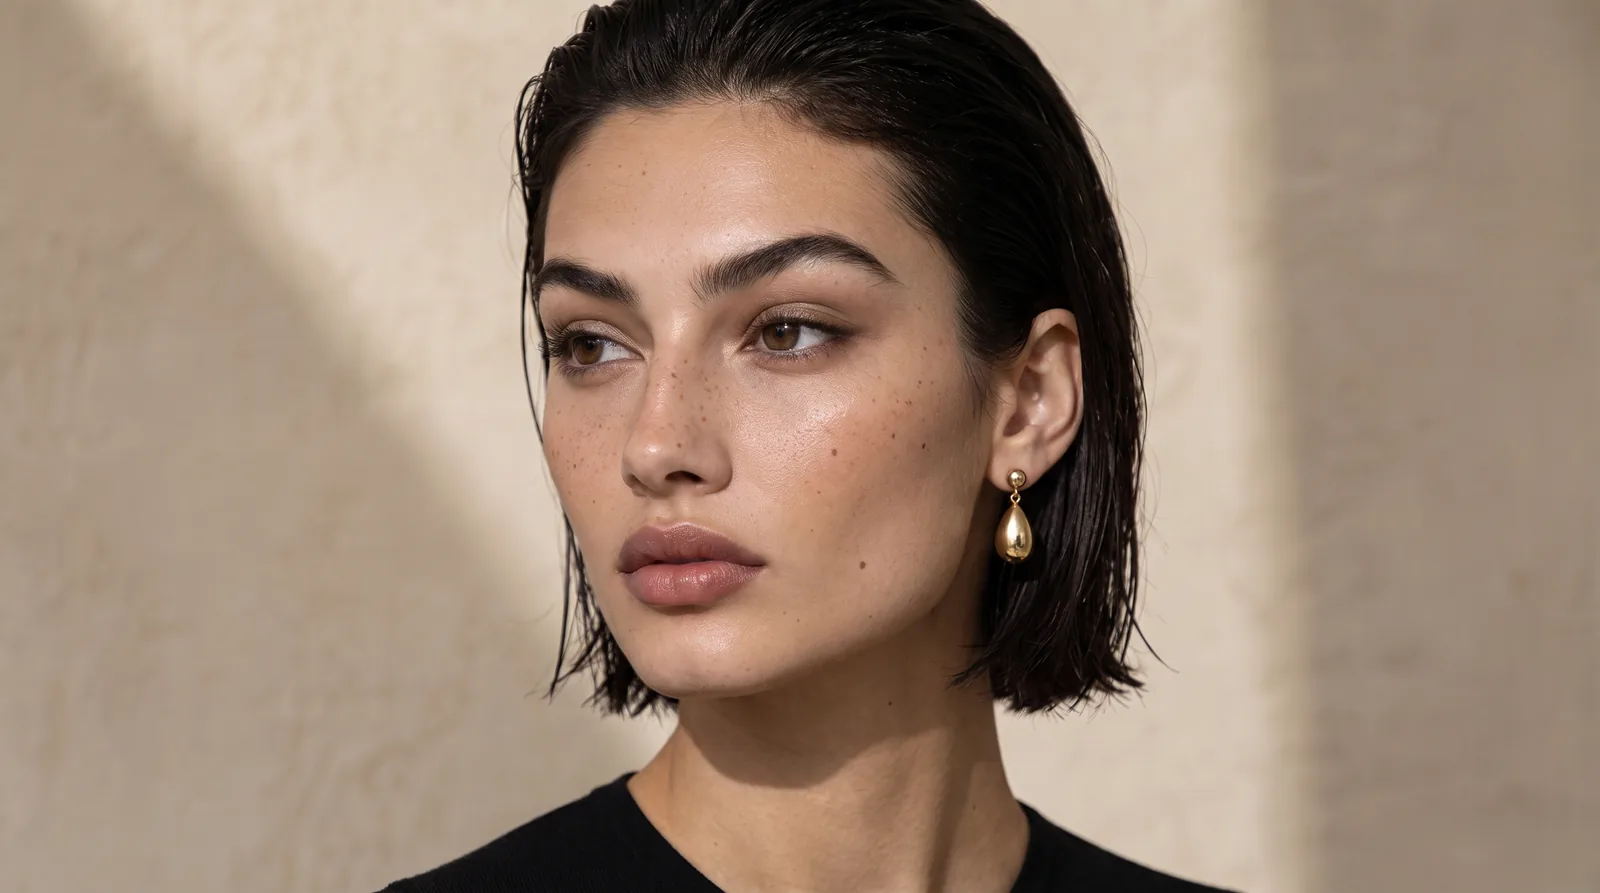
02 Three-quarter portrait
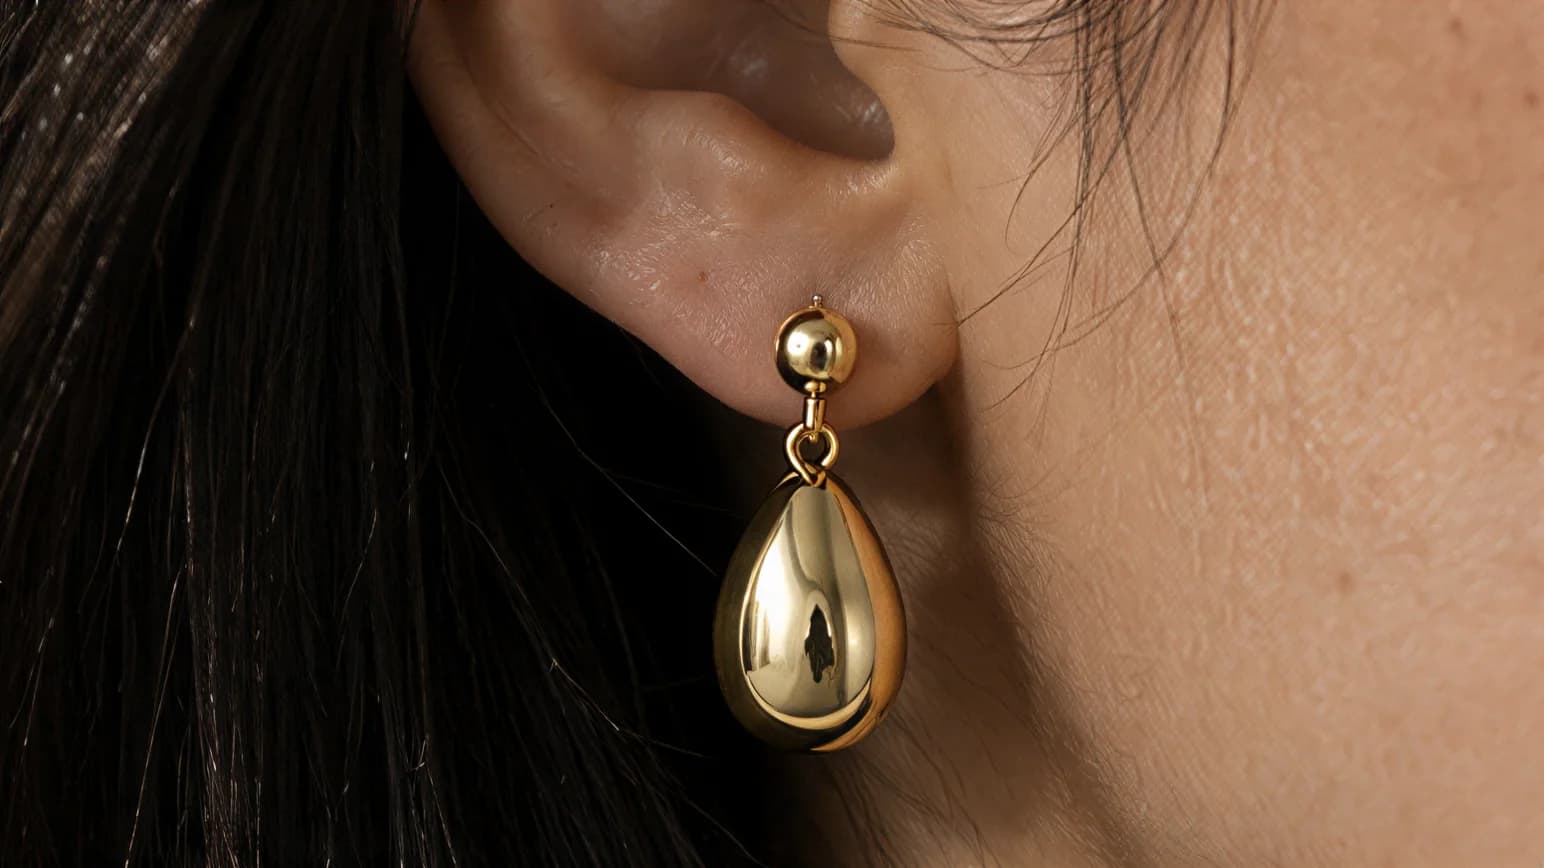
03 Ear close-up
Every jewelry pose shows the piece worn, so your hero on white still comes from your own setup. Photos made on a paid plan can be used on your store, in ads and on social media.
What are the most common jewelry photography mistakes?
The short answer
Harsh light, dust, a grey background, focus in the wrong place, colour that does not match, and listings with one photo and no sizes. Check this list before each batch.
- Direct sun or the flash. Use diffused window light with the flash off.
- Dust and fingerprints. Wipe each piece right before the shot.
- A grey or blue background. Raise the exposure and set the white balance on the paper.
- Focus on the paper. Tap the stone or the clasp before every shot.
- Your phone reflected in the metal. Move or cover it, or change the angle.
- Recoloured metal or stones. Correct the whole photo instead.
- A new setup for every piece. Keep the sweep, light and angles the same.
- One photo per listing. Hero, angle, detail and worn, at minimum.
- No sizes. Add a scale shot and put the measurements in the text.
Questions jewelry sellers ask
Can I photograph jewelry with my phone?+
Yes. A recent phone is enough for most listings: soft window light, the flash off, the phone on a tripod or a stack of books, and its macro or close-focus mode. Tap the piece to focus; if it blurs as you move in, step back and crop. A macro lens helps with fine engraving, but it is an upgrade, not a requirement.
What is the best background for jewelry photography?+
White for the main listing photo: a curved sweep of white paper keeps the focus on the piece and your shop consistent. Check your marketplace’s own image rules for the main photo first. For other photos, a quiet texture such as linen or stone adds warmth if it does not compete with the piece.
How do I photograph jewelry without reflections?+
You cannot stop polished metal reflecting, but you can choose what it reflects: diffused window light, no flash, white card for highlights and black card for dark edges. Check the piece from the camera’s position, move anything you do not want to see in it, and use the self-timer.
How do I show the size of jewelry in photos?+
Show it worn, on a hand, ear, wrist or neck, or next to a familiar object, and always list the measurements: chain length, pendant size, hoop diameter, band width or ring size. The photo shows how a piece sits; the numbers show how big it is.
How much does jewelry photography cost?+
Doing it yourself costs little beyond your phone: paper, card, putty and a small tripod. A hired product photographer costs $500 to $3,000 per day, or $50 to $350 per image, according to Shopify’s product photography pricing guide. Tryly starts from $9.99/month billed annually, which is from $0.33 a day. Photos cost as low as $0.25 each, and you can start with 10 free photos, no card.
Sources: photographer rates from Shopify’s product photography pricing guide; image size from the Shopify Help Center, product media types.
Written by
Elena Varga
Head of Content, Tryly Academy
Former e-commerce photo producer who ran catalogue shoots for fashion labels for over a decade. Writes the Academy’s guides.
- 11 years in fashion e-commerce
- 1,200+ catalogue shoots produced
Expert review
Sofia Moretti
Fashion photographer · Expert reviewer
Has shot campaigns and on-model e-commerce for fashion brands for 14 years. Reviews every Academy article for accuracy.
- 14 years in fashion photography
- Campaign and catalogue work across Europe
How we work: every Academy article is written by a specialist, reviewed by a working fashion photographer, and re-checked against its sources when prices or rules change.