Guide
Watch photography at home: how to photograph a watch that sells
A practical watch photography guide for sellers and resellers with a phone and no studio: the setup, the reflections, the shots a listing needs, and wrist shots without booking a hand model.

 By Elena Varga
 · Reviewed by Sofia Moretti |Fact-checked|11 min read
Key takeaways
- 1A phone, a window, a diffuser and a ball of putty are enough. Reflections are the whole job: one large, soft light, the crystal tilted a few degrees, and black card to decide what the steel reflects.
- 2Set the hands to 10:10 first. One listing needs the dial straight on, a three-quarter hero, the case side, the crown, the caseback, the clasp, a strap detail and the watch on a wrist. On resale, add the box and papers and every scratch.
- 3Wrist shots show scale and how the watch sits. Take them yourself with a tripod and the timer, or make them from your product photo with Tryly, and check each one at full size before you publish.
10 free photos, no card. Photos as low as $0.25 each.
On this page+
How do you photograph a watch at home?
The short answer
Set the hands to 10:10, sit the watch on a stand or a ball of putty so the dial faces the lens, and light it with one large, soft source: a window out of direct sun, or a lamp behind baking parchment. Put your phone on a tripod, square to the dial, and tilt the watch a few degrees until the reflection slides off the crystal. Then shoot the same set for every watch: dial, three-quarter, case side, crown, caseback, clasp, strap and on the wrist.
That is watch photography at home in one paragraph. A watch is a small mirror with a second mirror laid over it, so most of this guide is about reflections: what the crystal and the case reflect, and how to decide it. The rest is the shot list, and the photo buyers ask for next: the watch on a wrist.
What is the best watch photography setup at home?
The short answer
Something to angle the watch, a sweep, one large soft light, white and black card, and your phone on a tripod with the timer on. Get the watch off the table: a flat dial reflects the ceiling.
The whole watch photography setup fits on a table by a window:
| Item | What it does | Free alternative |
|---|---|---|
| Phone with a 2× lens or macro mode | Sharp dial, crown and strap close-ups | The phone you already have |
| Tripod | Holds the phone still, framed the same every time | A stack of books |
| Watch stand or putty | Angles the dial toward the lens and holds the strap in shape | Adhesive putty under the caseback |
| One large, soft light | Smooth reflections on the case and crystal | A window out of direct sun |
| Diffuser | Turns a small lamp into a big source | Baking parchment or a white sheet |
| White and black card | White adds glow; black gives polished edges a line | Printer paper and a black notebook |
| White or black sweep | A seamless background | Poster board curving up the wall |
| Gloves, blower, microfiber cloth | Keeps fingerprints and dust off | Cotton gloves and a clean makeup brush |
A watch photography stand, or a ball of putty
A stand holds the case up with the bracelet closed, the way it sits on a wrist, and lets you tilt the dial toward the lens. A C-shaped stand or a watch pillow works, and so does a ball of adhesive putty under the caseback, hidden by the strap: it holds any angle and is invisible from the front. Buckle a leather strap into a loop so it keeps its worn shape.
Phone or camera?
A recent phone is enough. Use the 2× or 3× lens from further back rather than the wide lens up close, which bends the case, and macro mode for the crown and the dial text.
How do you prepare a watch for a photo?
The short answer
Set the hands to 10:10, clean the watch, and handle it in gloves from then on. At macro distance a fingerprint is a smudge and a speck of dust looks like a flaw.
- Set the hands to 10:10. They frame the logo under twelve, clear a date window at three or six, and the dial looks balanced. Pull the crown so the hands stop drifting.
- Clean what the camera sees. Microfiber on the crystal, case and bracelet, a soft brush between the links, and the caseback too: it gets its own photo.
- Gloves and a blower. Cotton or nitrile gloves from here on, and a puff from a lens blower before every frame. Never blow with your mouth.
- Straighten the bracelet. Close the clasp and line up the links; a twisted bracelet reads as damaged.
On a used watch, clean but do not hide: bezel scratches, desk marks on the clasp and a chipped crystal get their own photos below.
How do you light a watch without reflections?
The short answer
With one large, soft source and a black card. Glare on the crystal and blown highlights on the case are the main watch photography problem, and both are solved by making the light bigger, tilting the watch a few degrees, and deciding what the steel reflects. Never a ring light on a watch.
Watch photography lighting: one big, soft source
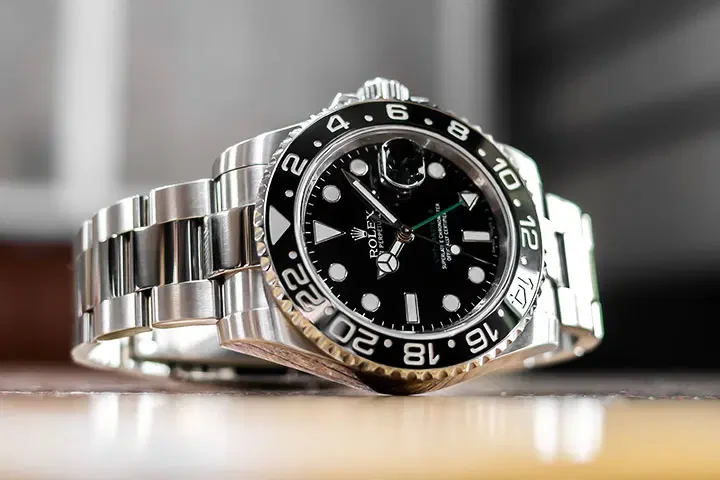
Polished steel and sapphire do not show the light; they show where it comes from. A small, bright source such as the phone flash lands on the case as a hard white spot; a large, soft one, a window or a lamp behind parchment, lands as a smooth gradient. eBay’s photo tips advise against flash and overhead lighting, to reduce glare.
- Room lights off, one source. Daylight and warm bulbs together put two colors of light on the steel.
- Source to one side, above dial level. Side light shows the brushing on the case and the grain of a strap; front light flattens both.
- Tilt the watch, not the light. A flat crystal reflects one patch of the room; tilt the dial five to ten degrees and watch the glare slide off.
- Black card for edges, white card for glow. Where the case reflects black card you get an edge; where it reflects white card, a highlight.
Tenting, polarizers and why ring lights fail
A polished case reflects the whole room, so surround it: a light tent, or parchment curved over the setup with a gap for the lens, plus one black card for the edges or the case goes flat and gray. A polarizing filter cuts glare on the crystal and glossy leather but does little for polished metal. A ring light prints a bright ring on the crystal and a halo on every polished surface. More in the guide to product photography lighting.
How do you photograph polished steel, gold, sapphire crystal and different straps?
The short answer
Polished steel needs its reflections built with cards, brushed steel needs light across the grain, gold and black coatings need the white balance checked against the real watch, and every strap material asks for a different light.
Polished steel
A mirror: it shows whatever is around it. Build the surroundings with white card for highlights and black card for edges, and tent it if the room keeps creeping in.
Brushed steel
The grain shows when light crosses it at a low angle from the side. Lit head on it goes flat and gray, and in a photo it can pass for polished.
Gold, rose gold and black coatings
Warm light turns gold orange and rose gold yellow: set the white balance on the white paper and compare with the real watch. A black case needs a white or gray sweep and a line of light along its edge.
Sapphire and domed crystals
A flat crystal reflects one patch of the room; tilt the watch and it slides off. A domed or acrylic crystal reflects more of the room and needs the source bigger and closer.
Leather and rubber straps
Side light shows leather grain and stitching; buckle the strap into a loop so it looks worn. Rubber and silicone light evenly but collect lint, so blow them off before every frame.
Mesh and link bracelets
Mesh needs a macro and side light or it turns into gray fabric. Line the links of a bracelet up straight: a twisted bracelet reads as damaged.
Which shots does a watch listing need?
The short answer
The set for one listing: the dial straight on at 10:10, a three-quarter hero, the case side, the crown side, the caseback, the clasp or buckle, a strap or bracelet detail, and the watch on a wrist. On a resale listing, add the box and papers and a close-up of every scratch. A lume shot is optional.
Here is what each shot in a watch product photography set does:
| Shot | Why it sells | How to take it |
|---|---|---|
| Dial straight on, hands at 10:10 | The thumbnail: logo, markers and date window readable. | Phone square to the crystal; tilt the watch until the glare leaves the dial. |
| Three-quarter hero | Case depth, bezel and bracelet in one view. | Turn the watch 30 to 45 degrees, lens just above dial level. |
| Case side profile | Thickness and lug shape. | Camera at case height, straight across. |
| Crown side | Crown shape and signing; pushers on a chronograph. | The profile from the crown side, in macro mode. |
| Caseback | Reference, serial and engravings; on resale, wear. | Face down on a cloth, phone straight above. |
| Clasp or buckle | The part buyers ask about, and the part that wears first. | Bracelet closed, clasp up, straight on. |
| Strap or bracelet detail | Leather grain, mesh weave, link finish, stitching. | Macro along the strap, light from the side. |
| Lume (optional) | Sells dive and field watches. | Charge it under a lamp, then a dark room, tripod and night mode. |
| On the wrist | Scale, how it sits, lug-to-lug on a real wrist. | Next section. |
| Box and papers (resale) | Proves the full set and raises the price. | Watch, box, card and papers together, same light. |
| Every flaw (resale) | Seen before paying, a scratch rarely becomes a return. | Light raking across the scratch, then a wider shot showing where. |
Lead with the dial, since it becomes the thumbnail, and put the wrist shot second or third.
Photographing a watch for resale
On eBay, Chrono24 or a forum, buyers ask three things: is it genuine, what condition is it in, and does it come with box and papers. Answer in photos: the caseback sharp enough to read the reference and serial, the clasp and bezel under raking light so every scratch shows, and the box, card and papers together.
eBay’s photo tips ask for clear close-ups of any flaws, scratches or imperfections, allow up to 24 pictures and recommend images of about 1600 × 1600 pixels. Its picture policy does not allow stock photos for used items, or added borders, text or watermarks. For clothes, see the guide to photographing clothes to sell.
White background, and what the platforms ask for
A white sweep is the safe main photo; eBay’s tips say a darker background may work better for shiny items. Google Merchant Center’s image requirements ask for a solid white or transparent background, the product filling 75% to 90% of the image, and accessories alone in the main image and on a model in additional images. Shopify’s help center says 2048 × 2048 px usually displays best for square images. More in the guide to white background product photography.
Keep every listing the same
Buyers compare watches side by side. Same stand, same angle set, same crop, same time on the dial, and the shop reads as one brand.
How do you take wrist shots without a hand model?
The short answer
Wear it yourself: sleeve pushed back, wrist turned about 45 degrees to the lens, window light, phone on a tripod with the timer. Or make the wrist shot from your product photo: Tryly’s watch tool puts the watch on an arm, or on a model you choose, for one credit a photo.
A wrist shot shows what the product shot cannot: how a 40 mm case sits on a real wrist, whether the lugs overhang, how the strap curves.
Wrist shot photography you do yourself
- Sleeve back, not off. A cuff pushed back an inch frames the watch.
- Wrist at about 45 degrees to the lens, dial tilted slightly toward the camera, so the dial and the case side show in one frame.
- Window light from the far side, so the crystal reflects the dark side of the room, and a tripod with the timer: a phone in the other hand bends the wrist.
- Show the lug-to-lug: one frame from above, where the lugs end against the edge of the wrist. Keep 10:10 on the dial.
Wrist shots and product shots with Tryly
With Tryly’s AI watch photography tool, you upload one photo of the watch on a plain surface, dial sharp and facing the camera. Wristwatches, smartwatches, dress watches and chronographs run through the same flow. Then you choose:
- Lifestyle Shot: a model wears the watch with a styled outfit. Women or men, filtered by hair color, age, ethnicity, size and style, from 500+ models, or your own model or yourself. Then a pose, such as Coffee Morning, Arms Crossed, Watch Adjust, Desk Confident or Professional Walk, or let Tryly Vision choose it. One pose, one photo, one credit per run.
- Studio Shot: product and wrist angles with no full model in frame. Product Shots put the watch on a surface with nobody in frame: Concrete Surface, Natural Wood, Vintage Books, Fabric Textile, Water Glass, or the Classic Diagonal laid flat on white. Wrist Shots put it on an arm: Wrist Side Profile, Wrist Front View, Wrist with Sweater, Wrist Front Clean, Clasp Detail and Buckle Close-up. Up to four styles in one run, each a separate photo costing one credit.
Studio, outdoor, lifestyle and abstract backgrounds sit in tabs, and you can save your own. The review step lists every choice and the credit cost before anything is spent.
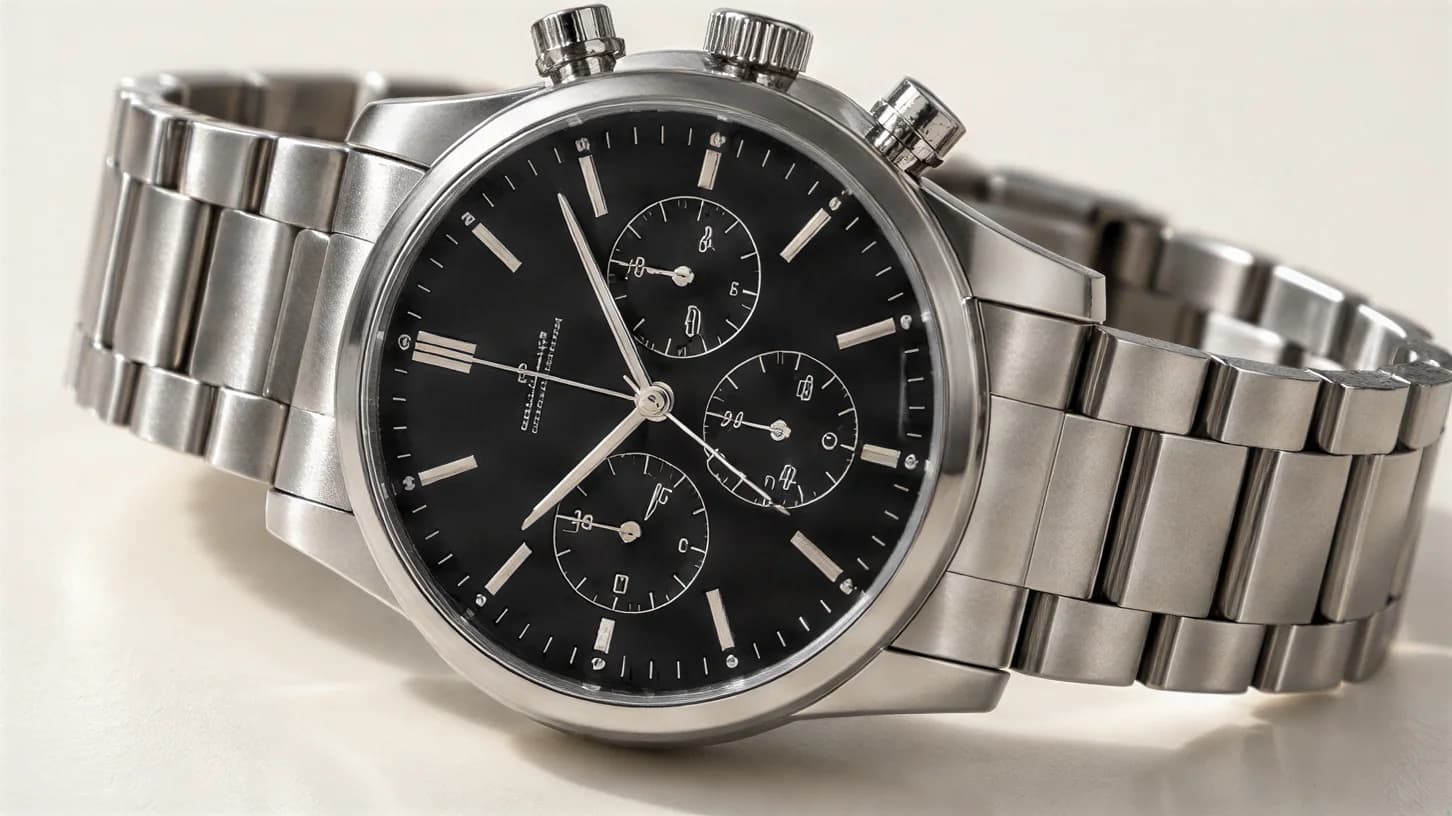
01 Source photo
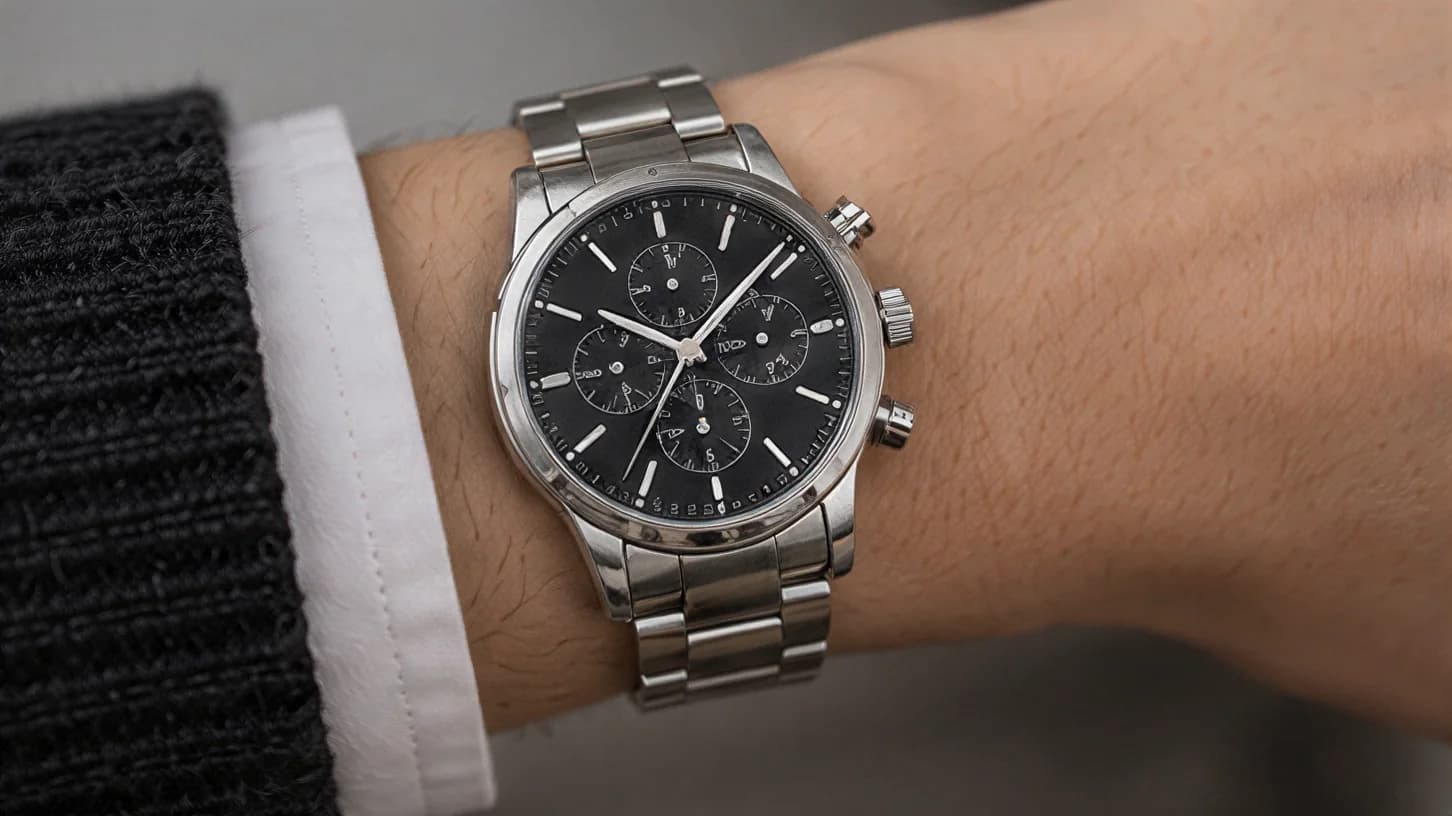
02 Wrist side profile
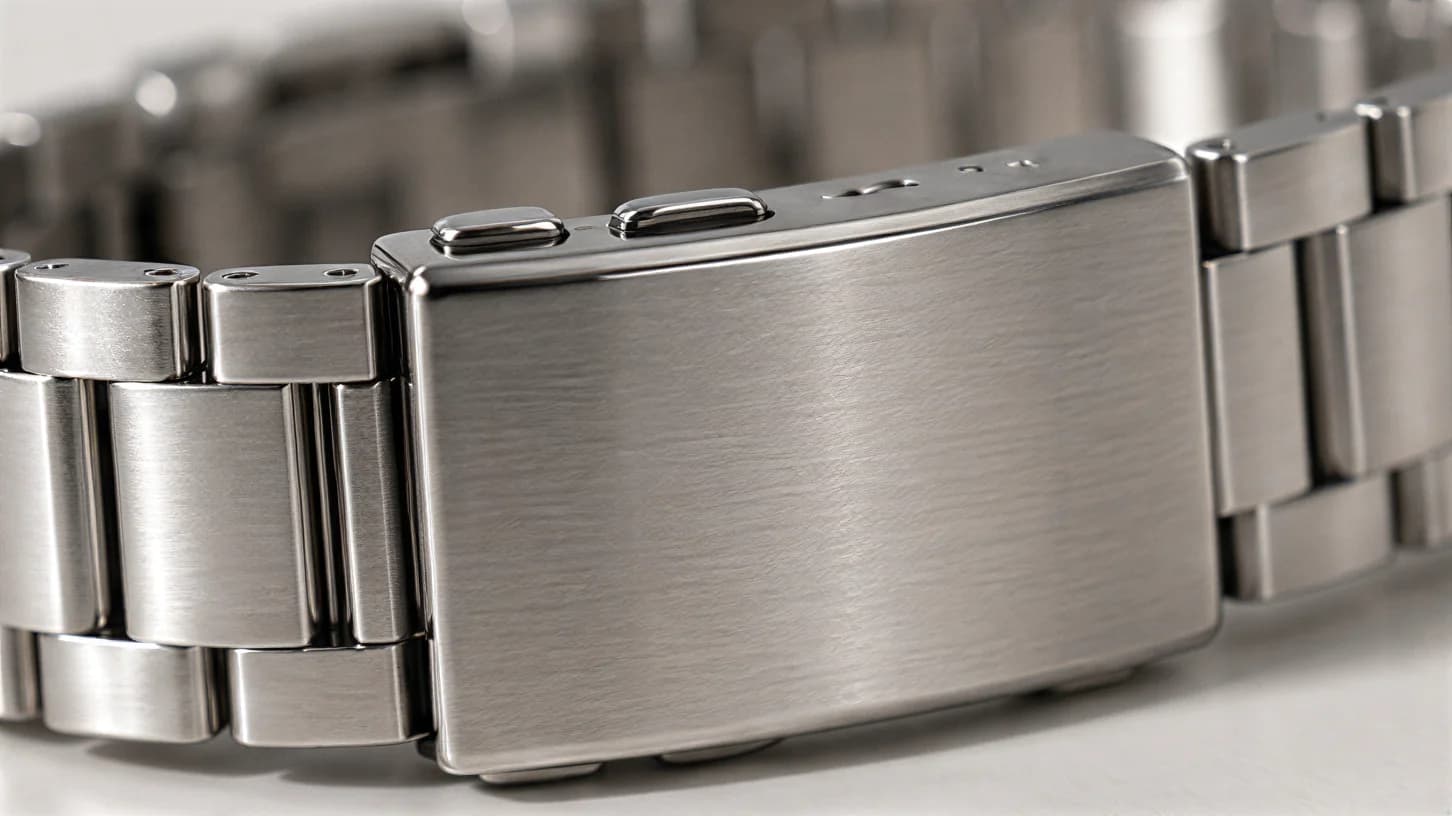
03 Clasp detail
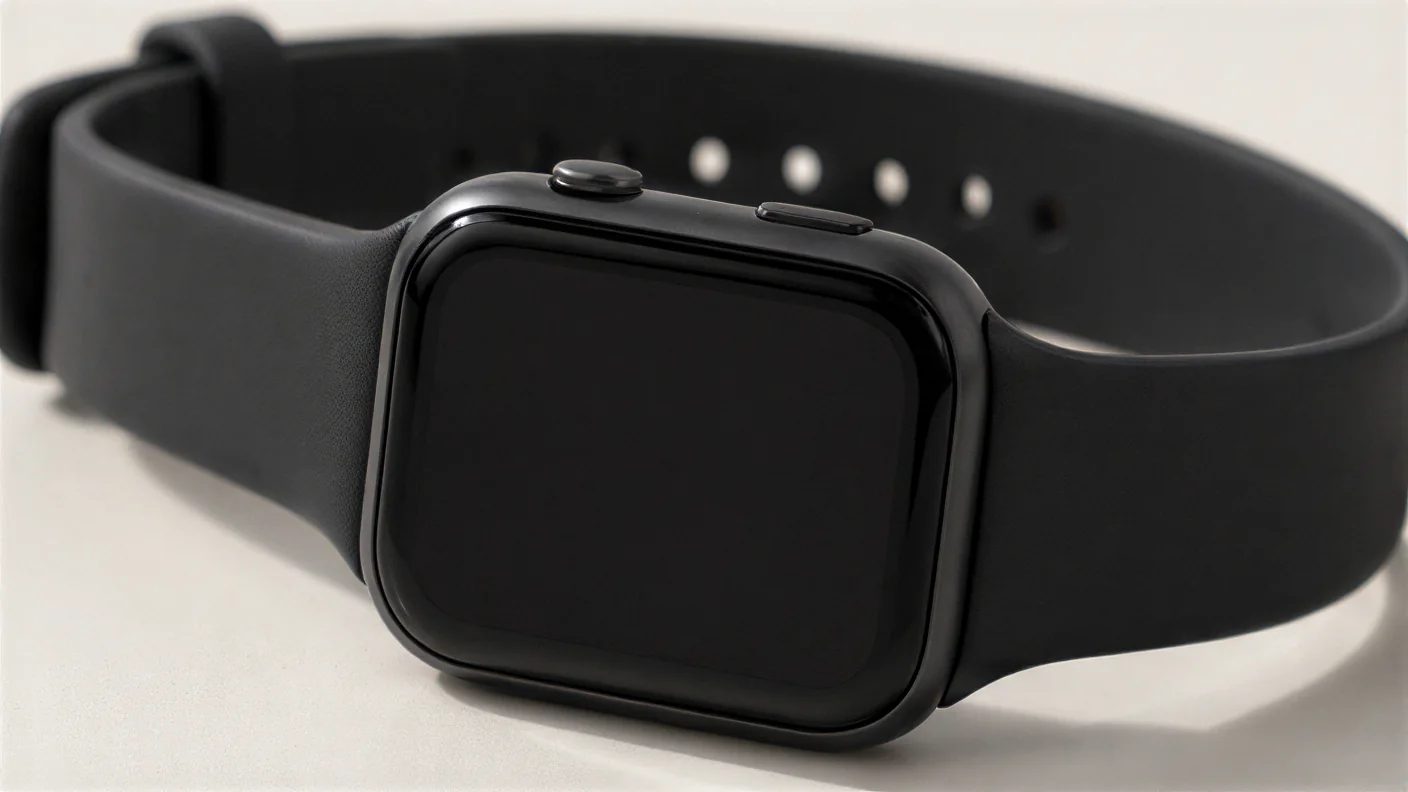
01 Source photo
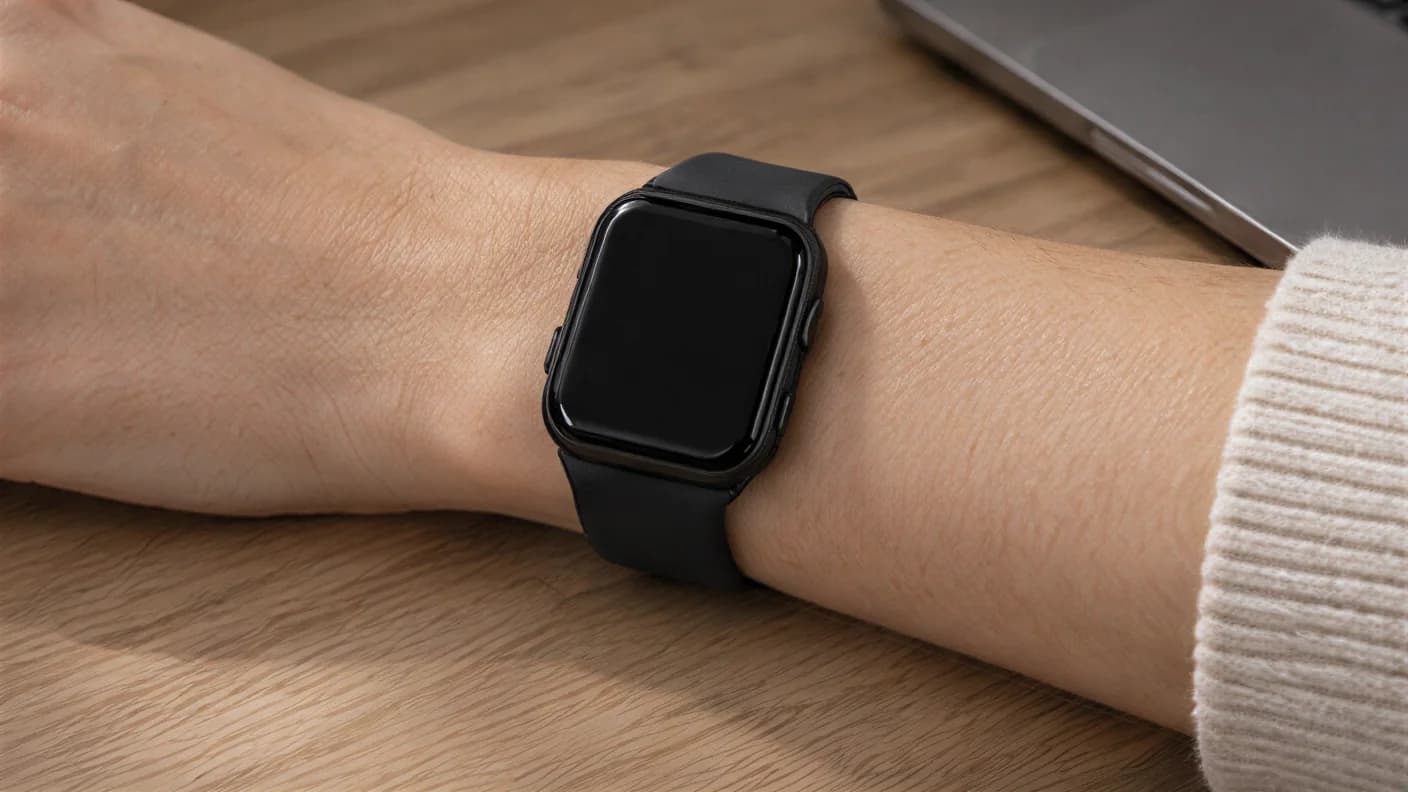
02 Wrist front view
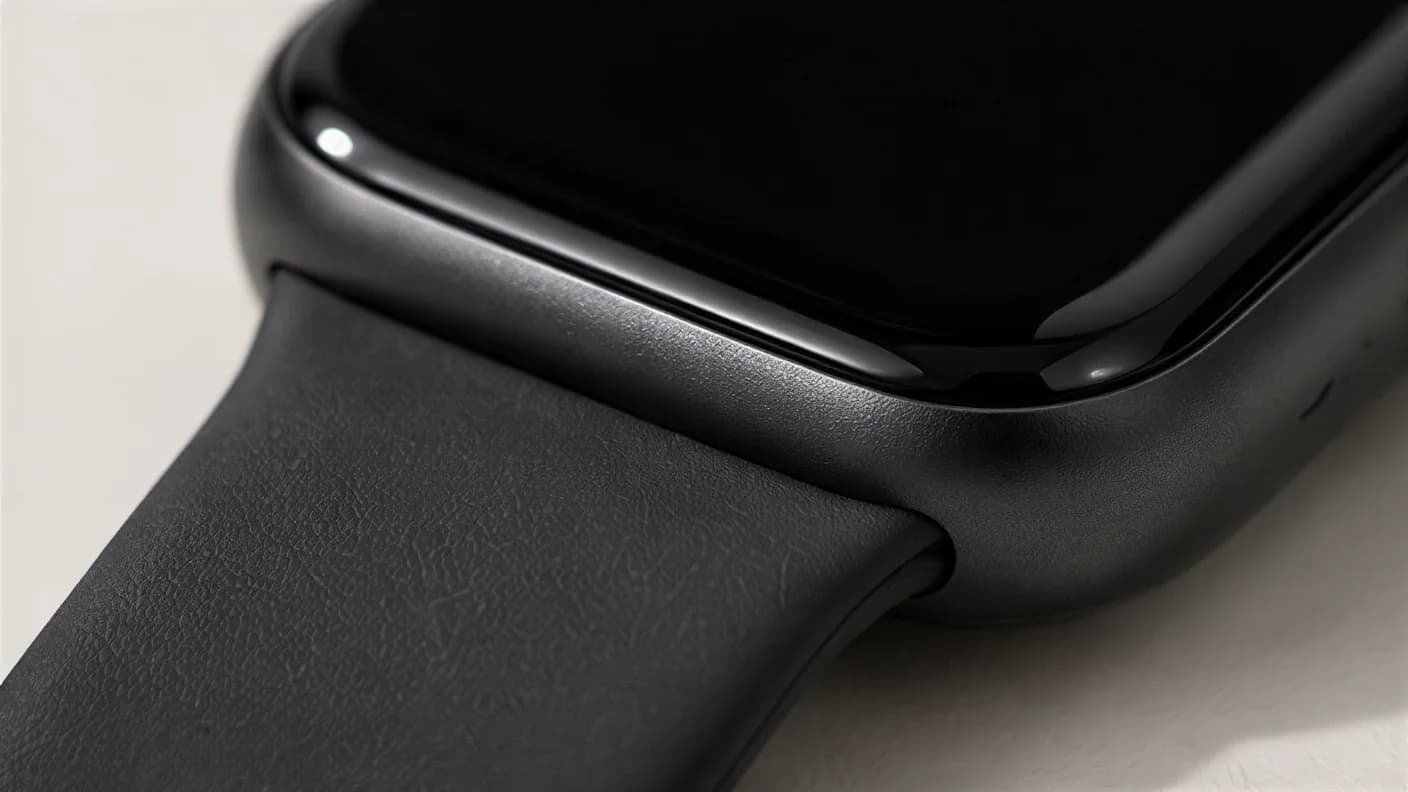
03 Strap close-up
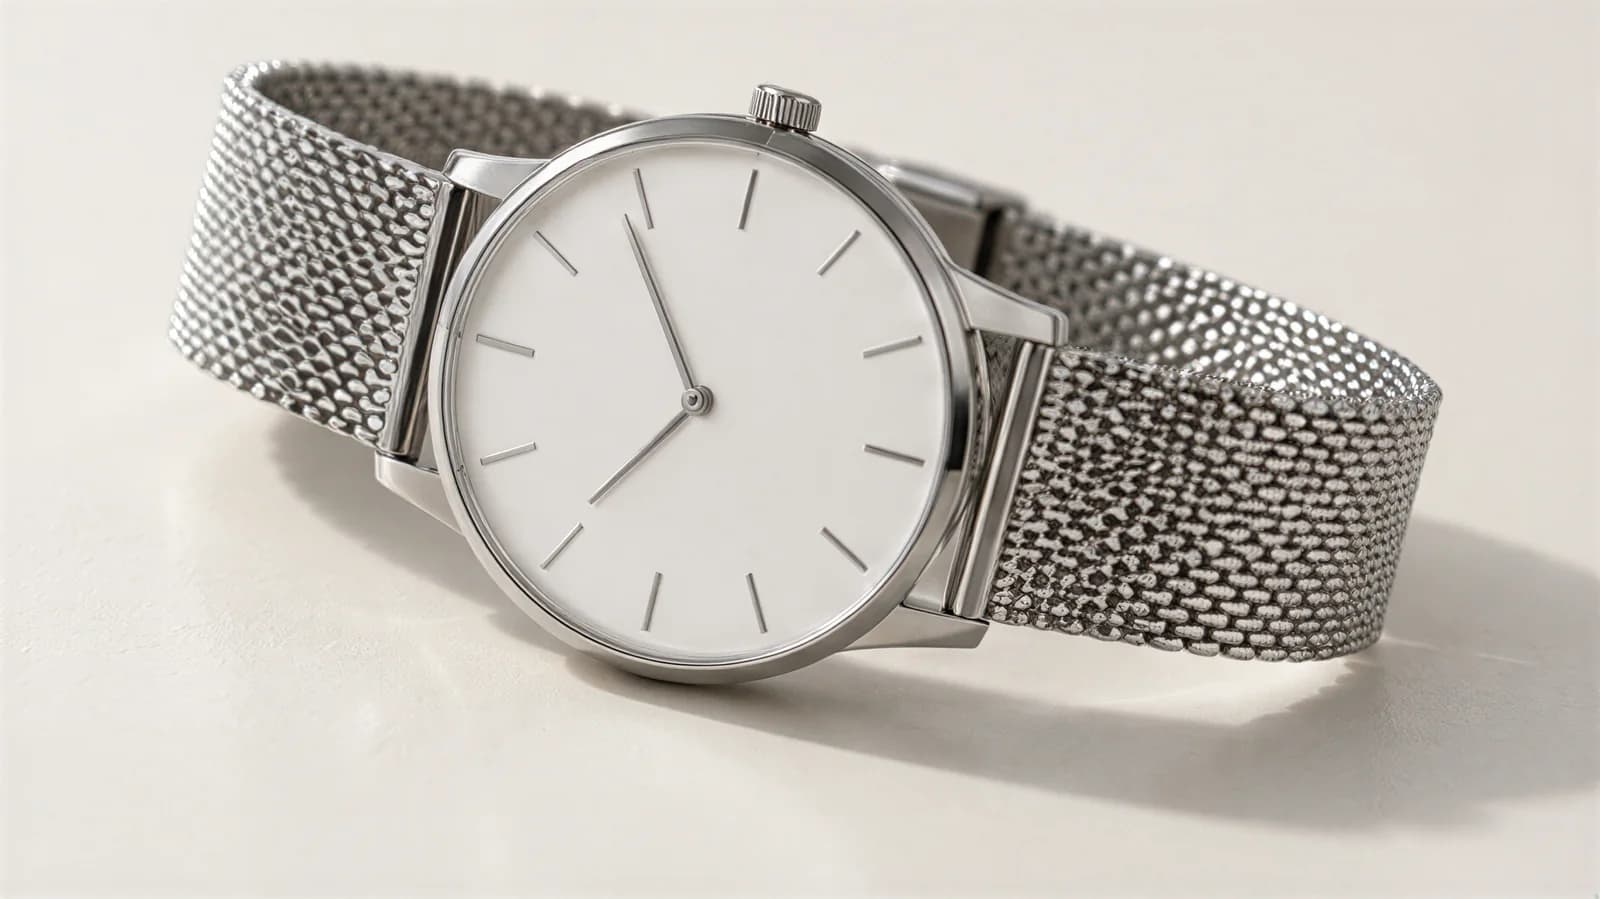
01 Source photo
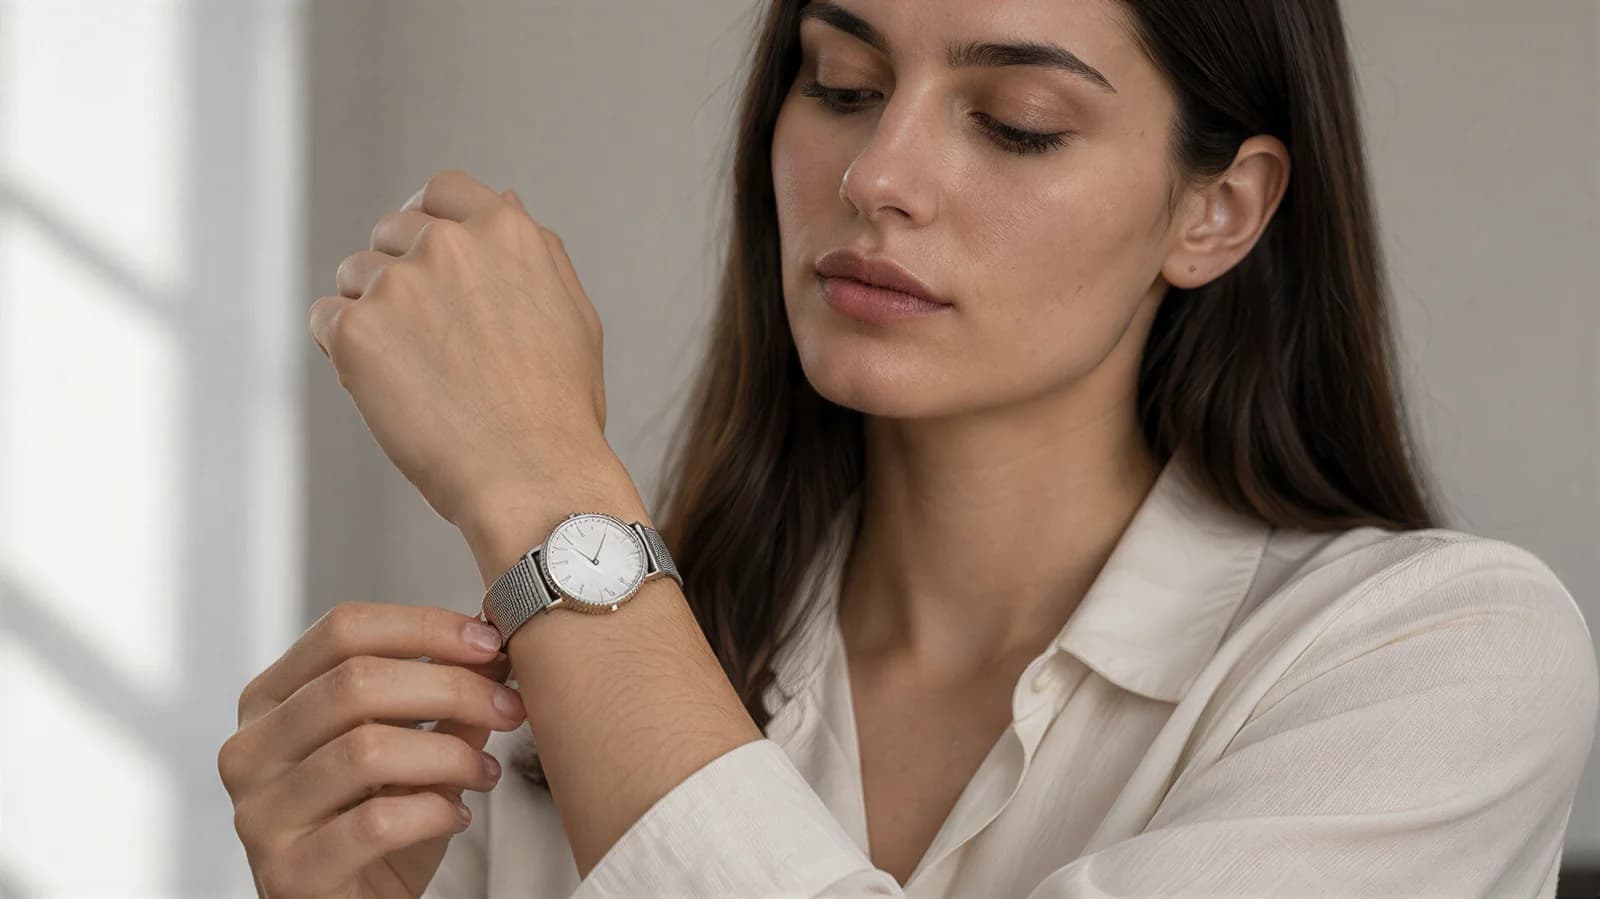
02 Lifestyle pose
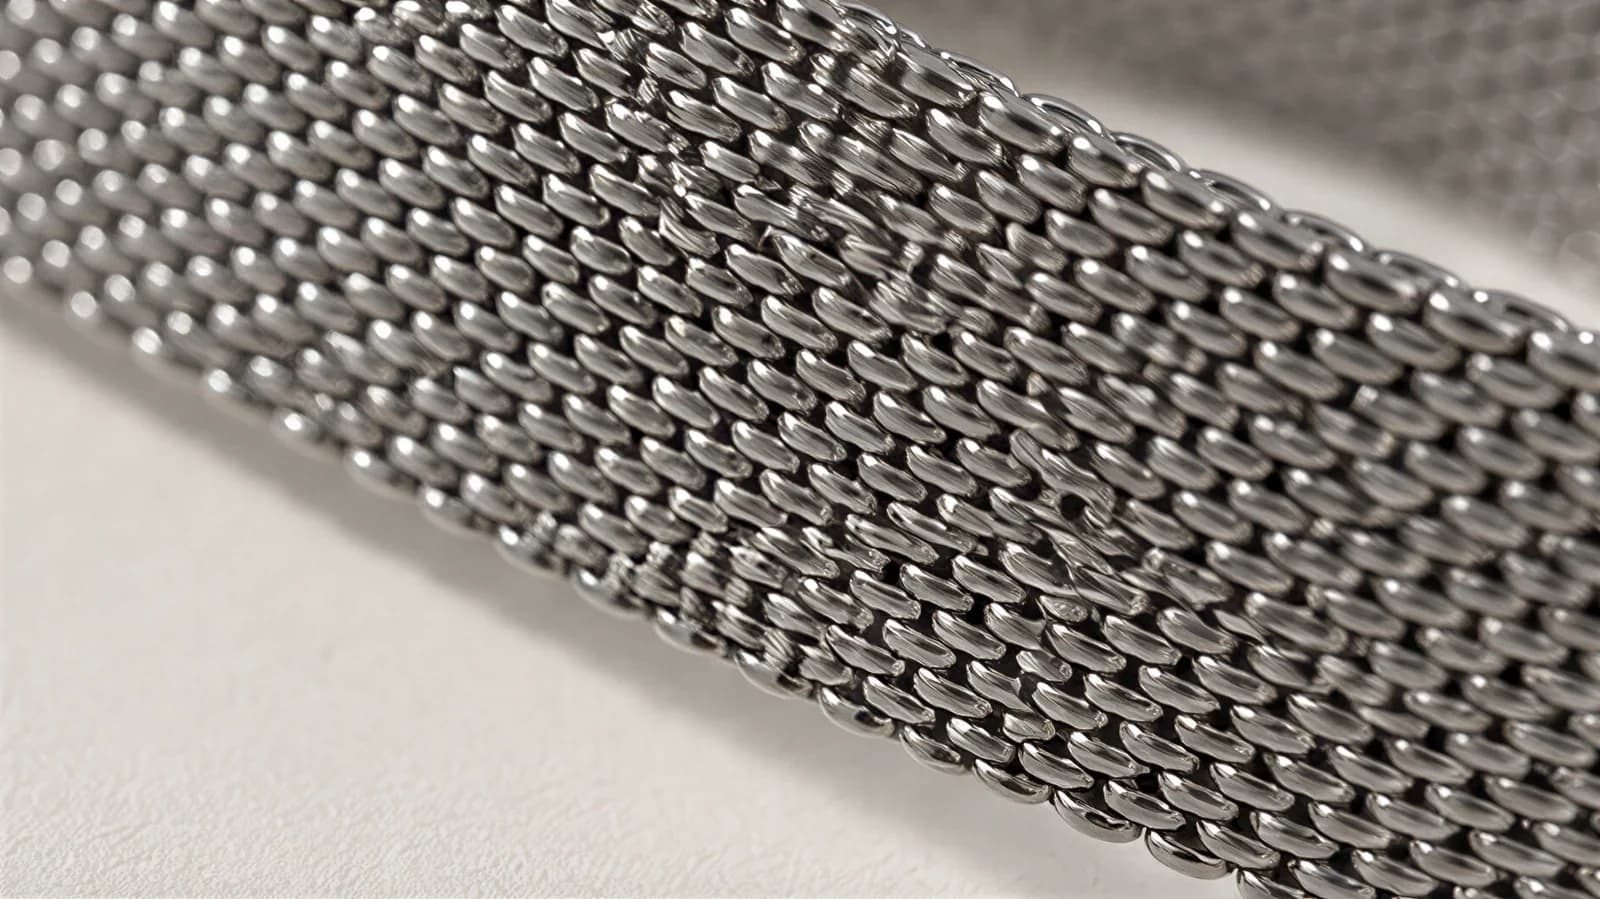
03 Mesh strap macro
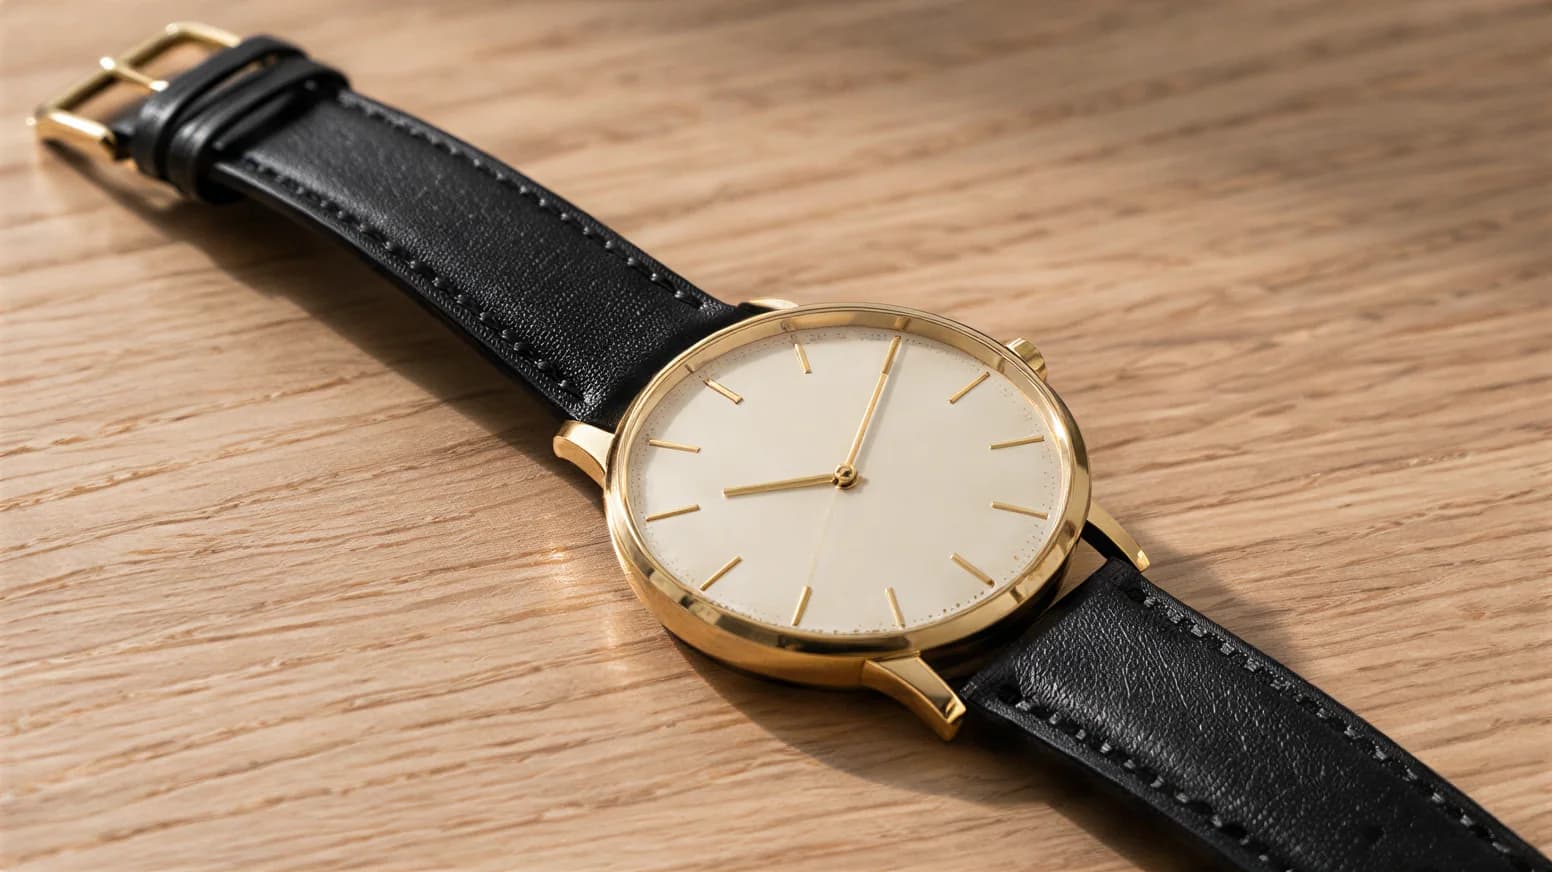
01 Natural Wood
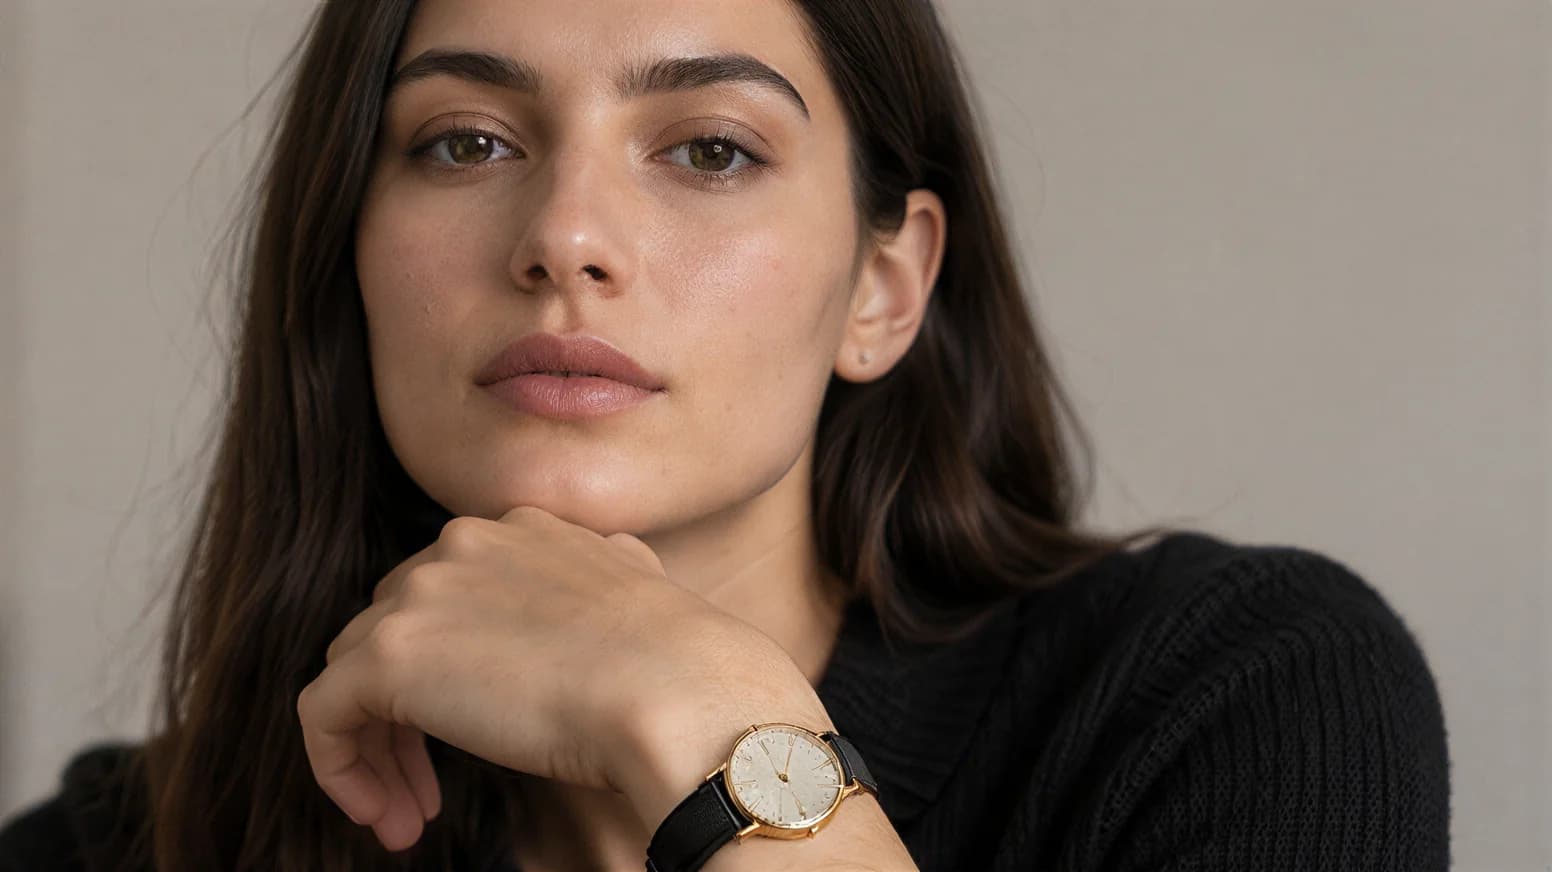
02 Lifestyle portrait
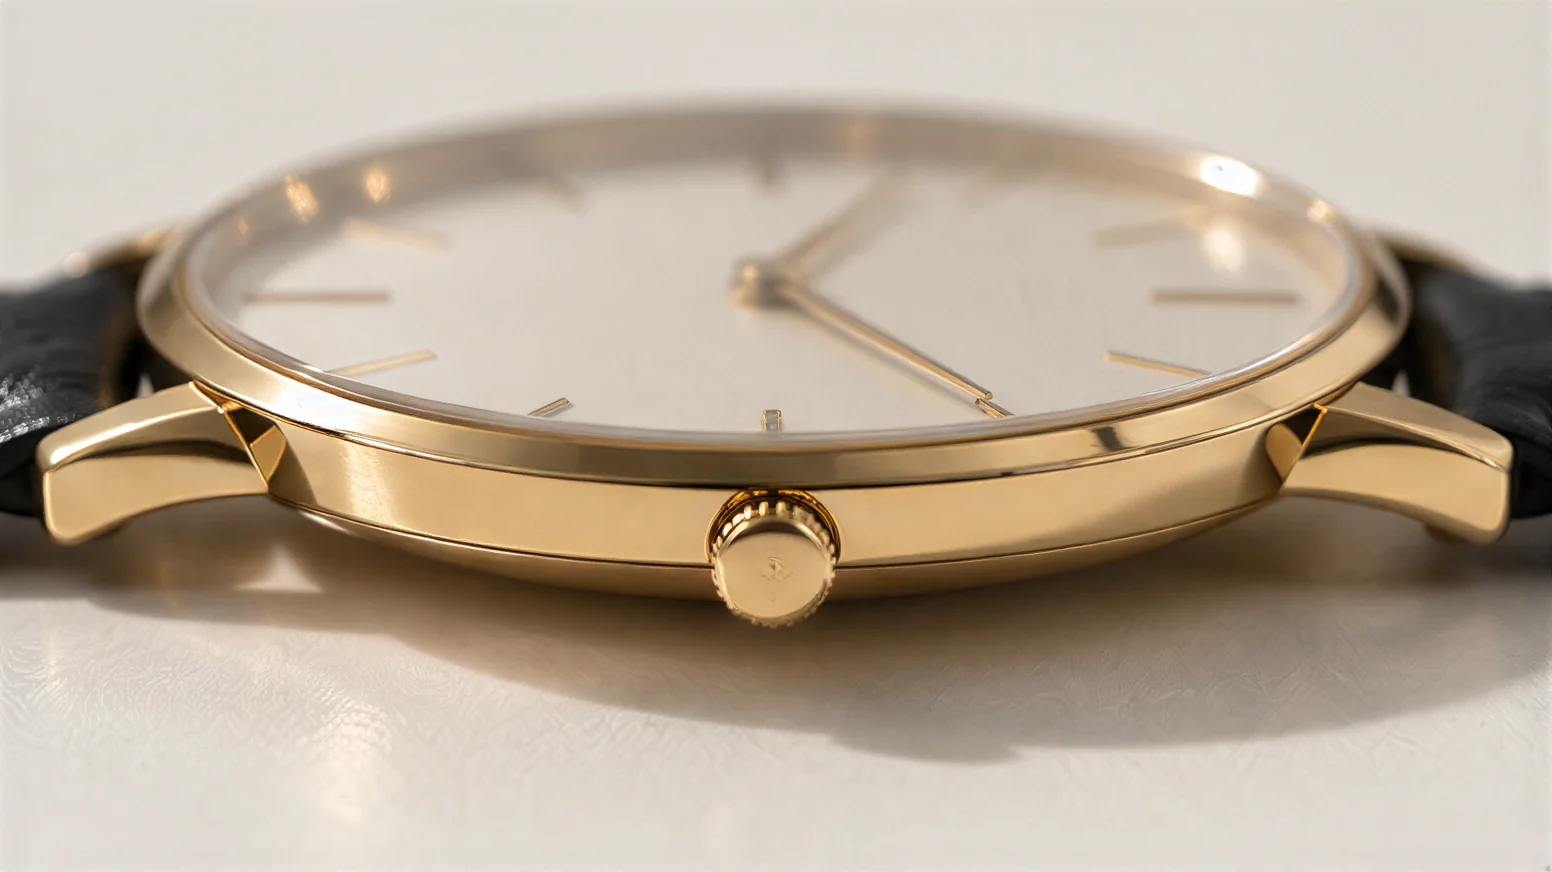
03 Case and crown
The wrist shots are compositions, not measurements: there is no case-size input in the app, so state the case diameter, lug-to-lug and thickness in the listing. The caseback is not in the angle library, so that photo and every scratch still come from your own setup. Photos made on a paid plan can be used on your store, in ads and on social media. Start with 10 free photos, no card.
For scale: a product photographer charges $50 to $350 per image, or $500 to $3,000 per day, according to Shopify’s pricing guide. At Tryly’s lowest rate, four angles for 25 watches, 100 photos, cost $25. More in the guides to product photography cost and the true cost of fashion photoshoots.
Selling more than watches? The same flow covers jewelry, bags and shoes.
What are the most common watch photography mistakes?
The short answer
A ring light, hands across the logo, dust at macro distance, glare on the dial, your phone in the case, no caseback or clasp, and a size guessed from a wrist shot. Check this list before each batch.
- A ring light on the crystal. One big, soft source from the side.
- Hands across the logo or the date. Set them to 10:10 first.
- Dust and fingerprints at macro distance. Gloves, a blower and a microfiber cloth.
- Glare across the dial. Tilt the watch, not the light.
- Your phone reflected in the case. Change the angle, add black card, use the timer.
- No caseback, no clasp. Both, in every listing.
- Size guessed from a wrist shot. List the diameter, lug-to-lug and thickness.
- A different background for every watch. One sweep, one angle set, one time on the dial.
Questions watch sellers ask
What is the best angle to photograph a watch?+
The dial straight on with the hands at 10:10, phone square to the crystal and the watch tilted until the reflection leaves the dial. Follow it with the three-quarter, case side, crown, caseback, clasp, strap detail and a wrist shot: eight to twelve photos, and eBay allows up to 24.
Why are watch hands set to 10:10 in photos?+
At 10:10 the hour and minute hands frame the logo under twelve, stay clear of a date window at three or six and of most sub-dials, and the dial looks balanced. Pull the crown out so the hands stop drifting while you shoot.
How do I photograph a watch without reflections?+
You cannot stop steel and sapphire reflecting, so decide what they reflect: one large, soft source, the watch tilted until the glare slides off the crystal, white card where the case should glow and black card where it needs an edge. A polarizer helps on the crystal, not on polished metal. Never use a ring light.
Do I need a watch photography stand?+
It helps but is not required. A stand holds the case up with the bracelet closed and lets you tilt the dial toward the lens. A ball of adhesive putty under the caseback does the same job for nothing and is invisible from the front.
How do I take a wrist shot without a hand model?+
Wear the watch yourself: sleeve pushed back, wrist turned about 45 degrees to the lens, window light, phone on a tripod with the self-timer. Or upload a photo of the watch to Tryly: the Studio Shot’s Wrist Shots put it on an arm with no full model in frame, and the Lifestyle Shot puts it on a model you choose. Start with 10 free photos, no card.
How much does watch photography cost?+
Doing it yourself costs little beyond your phone. A hired product photographer costs $500 to $3,000 per day, or $50 to $350 per image, according to Shopify’s product photography pricing guide. Tryly starts from $9.99/month (Starter plan, billed annually), which is from $0.33 a day, and photos cost as low as $0.25 each. At Tryly’s lowest rate, 100 photos cost $25.
Sources: photographer rates from Shopify’s product photography pricing guide; image size from the Shopify Help Center, product media types; background, framing and model-photo guidance from Google Merchant Center, image requirements; photo count, size, lighting, backgrounds and flaws from eBay’s photo tips and picture policy.
Written by
Elena Varga
Head of Content, Tryly Academy
Former e-commerce photo producer who ran catalogue shoots for fashion labels for over a decade. Writes the Academy’s guides.
- 11 years in fashion e-commerce
- 1,200+ catalogue shoots produced
Expert review
Sofia Moretti
Fashion photographer · Expert reviewer
Has shot campaigns and on-model e-commerce for fashion brands for 14 years. Reviews every Academy article for accuracy.
- 14 years in fashion photography
- Campaign and catalogue work across Europe
How we work: every Academy article is written by a specialist, reviewed by a working fashion photographer, and re-checked against its sources when prices or rules change.