Guide
Product photography lighting at home: window light, one lamp or a lightbox
A practical guide to lighting clothes, shoes, bags, jewelry and watches with a phone at home: how light behaves, three setups you can build on a table, how to light each material, and how to keep a whole catalog looking the same. No gear snobbery.

 By Elena Varga
 · Reviewed by Sofia Moretti |Fact-checked|11 min read
Key takeaways
- 1One big, soft light from the side, plus a white board opposite. A window and a sheet of foam board beat any cheap lamp; if you do buy a lamp, buy a diffuser before a second lamp.
- 2Size and distance set softness, direction sets texture, and mixed light sources ruin color. Room lights off, flash off, and the white balance set from a sheet of white paper.
- 3Light your product simply and consistently, then let the on-model photo handle the rest: Tryly puts your product on a model with the light and background taken care of, and you check the result at full size.
10 free photos, no card. Photos as low as $0.25 each.
On this page+
What is the best lighting for product photography at home?
The short answer
Big, soft and from the side. The best product photography lighting at home is one large, diffused light to one side of the product, with a white board on the other side to fill the shadows. A bright window out of direct sun plus a sheet of white foam board gives softer, truer light than any cheap lamp, and it costs almost nothing.
That holds for a T-shirt on a hanger, a pair of pumps, a watch and a pendant. Background and sweep setup are in the guide to white background product photography, and the overhead setup in the guide to flat lay photography. This guide is about light only.
How does light behave? Size, distance, direction and color
The short answer
Four things decide a product photo: the size of the light compared with the product, its distance, its direction and its color. Fix those before you touch an edit slider.
Size is softness
A light that is large compared with the product gives soft shadows and gentle highlights; a small one gives hard shadows and a hot spot. A window is large, a bare bulb is small. Every diffuser, from a softbox to baking parchment, works by making the light bigger. Shopify’s DIY product photography guide puts it in one line: “The closer you are to the window and the larger it is, the softer your light will be.”
Distance
Closer is softer and brighter but falls off faster, so the near end of a long product is lit more than the far end. Small items go close; a garment on a rail stands back. Then keep the distance the same for every shot.
Direction
Direction gives a product shape and texture, or takes them away:
| Light from | What it does | Use it for |
|---|---|---|
| Side (90°) | Raking light: every stitch and crease throws a small shadow. | Knits, denim, tweed, grained leather. Needs a bounce opposite. |
| Front-side (45°) | Shape and texture with short shadows. | Most products. Start here. |
| Front (behind the camera) | Flat and even, no texture, a bright reflection in anything glossy. | Faces. What a flash and a ring light do. |
| Back (behind the product) | A rim of light and a bright background. Sheer fabric glows. | Sheer, lace and glass, with a strong fill from the front. |
| Overhead (ceiling) | Shadows under every edge, glare on top. | Never. eBay’s photo tips say to avoid overhead lighting and flash. |
Color, and why you never mix sources
Daylight is bluish white, household bulbs are orange, and LEDs sit anywhere between. Your eye corrects for all of them; the phone corrects for one. A window on one side and a lamp on the other gives a product blue on one side and yellow on the other, and no edit fixes both. Shopify’s guide says to “Turn off all other lights in the room to avoid contaminating your set”.
White balance
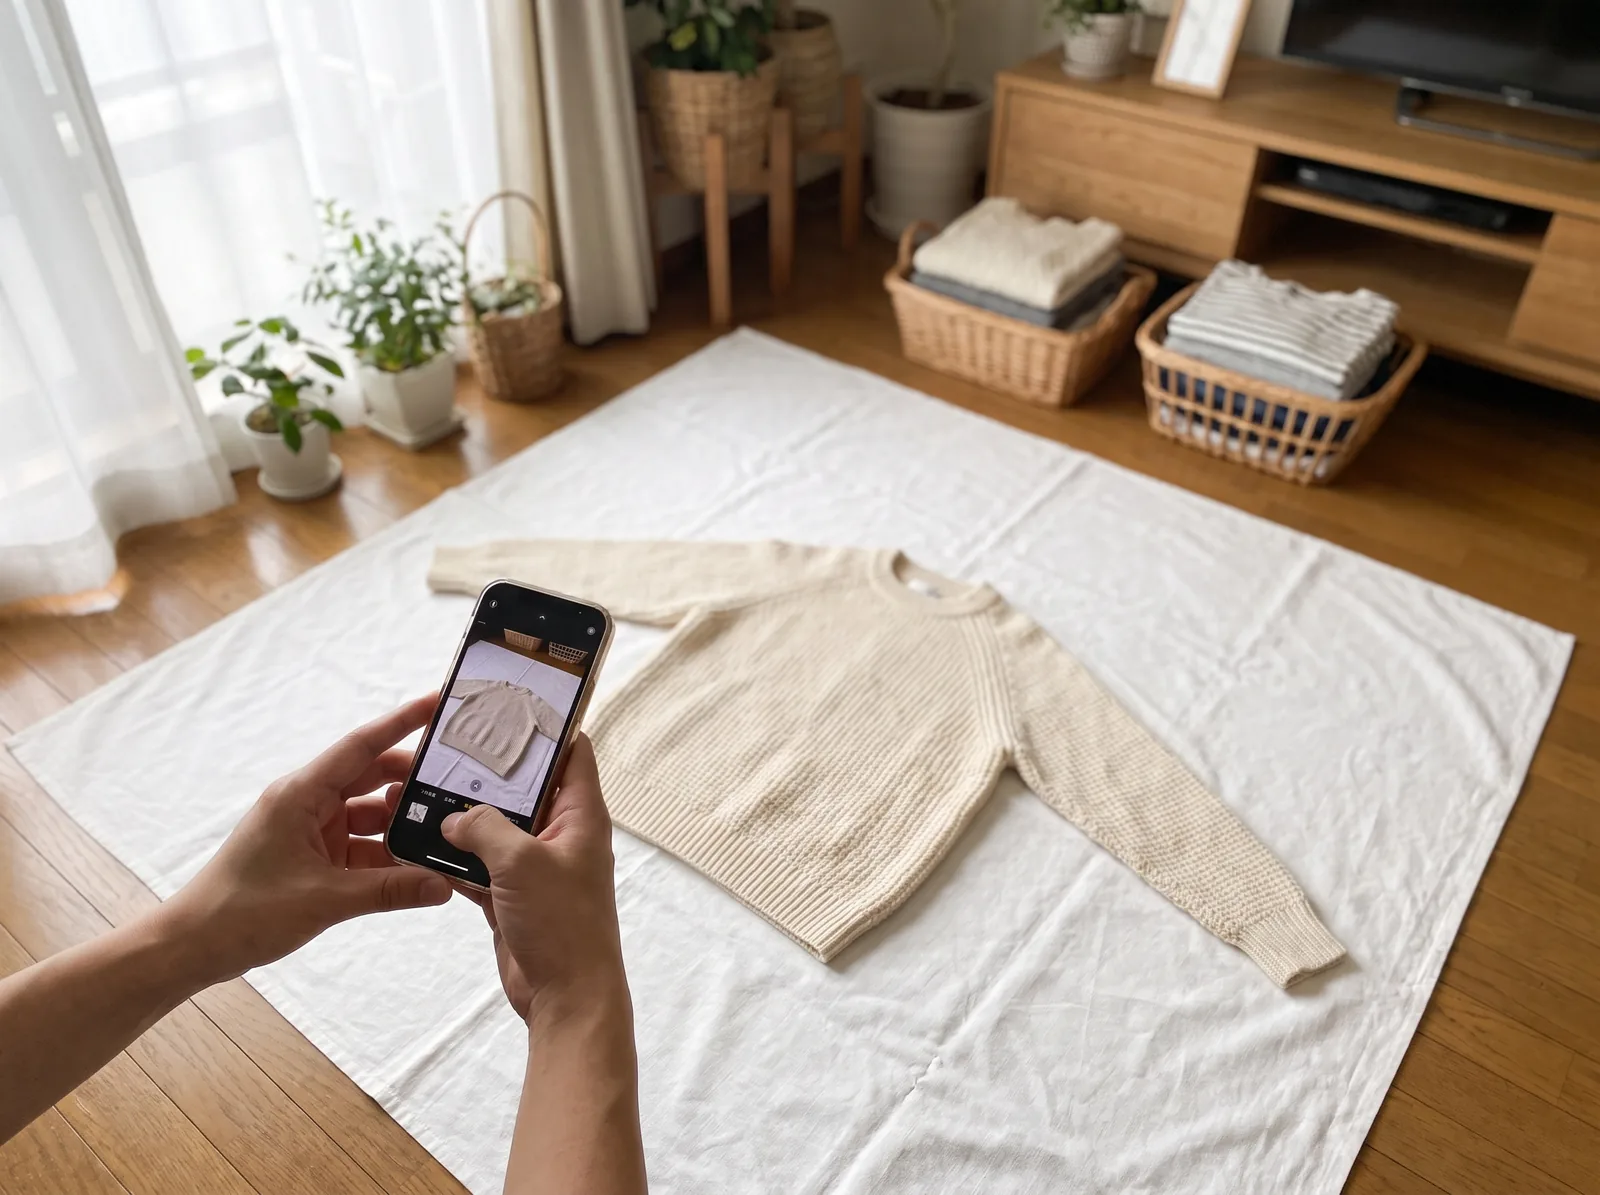
The phone guesses the color of the light in every frame, so whites drift between shots. Photograph a sheet of white paper in the same light at the start of each session, use the white balance dropper on it in your editing app, and apply the setting to the batch.
Setup 1: Window light and a foam board reflector
The short answer
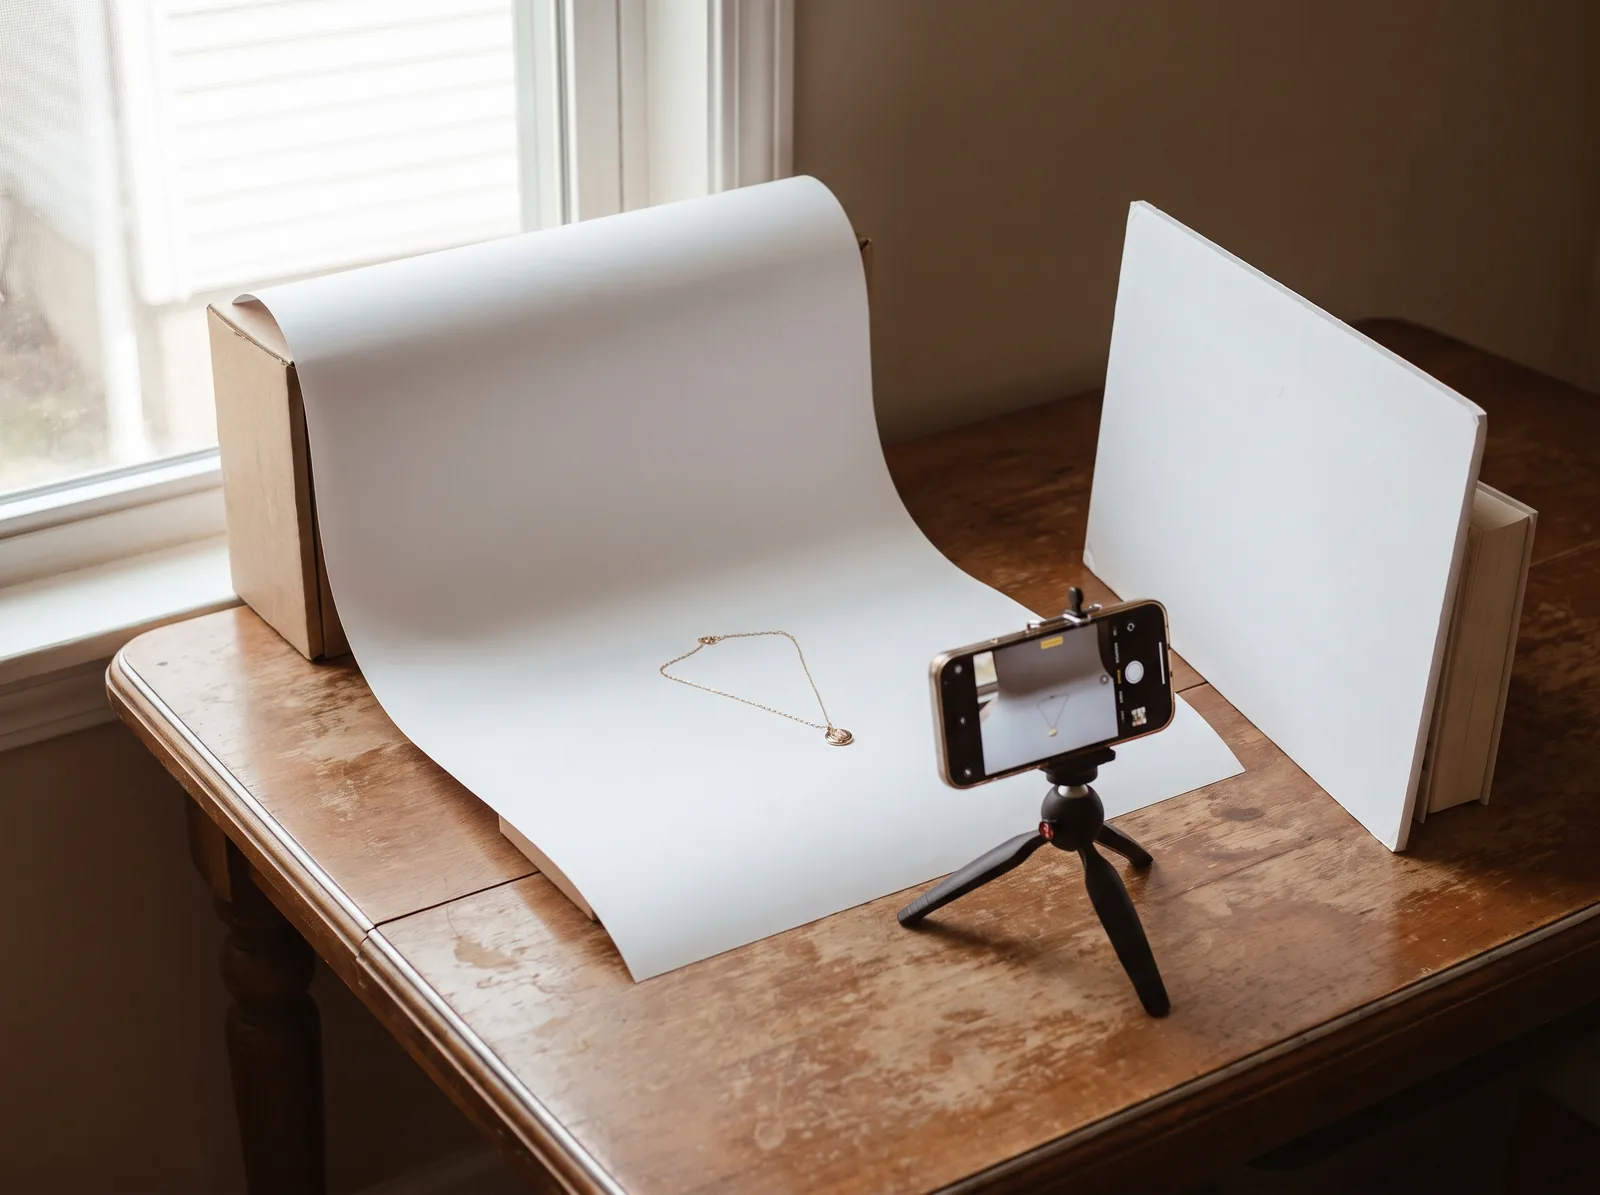
Put the product beside a bright window, out of direct sun, with the window to one side, and stand a white foam board opposite the window to fill the shadows. Room lights and flash off. Shoot when the window is bright but no sunbeam crosses the set.
The product photography setup in the cover photo, in six steps:
- Pick the window. The largest window with no direct sun on the set when you shoot. North-facing is softest.
- Set the table close. Within a few feet of the window, with the window to one side of the product.
- Turn the room lights off. Every bulb off, flash off. The window is the only light.
- Diffuse direct sun. If a sunbeam crosses the set, drape a thin white sheet over the window frame or tape parchment to the glass.
- Add the reflector. White foam board opposite the window. Closer for lighter shadows, further for more shape.
- Fix the phone and shoot. Phone on a tripod, tap the product for focus and exposure, and take one frame of white paper for the white balance.
Which window, and when
Shopify’s natural light guide says north-facing windows give softer, even light, a south-facing window usually gives more direct light, and east- and west-facing windows change too much through the day. In practice, a bright overcast day is the best product photography weather there is, and the hour when the sun comes straight in is the hour to skip. Pick one time of day and shoot every batch then.
The reflector
Shopify’s guide recommends white foam board, cardstock, or silver or gold fill cards, placed across from the light. White is the safe choice: silver is brighter and harder, gold warms the shadows. A black card on the far side does the opposite, deepening the edge of white and metal products that would otherwise melt into the background.
Setup 2: One LED lamp with a diffuser and a bounce
The short answer
One continuous daylight LED, made big with a diffuser and placed in front and to one side at 45°, with a white board opposite. Continuous light shows the result on the screen before you shoot; a diffuser matters more than a second lamp.
For after dark, a room with no useful window, or a catalog that has to match whatever the weather:
- Choose a continuous daylight LED. A bulb or panel sold as daylight, not warm white, with a high color rendering (CRI) rating.
- Make the light big. Clip parchment or a white shower curtain a hand’s width in front of the lamp, or bounce it off a white wall and use the bounce as the light.
- Place it front-side at 45°. In front and to one side of the product, a little above it, angled down.
- Fill the shadow side. A white foam board opposite the lamp, close enough that the shadow side keeps its detail.
- Kill every other light. Ceiling light off, other lamps off, curtains drawn. One source, one color.
- Tripod, timer, white balance. A lamp is dimmer than a window: tripod, timer, and the white balance set from white paper.
Setup 3: A lightbox for jewelry, watches and shoes
The short answer
A lightbox, sold as a product photo box or light tent, wraps a small item in diffused light from every side and gives a clean white background, which is what jewelry, watches, bags and shoes need. It does not add shape, it does not fit clothing, and polished metal still reflects the camera opening.
It fixes hot spots, uneven light and gray backgrounds. It does not fix a flat look when the light is the same from every side, the dark slot the phone shoots through mirrored in polished metal, or size: a garment on a hanger never fits. eBay’s photo tips add that white backgrounds are generally best, but for shiny items like jewelry a darker background may work better, which a box with a black insert gives you.
- Pick a box that fits. A 60 cm lightbox takes a watch, a piece of jewelry, a bag or a shoe with space around it. Boots need a bigger box.
- Light it from the side, not just the top. If the built-in LEDs are on top only, add a lamp through one side wall. Side light gives shape.
- Hide the camera opening. Polished metal and glass reflect the slot the phone shoots through. Tape white card around the lens; a black card at one edge defines the shape.
- Shoot from a tripod. Phone on a small tripod at product height. Lower the exposure until metal and stones keep their detail.
- Set the white balance. Built-in LEDs are often cool. Photograph white paper in the box and set the white balance from it.
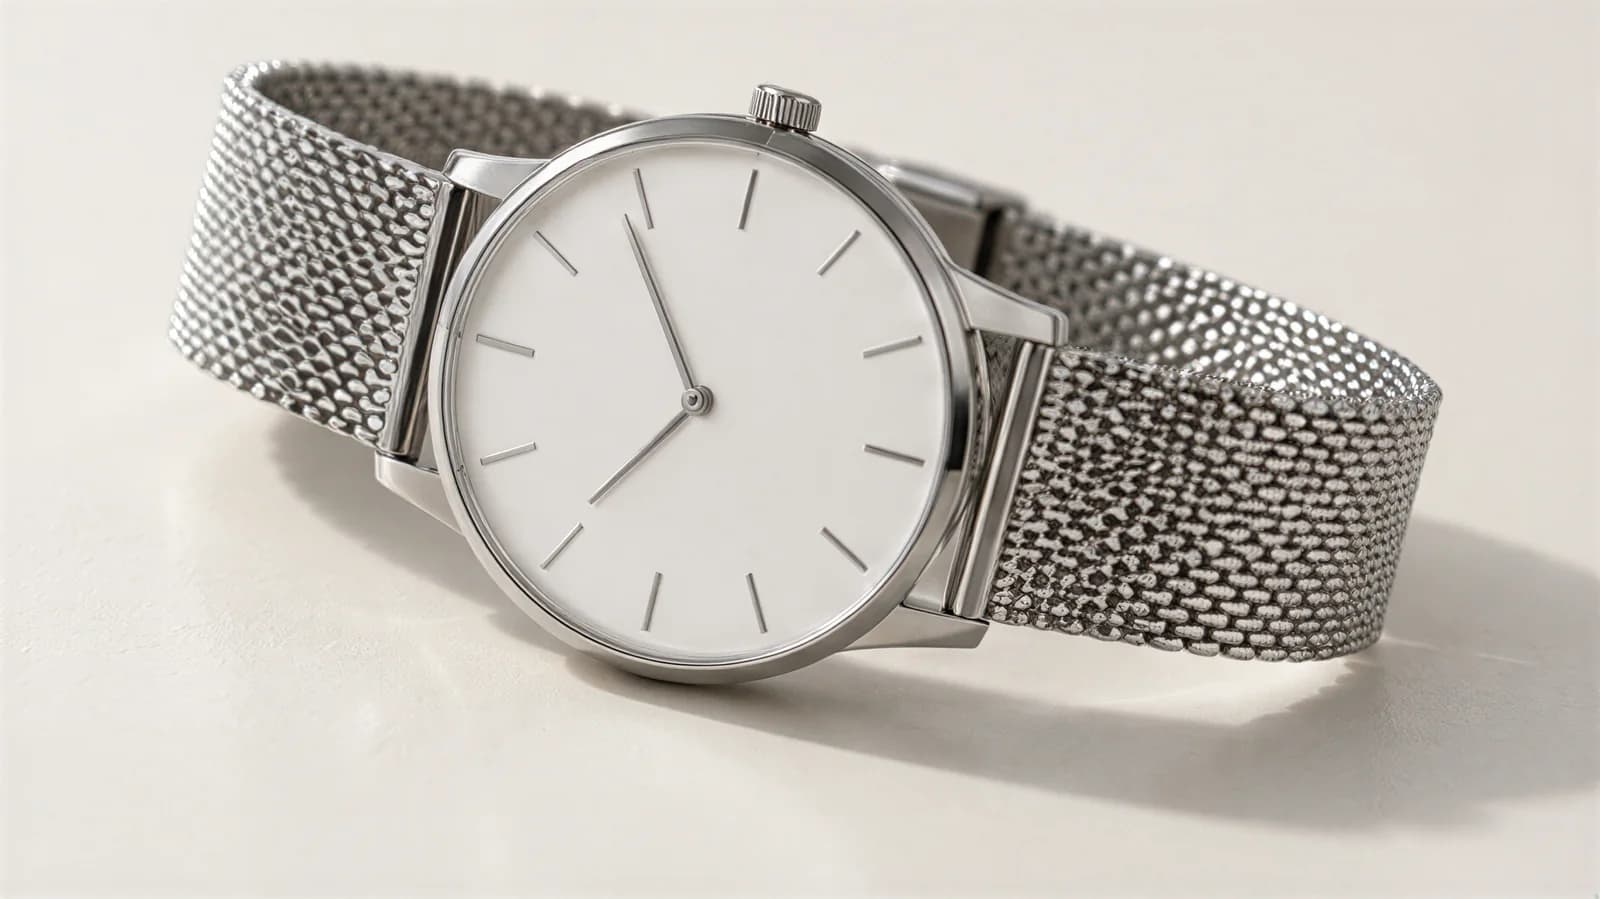
01 Watch
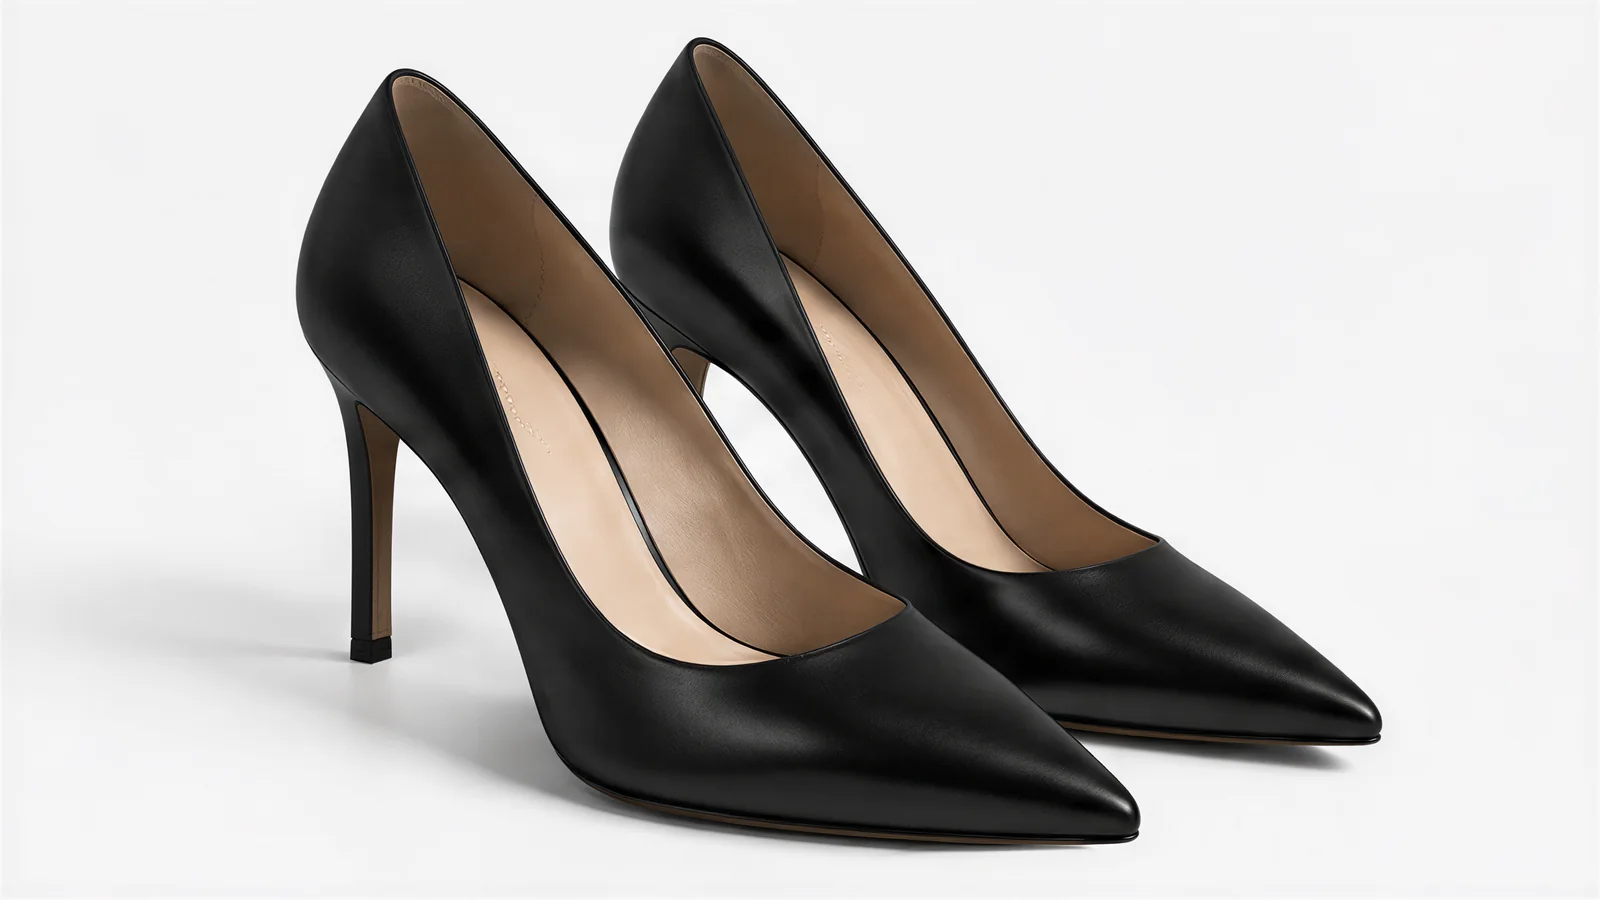
02 Pumps
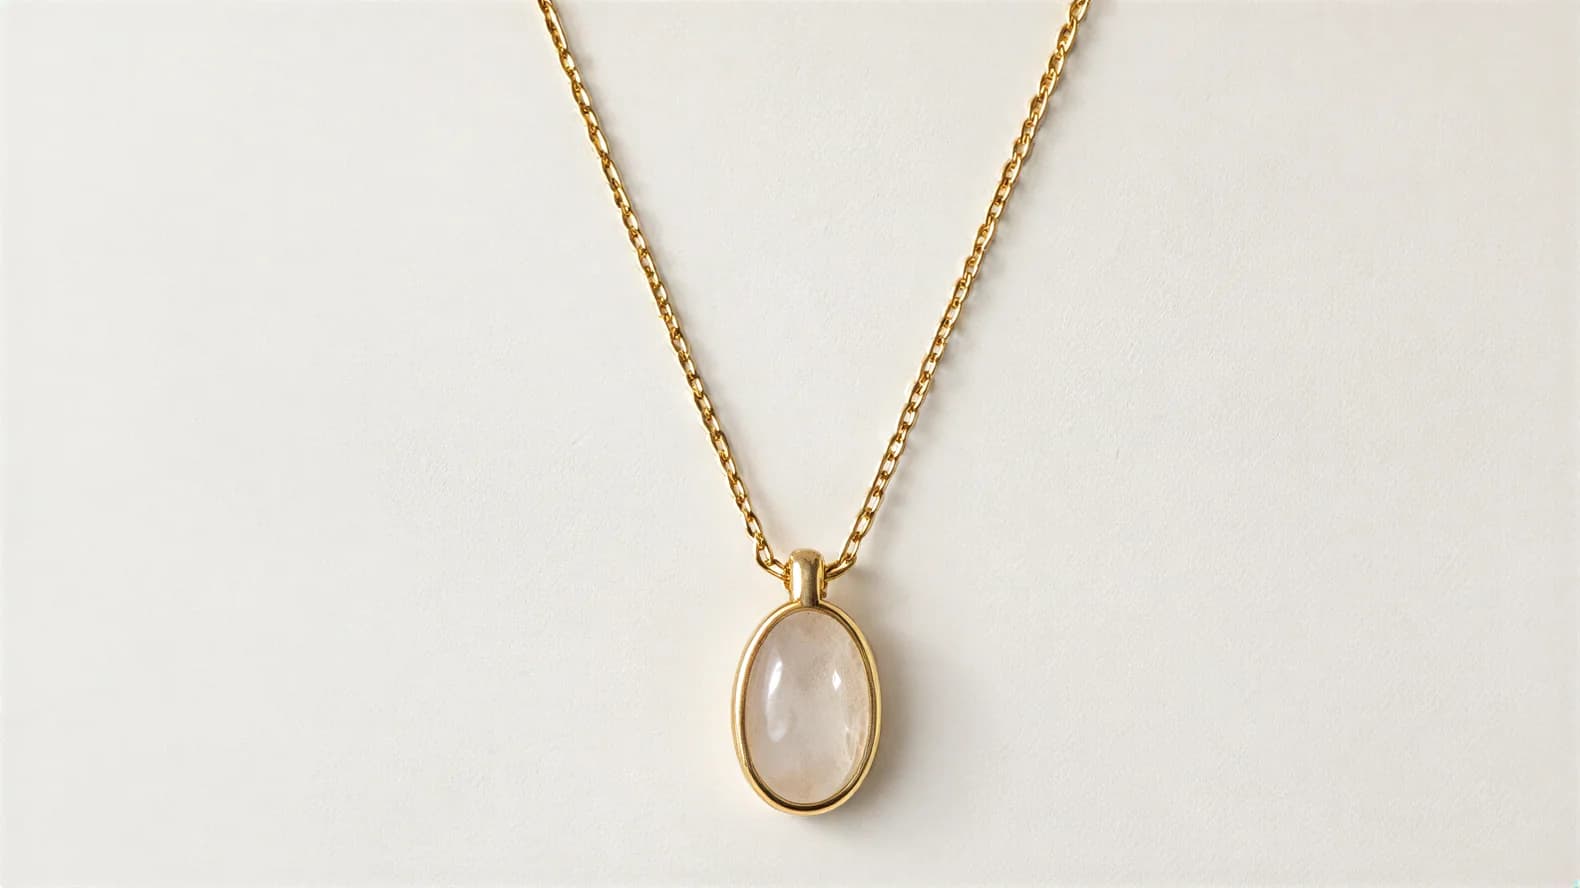
03 Pendant
Category detail is in the guides to jewelry photography, watch photography and shoe photography.
Are ring lights good for product photos?
The short answer
Ring lights are fine for people and poor for products. A ring light is a small light on the camera axis, which flattens texture, and its ring reflects as a bright circle in anything glossy: watch glass, patent leather, metal, sequins and stones.
It works for a face because the light comes from where the camera is: skin is matte, the face is lit evenly, and the ring shows as a catch-light in the eyes. A product is the opposite case: light from the camera throws no shadows, so there is no shape or texture, and every glossy surface mirrors the ring as a white doughnut.
If you own a ring light for product photos, take it off the camera: to the side at 45°, parchment over it, a white board opposite. It is now a small lamp, and Setup 2 applies. Keep it away from watches and jewelry.
How do you light cotton, knits, silk, black, white, leather, metal and sequins?
The short answer
Matte fabrics take almost any soft light. Texture wants raking side light, sheen wants the biggest source you can make, black and white want the exposure set on the garment, and anything that reflects wants to be surrounded by white.
| Material | Light it with | Watch for |
|---|---|---|
| Matte cotton and canvas | Soft light at 45°. The easiest material there is. | Wrinkles read as shadows. Steam first. |
| Knits, rib, denim, tweed | Raking side light, lower than the product, with a light fill. | Too much fill flattens the texture. Add a close-up. |
| Satin and silk | The largest, softest source you can make. | Move the light until the sheen is one broad highlight, not a stripe. |
| Black garments | Side light so seams show, a fill opposite, a step of space from the background. | Expose for the garment, so black is cloth, not a hole. |
| White garments | Soft light at 45° with a slight shadow for shape. | Lower the exposure until the weave shows. |
| Leather and suede | Soft side light for a gentle gradient across the grain. | A hot spot means the source is too small. Diffuse it. |
| Patent, metal and glass | Tent it: white on three sides, so what it reflects is white. Black card at one edge for definition. | A clip-on polarizer cuts glare on glass and glossy plastic, not on bare metal. |
| Sequins and beads | One large soft source, plus one small point of light off to the side. | The big source shows the color; the small one makes the sparkle. |
| Sheer and lace | Soft light from the side and slightly behind, on a light background. | Show what sits underneath. |
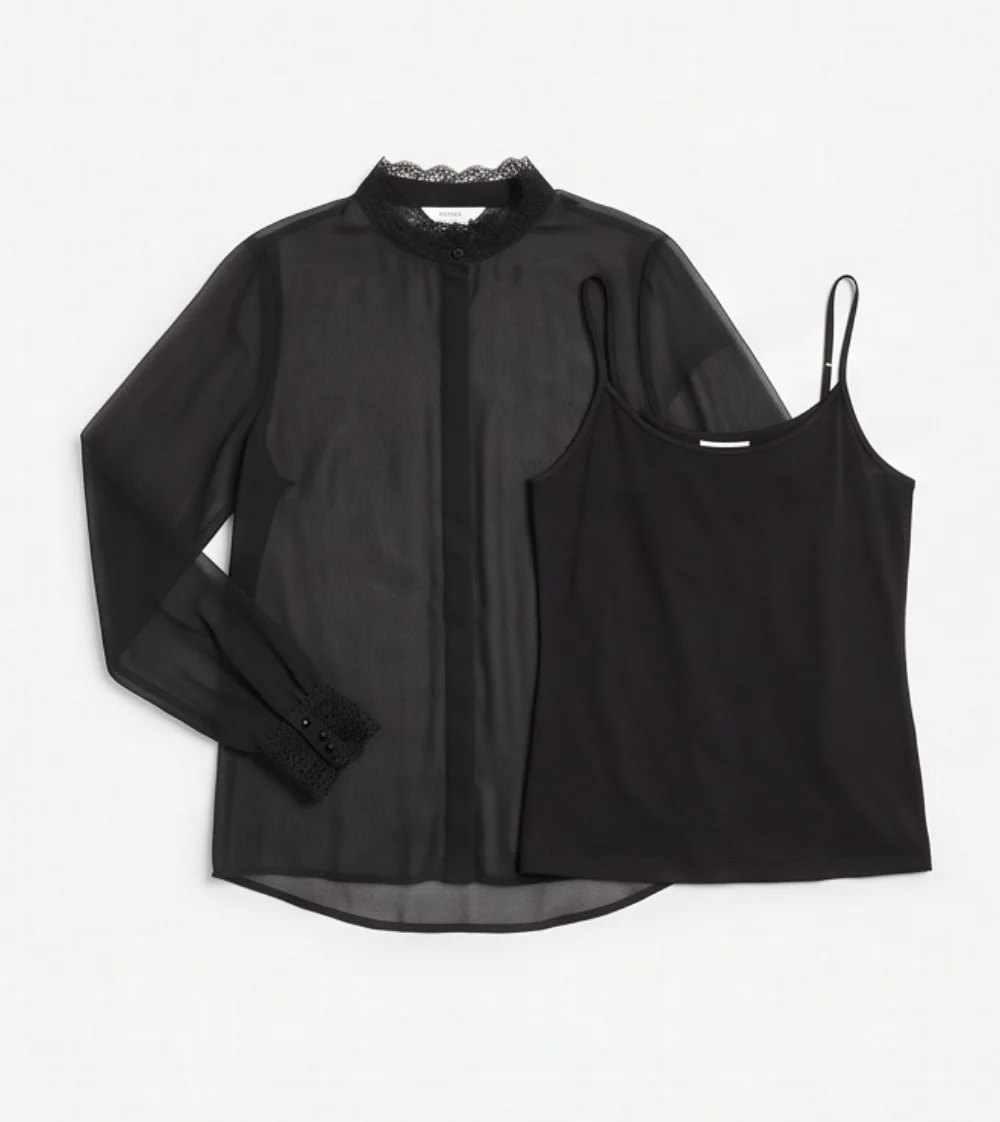
01 Flat, light background
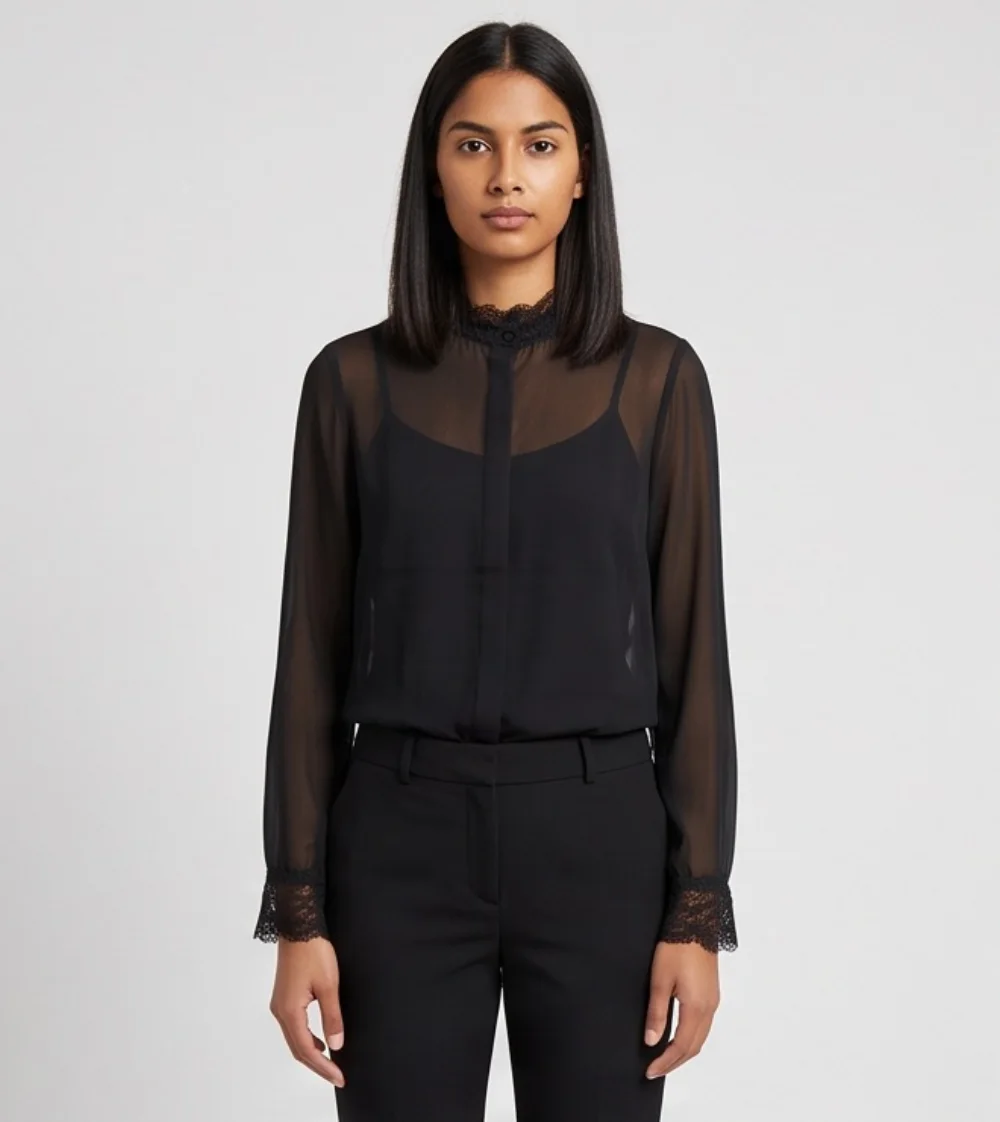
02 On the model
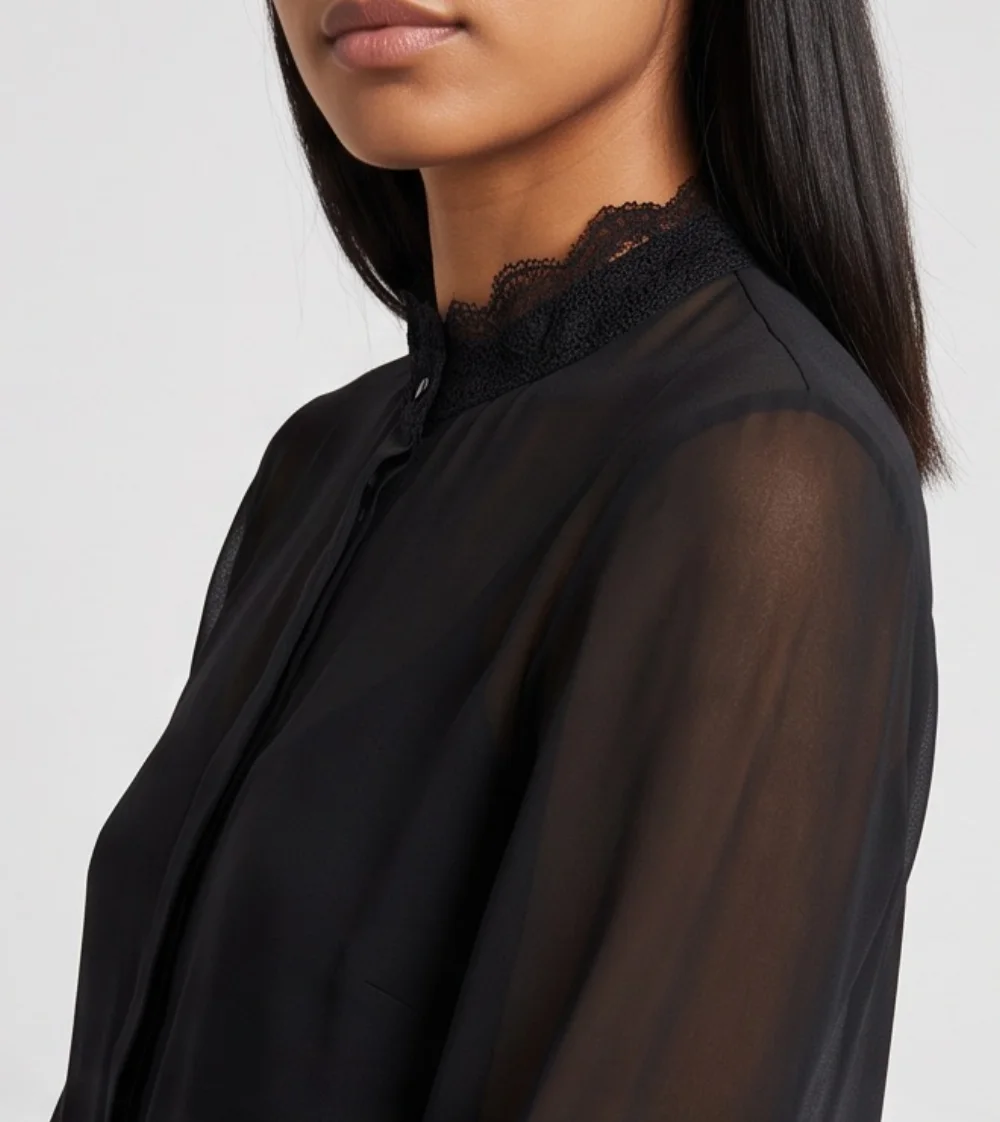
03 Full-size check
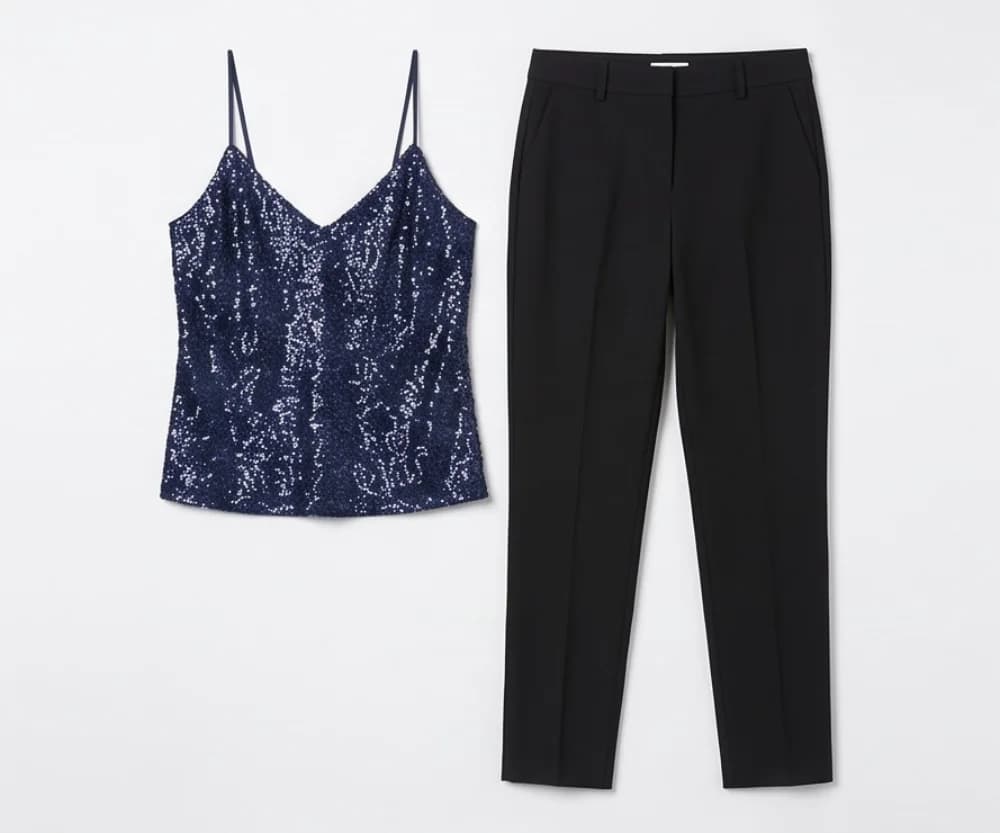
01 Flat
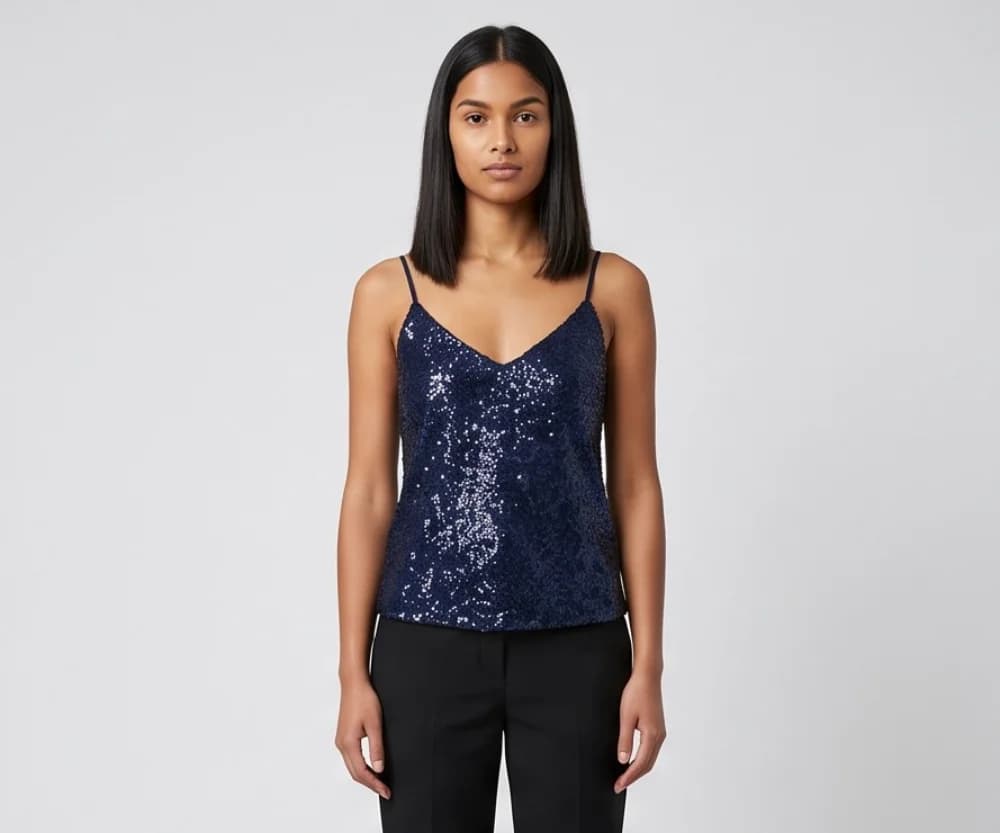
02 On the model
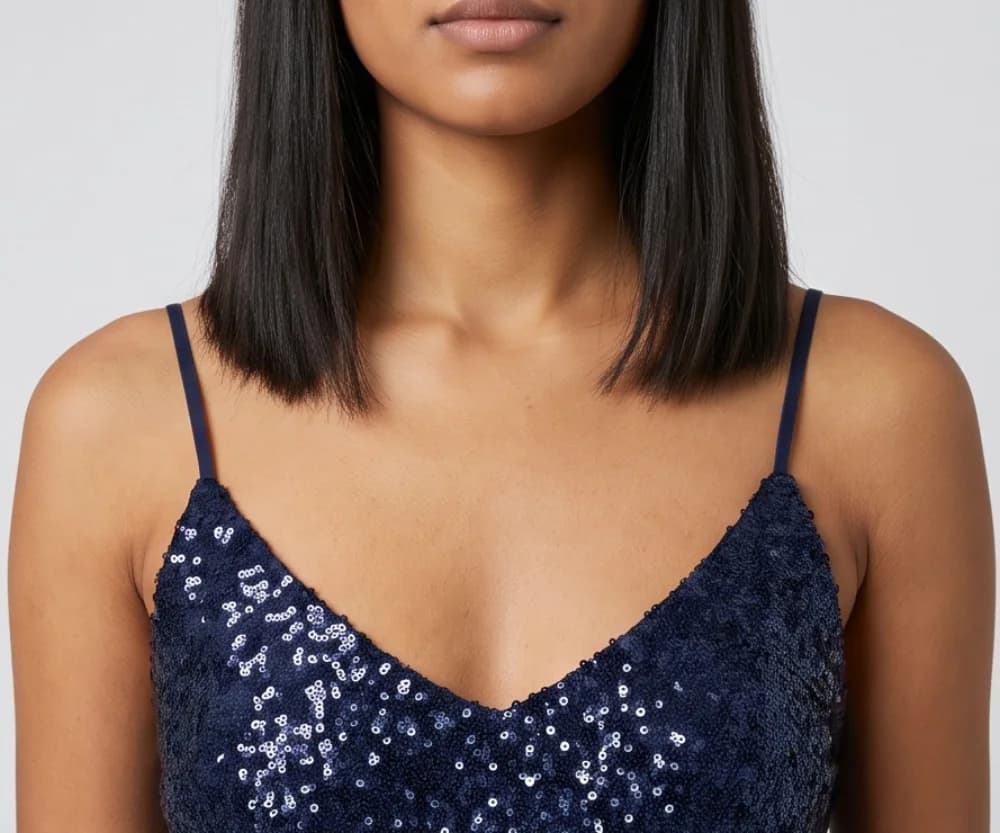
03 Full-size check
The garment-by-garment version is in the guide to clothing product photography.
What is the best lighting for clothing photography on a person at home?
The short answer
The same rule, one size up: the person stands beside a large window, turned about 45° toward it, with a white board or a white wall on the shadow side, a step or two away from the background. Room lights and flash off, the phone on a tripod at chest height.
- Window at 45°. Face and chest turned toward the light, so the garment gets shape and the face is not split in two.
- Reflector at chest height. Foam board on the shadow side, close enough that the far sleeve keeps its color.
- Off the wall. A step or two forward, so the shadow falls behind and the background stays lighter than the garment.
- Expose for the garment. Tap the fabric, not the face. No window in the background.
- Skip the sun. Squinting and hard shadows under the nose. Wait for a cloud, or hang the sheet.
- After dark: Setup 2, with the diffused lamp a little above eye level at 45°.
Google Merchant Center’s image requirements ask for clothing to be shown worn by people and for the product to fill 75% to 90% of the image, so an on-model photo is not optional for shopping ads. If nobody is free to stand by the window, the last section covers the other way.
How do you keep the lighting consistent across a catalog?
The short answer
Same light, same distance, same settings, same reference. Shoot every batch at the same time of day or with the same lamp, lock focus and exposure, and photograph a sheet of white paper or a gray card in every session to set the white balance from.
- Mark the spots. Tape for the product, the tripod feet and the board. Leave the setup up if you can.
- Same hour, or same lamp. Window light at 11 am and at 4 pm is two colors. A lamp in a dark room is the same every night.
- Lock the exposure. Press and hold on the product until the lock appears, then shoot the set.
- A reference frame. White paper or a gray card, photographed first. Set the white balance from it for the whole session.
- Same distance and height. Zoom changes perspective; moving the tripod changes the light.
- Export in sRGB. Etsy’s Help Center says it converts images to sRGB and recommends at least 2,000 pixels a side; eBay recommends about 1,600 by 1,600.
- Check the grid. Thumbnails side by side. Any photo warmer, darker or grayer than its neighbors gets reshot.
What are the most common product photography lighting mistakes?
The short answer
Mixed light sources, the flash or ceiling light, direct sun, a bare bulb, a ring light on something shiny, and exposing for the background.
- Daylight and room lights on together. One source. Lights off by day, curtains drawn by night.
- The flash, or the ceiling light. Both come from the wrong direction. Off.
- Direct sun on the product. Move out of the beam, or hang a sheet over the window.
- A bare bulb with no diffuser. Parchment or a shower curtain in front of it, before a second lamp.
- The window behind you, or behind the product. Window to the side, at 45° to 90°.
- A ring light on a watch, patent shoe or glass. Off the camera, to the side, diffused.
- Exposing for the background. Tap the product. Black stays black, white keeps its weave.
- Auto white balance drifting between shots. One frame of white paper per session, applied to the batch.
- The product against the backdrop. Pull it forward; the shadow falls away and the background lightens.
- Judging the photo on the phone screen. Check it at full size on a bigger screen before you publish.
What should you buy: under about $50, or about $150?
The short answer
Under about $50: foam board, a phone tripod, parchment and a clip-on daylight LED, with a window as the main light. Around $150: one continuous LED with a softbox or umbrella, a 60 cm lightbox, a gray card and a clip-on polarizer.
Under about $50
Two sheets of white foam board (one bounce, one sweep or wall), a roll of white paper, a small phone tripod, baking parchment or a white shower curtain as a diffuser, black card for edges on metal and white products, and a clip-on LED with a daylight bulb for evenings. The main light is the window you already have.
Around $150
One continuous daylight LED on a stand with a softbox or an umbrella; a 60 cm lightbox for jewelry, watches, bags and shoes, larger for boots; a gray card; a clip-on polarizer for glass and glossy items; a taller tripod for hanging garments or a person. A second light is not on this list.
What each option costs against hiring a photographer is in the guide to product photography cost.
How do you turn a simply lit product photo into an on-model photo?
The short answer
Light the product simply, in soft even light on a plain background, and upload that photo. Tryly puts the product on a model with the lighting and the background handled, in a studio, outdoor, lifestyle or abstract setting you choose, and you check the result at full size.
Every setup here produces the photo Tryly asks for: one sharp, well-lit photo on a plain background, filling as much of the frame as you can. With Tryly’s AI clothing photography tool you pick one of 500+ models, or use your own model or yourself, and keep the same model across the collection. Studio, outdoor, lifestyle and abstract backgrounds sit in tabs, and you can save your own. One photo is one credit, and the review step shows the cost before anything is spent.
 Before
 After
AfterStart with 10 free photos, no card. After that, plans start from $9.99/month (Starter plan, billed annually), which is from $0.33 a day, and photos cost as low as $0.25 each. At Tryly’s lowest rate, 100 on-model photos cost $25.
Questions sellers ask about product photography lighting
What is the best lighting for product photography at home?+
One large, soft light from the side, with a white board opposite to fill the shadows. A bright window out of direct sun plus a sheet of white foam board beats any cheap lamp. Room lights and flash off.
Do I need a lightbox for product photography?+
Only for small items. A lightbox, or product photo box, wraps jewelry, watches, bags and shoes in even light on a white background. It does not fit clothing, it flattens shape unless one side is lit more, and polished metal still reflects the camera opening.
Is a ring light good for product photography?+
No. It is a small light on the camera axis: right for faces, wrong for products. It flattens texture, and its ring reflects as a bright circle in watch glass, patent leather, metal, sequins and stones. Move it to the side and diffuse it.
What is the best lighting for clothing photography?+
Soft window light from the side at about 45°, a white board on the shadow side, room lights and flash off. Knits want the light lower and more to the side, silk wants the biggest source you can make, black needs a fill, and white needs a lower exposure.
Why do my product photos look yellow, blue or gray?+
Yellow usually means room bulbs mixed with daylight; blue is often a cool LED with the white balance guessed wrong; gray means the phone exposed for average brightness. Use one light source, photograph white paper in it, set the white balance from that frame, and raise the exposure until white is white.
What photography lighting kit should I buy for product photos?+
Before any kit: two sheets of white foam board, a phone tripod, baking parchment and a window. For after dark, one continuous daylight LED with a softbox or umbrella, not a two-light kit. For jewelry and watches, a 60 cm lightbox. For glass, a clip-on polarizer.
Sources: window direction, distance, diffusion and reflectors from Shopify’s natural light product photography guide and DIY product photography guide; flash, overhead lighting, backgrounds and image size from eBay’s photo tips; on-model and framing guidance from Google Merchant Center, image requirements; image size and color profile from the Etsy Help Center.
Written by
Elena Varga
Head of Content, Tryly Academy
Former e-commerce photo producer who ran catalogue shoots for fashion labels for over a decade. Writes the Academy’s guides.
- 11 years in fashion e-commerce
- 1,200+ catalogue shoots produced
Expert review
Sofia Moretti
Fashion photographer · Expert reviewer
Has shot campaigns and on-model e-commerce for fashion brands for 14 years. Reviews every Academy article for accuracy.
- 14 years in fashion photography
- Campaign and catalogue work across Europe
How we work: every Academy article is written by a specialist, reviewed by a working fashion photographer, and re-checked against its sources when prices or rules change.