Guide
Starting a clothing brand: a step-by-step launch plan
For one-person brands with a small budget: the niche, the name, print-on-demand or small-batch, samples, pricing, where to sell, product photos and the launch itself.

 By Elena Varga
 · Reviewed by Sofia Moretti |Fact-checked|11 min read
Key takeaways
- 1Start narrow: one customer, a short first collection, and a business model that fits the money you can tie up in stock.
- 2Price up from your landed cost and per-order costs, and know how many pieces you need to sell to break even.
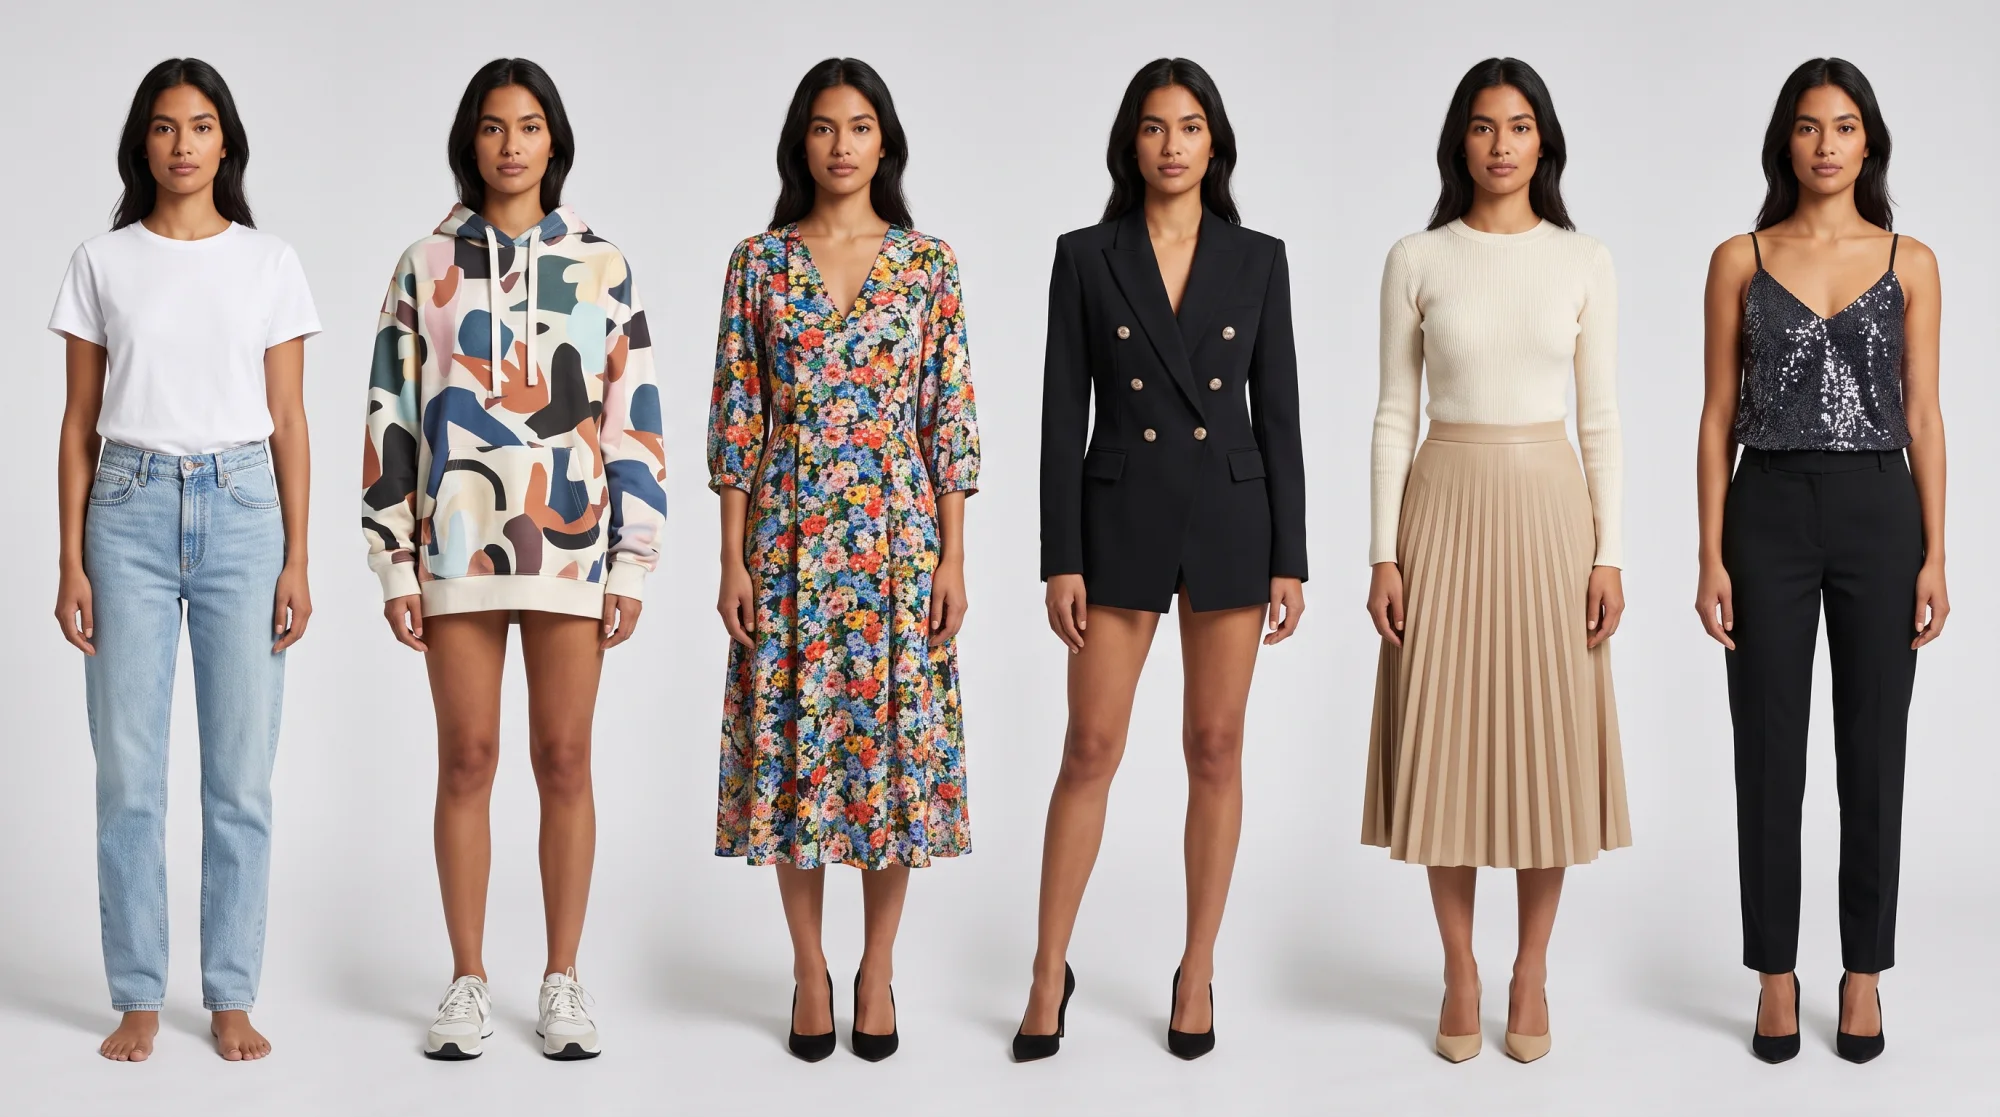
- 3Photos are the cost that comes back with every drop. A 12-piece collection at four photos each is 48 photos: $12 at Tryly’s lowest rate, on the same model throughout.
10 free photos, no card. Photos as low as $0.25 each.
On this page+
How do you start a clothing brand from home?
The short answer
Starting a clothing brand comes down to nine steps: pick a niche and a customer, choose a name you can own, choose print-on-demand, blanks or small-batch production, sample your designs, price from your real costs, set up a store, get product photos, launch on a set date, then reorder what sells. All of it can start from a spare room.
The order matters. Your customer decides your product, your product decides your business model, and your business model decides how much money you need before the first sale.
Step 1: Who is your clothing brand for?
The short answer
For one kind of person you can describe in a sentence: who they are, what they wear your pieces for, and why they would buy from you rather than a big brand. A narrow niche makes every later choice easier, from fabric to photos to ads.
- Write one line: [product] for [customer] who [need]. For example, heavyweight graphic hoodies for skaters who wear them all winter.
- Look where they already shop. Search Etsy, Depop and the brands they follow. Note the prices and read the reviews: complaints about fit, thin fabric or sizing are your opening.
- Keep the first collection short. A few core pieces in a few colors means fewer samples, less stock and fewer photos.
Step 2: How do you choose a brand name and identity?
The short answer
Pick a short name that is easy to spell, and check it is free before you fall for it: trademarks, the domain and the social handles. Then set a simple identity you can repeat everywhere.
Check the name is free
- Trademarks. In the US, search the USPTO’s Trademark Search system for your name and similar names on clothing. The USPTO says a mark too similar to a registered one is one of the most common reasons applications are rejected. Elsewhere, use your country’s trademark office, and ask a trademark attorney before you file.
- Domain and handles. A .com or your country’s domain, and the same handle on every platform your customer uses.
Create a fashion brand identity you can repeat
A logo that still reads small, on a woven label or a neck print. Two or three colors, one typeface, and one photo style: the same model, background and light on every product page. Repetition is what makes a small brand look established.
Step 3: Print-on-demand, blanks or small-batch production?
The short answer
Choose by how much money you can tie up in stock. Print-on-demand needs no inventory but gives you the least control and the thinnest margin per piece. Blanks with your own printing need a first run of stock. Small-batch cut-and-sew gives you your own fit and fabric, but needs samples and a minimum order.
| Model | Money up front | Minimum order | Control | Best for |
|---|---|---|---|---|
| Print-on-demand | Lowest: no stock | None: made when it sells | Low: the supplier’s blanks and printing | Testing designs |
| Blanks + your decoration | Low to medium: a first run | Set by your printer: ask | Medium: your blank and print, not the cut | Graphic streetwear |
| Cut-and-sew, small batch | Highest: samples plus a run | Set by the factory: ask per style and color | Full: pattern, fabric, fit, labels | Brands where fit is the product |
The less you commit up front, the less you keep per piece. You can test designs on print-on-demand or blanks, then move the proven ones to small-batch. If you are starting a clothing line to sell on Etsy, its production partner guide covers all three routes and requires you to disclose the partner on your listings.
Step 4: How do you design and sample your first pieces?
The short answer
Put each design in a tech pack, sample it, fit it on real people and wash it before you order production. Plan for more than one sample round, and keep the approved sample as the reference production must match.
A tech pack holds front and back sketches, a measurement chart for each size, the fabric and trims, the artwork with its size and position, and where the labels go. Then:
- Fit the sample on real bodies across your size range, not on a hanger. Watch people sit, lift their arms and turn.
- Mark every change on the tech pack, not in a message thread.
- Wash-test it: shrinkage, color running, prints cracking.
- Approve a final sample and keep it. On print-on-demand, order one of every product before you list it.
Labels are regulated too. In the US, the FTC’s textile labeling guide says clothing labels must show fiber content, country of origin, and the company name or registered identification number, with care labels under a separate FTC rule. Elsewhere, check your country’s rules.
Step 5: What does starting a clothing brand cost, and how do you price it?
The short answer
Your starting cost depends mostly on your business model: little up front for print-on-demand, samples and a production run for small-batch. To price, add up what each piece costs to reach you and what each order costs, then price at a multiple that still leaves a profit after discounts and returns.
Four numbers for every piece
- Cost of goods: blank or fabric, sewing or printing, trims, labels.
- Landed cost: cost of goods plus freight to you, any duties and import fees, and packaging.
- Per-order costs: payment processing, platform fees, free shipping and returns.
- Fixed costs: samples, photos, your store and ads, spread over the pieces you expect to sell.
Set the price, then check it
Price minus landed cost minus per-order costs is what you keep. Leave room for a launch discount and, one day, a wholesale price. If the math only works at a price your customer will not pay, change the product or the business model before you order stock.
The U.S. Small Business Administration’s break-even point is fixed costs divided by price minus variable costs: the pieces you must sell before you make money. Permit and tax rules vary by activity and location, so check with your local authority and an accountant.
Step 6: Where should a new clothing brand sell?
The short answer
Your own store builds the brand and the customer list; marketplaces bring shoppers who are already searching. A practical start is your own store plus one marketplace where your customer already shops.
The best websites to start a clothing brand
- Your own store, on a platform such as Shopify: your design, prices and customer emails, and where your ads send people. You bring every visitor yourself.
- Etsy: pieces of your own design, made by you or a disclosed production partner, sold under Etsy’s rules and fees.
- Depop: Depop’s listing guide allows up to four photos and a video in the app, or eight photos on the web, so every photo has to work.
- Social media: where you show drops and build the waitlist, then send people to your store.
Wherever you sell, read the platform’s own rules on selling, fees and photos before you list.
Step 7: How do you get product photos for a small clothing business?
The short answer
Plan four product-page photos for every piece (an on-model front, a back or side, a detail close-up and a flat lay or ghost mannequin shot) plus lifestyle images for ads. Photos come back with every drop, so choose a method you can repeat. A 12-piece collection at four photos each is 48 photos: $12 at Tryly’s lowest rate.
| Shot | Where it is used | How to get it |
|---|---|---|
| On-model front | Main product photo, shopping ads, social | A model, yourself, or made from your flat photo |
| On-model back or side | Fit, length and back prints | Same model and light as the front |
| Detail close-up | Print, fabric, stitching, label | Your phone, close up, in daylight |
| Flat lay or ghost mannequin | A clean, matching collection grid | A plain background, or a ghost mannequin shot |
| Lifestyle | Ads, launch posts, lookbook, email | A styled shoot, or the same model in a scene |
For clothing, the on-model shot matters most: Google’s Merchant Center image guidelines ask for clothing products shown worn by people. For the flat photos, see the flat lay photography guide.
Your four options
Yourself or friends
Little money, a lot of time, and hard to keep one look across a collection.
A photographer and a studio
The most control and the highest price, booked again for every drop.
Flat lays only
Cheap and repeatable, but a flat lay cannot show how a piece fits.
On-model from your flat photo
Each piece photographed flat, then put on a model. One model can wear the whole collection.
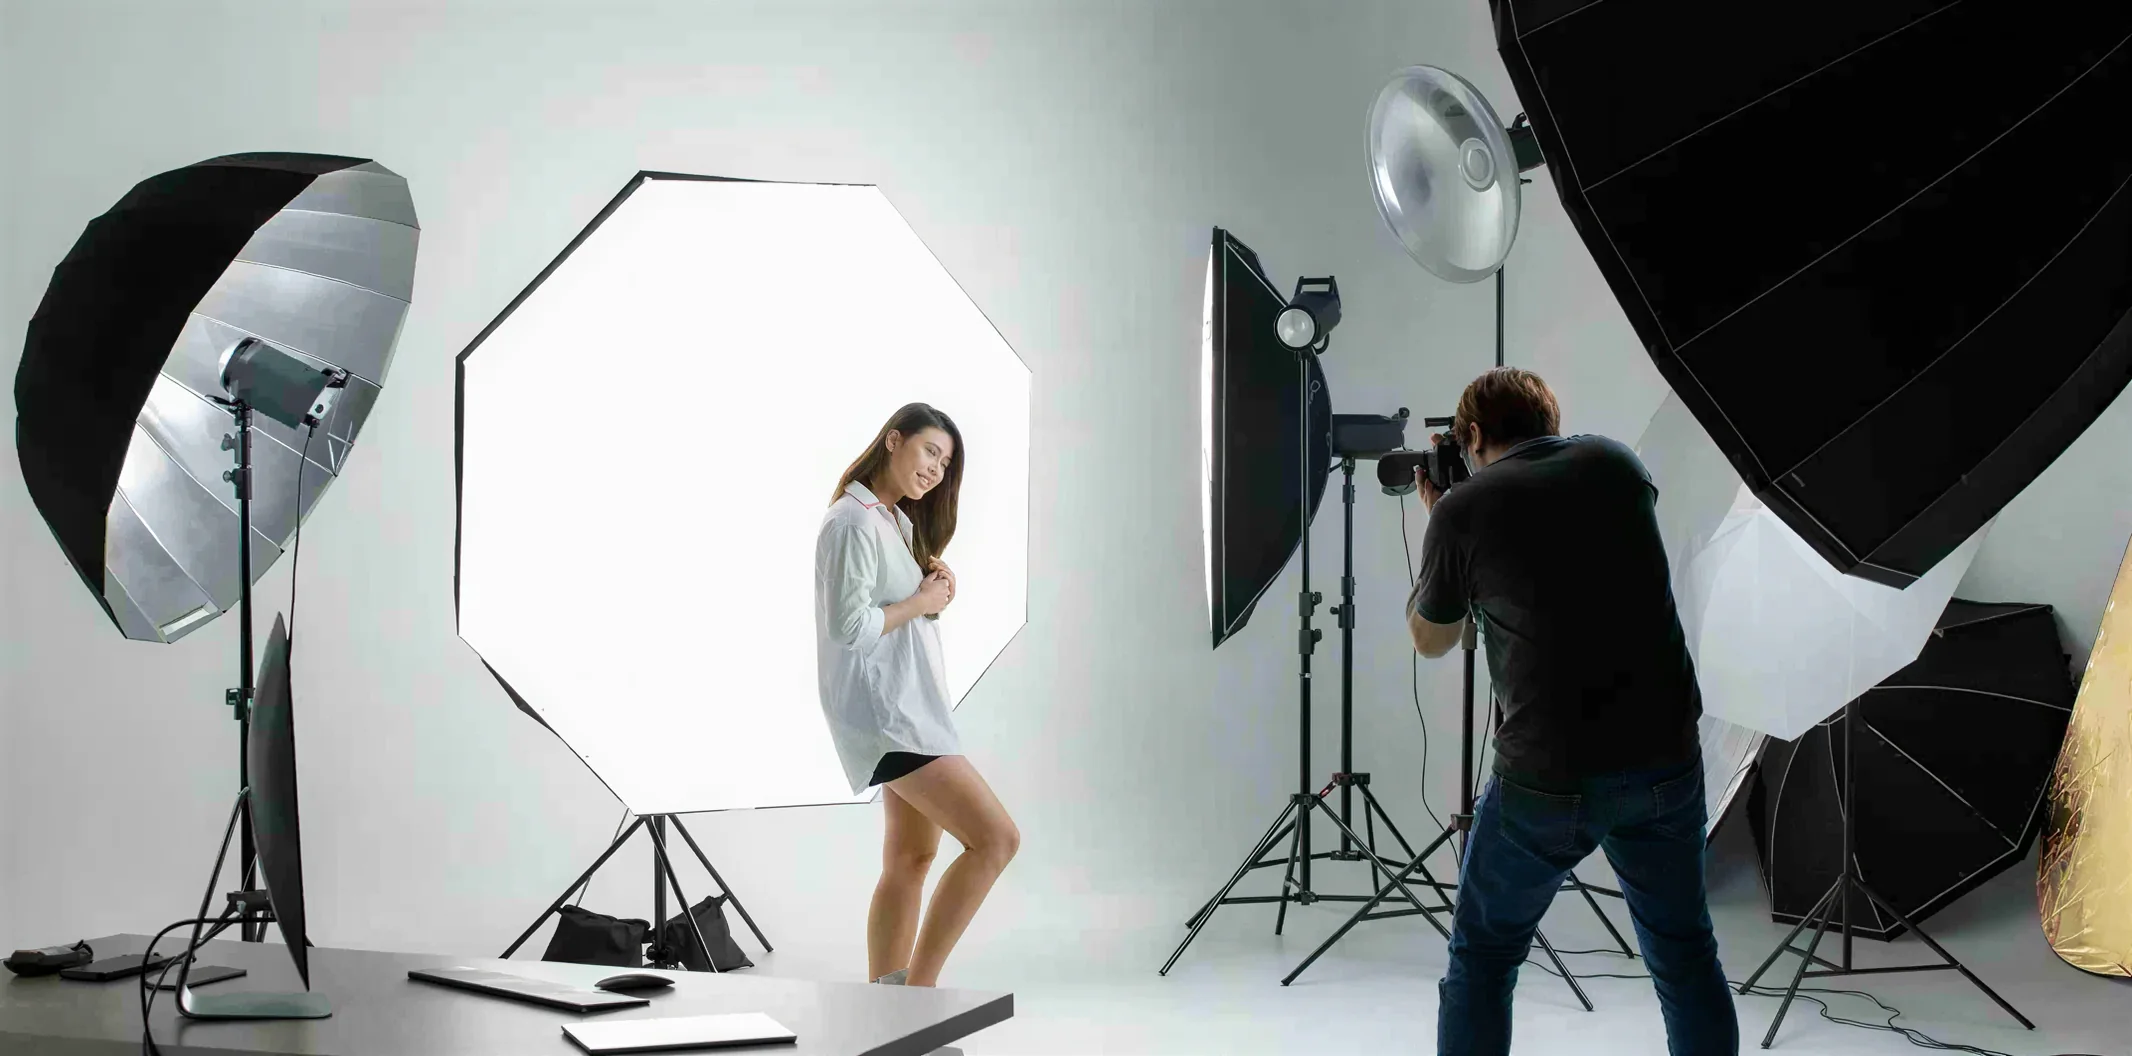
The money gap is wide. Shopify’s product photography pricing guide puts product photographers at $500 to $3,000 per day, or $50 to $350 per image, with model fees on top. At that per-image range, 48 photos come to $2,400 to $16,800 before a model. On Tryly, one photo is one credit: the same 48 photos are $12 at Tryly’s lowest rate. The full cost of a fashion photoshoot breaks the rest down.
On-model photos from a flat photo
With Tryly’s AI clothing photography, you upload a flat, hanger or mannequin photo of each piece and choose one of 500+ models, or your own model or yourself. Your approved sample is enough to start.
 Before
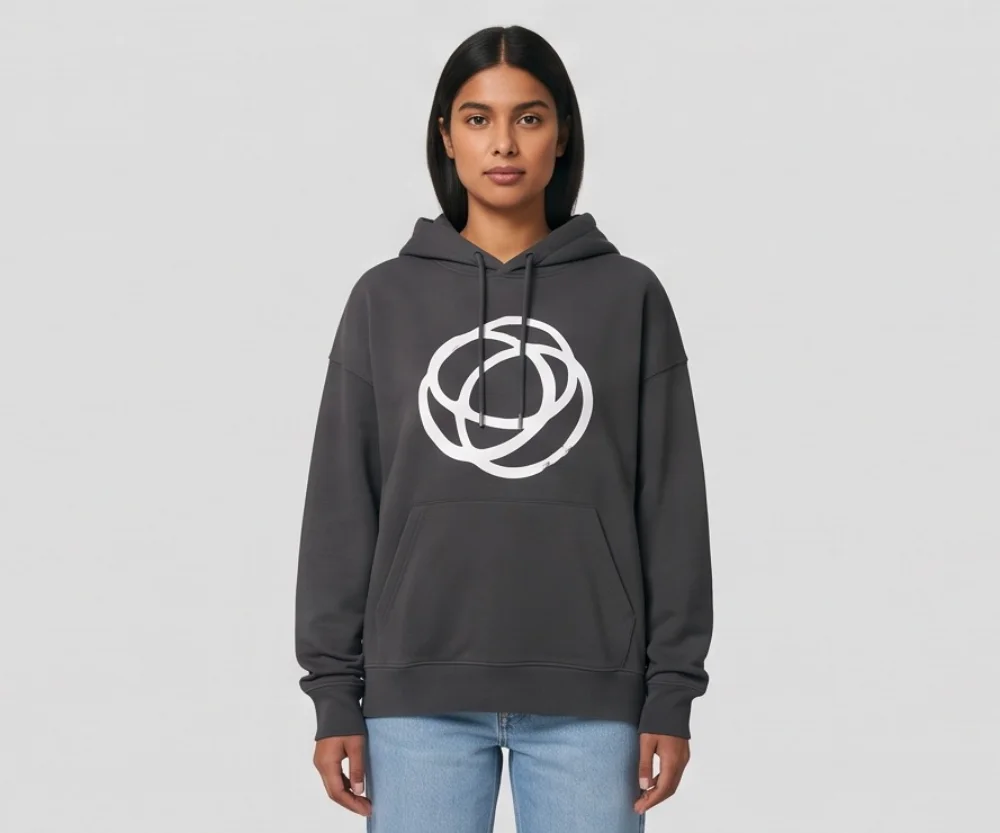 After
AfterKeep the same model across the whole collection
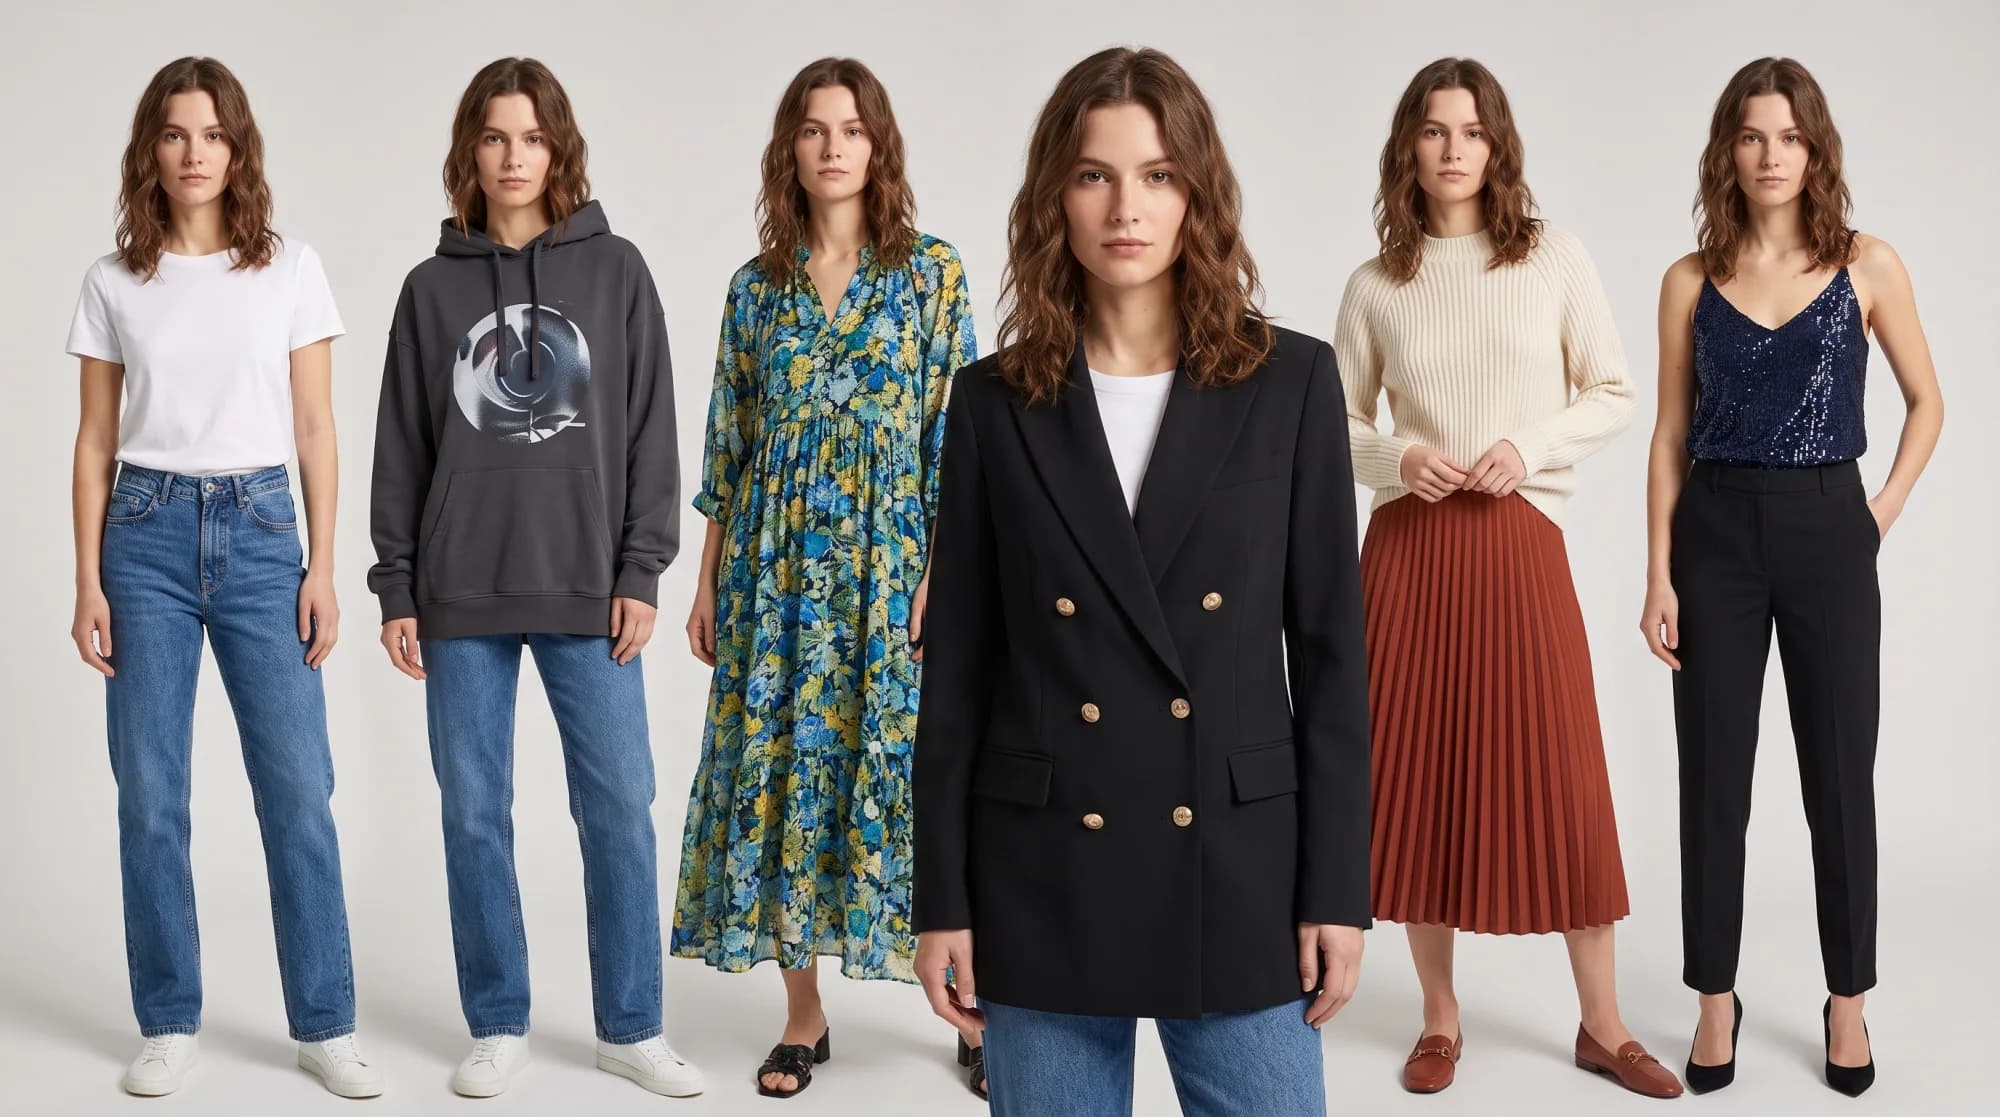
A first collection reads as one brand when every piece is on the same person. Pick one model and shoot your pieces one at a time; on a paid plan, a “Same model” button brings back the model from your last shoot in a click. Later, the same pieces can go on a second model for a different audience, with no new photoshoot. The collection demo shows ten garments on one model.
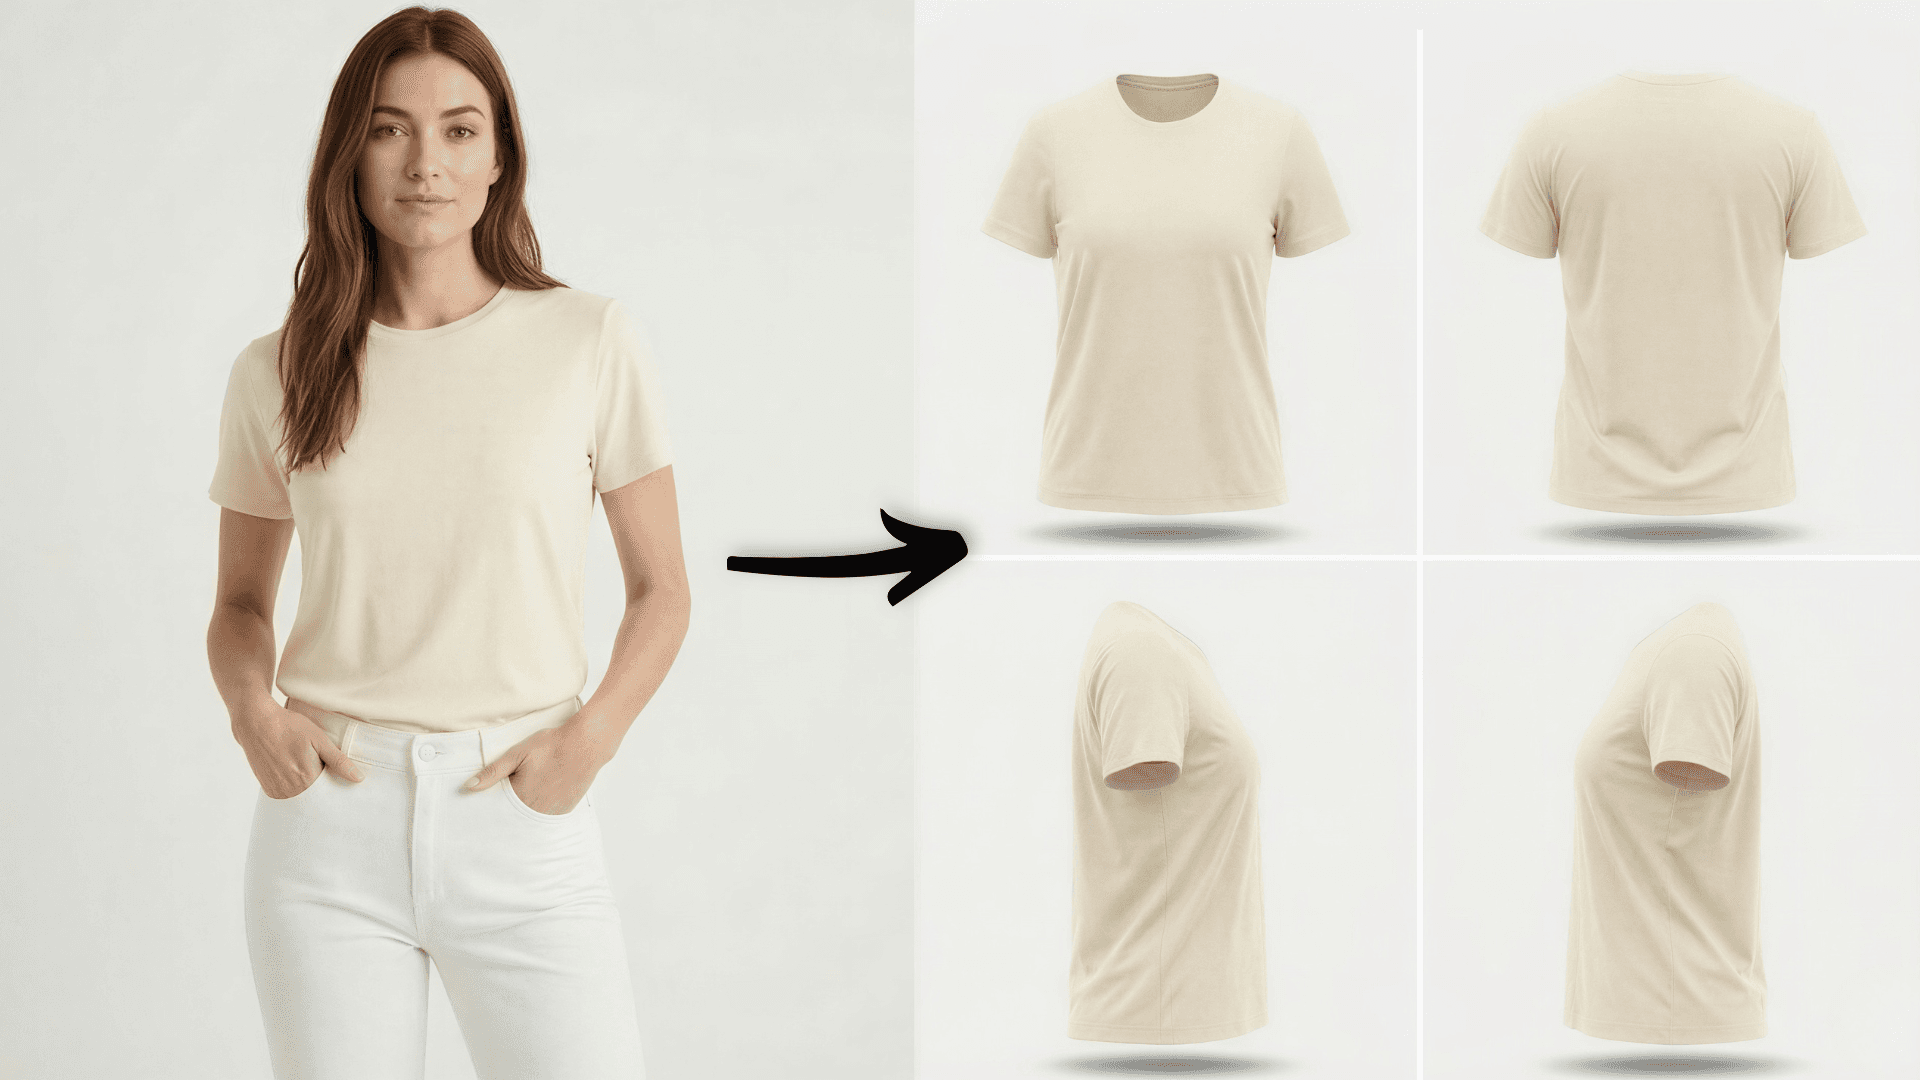
Ghost mannequin shots for a clean grid
Ghost mannequin photos start from the same kind of flat or hanger photo. You choose up to eight angles per garment (front, back, both sides and four three-quarter views), depending on which sides you photographed, and each angle is one photo.
The test that matters
Try it on your hardest garment first.
Sellers judge an AI photo tool on the piece most likely to go wrong: a print, a logo, sheer fabric or a detail that has to sit exactly right. Check the result at full size before you publish it. Here: a black T-shirt with a “STUDIO 88” slogan.
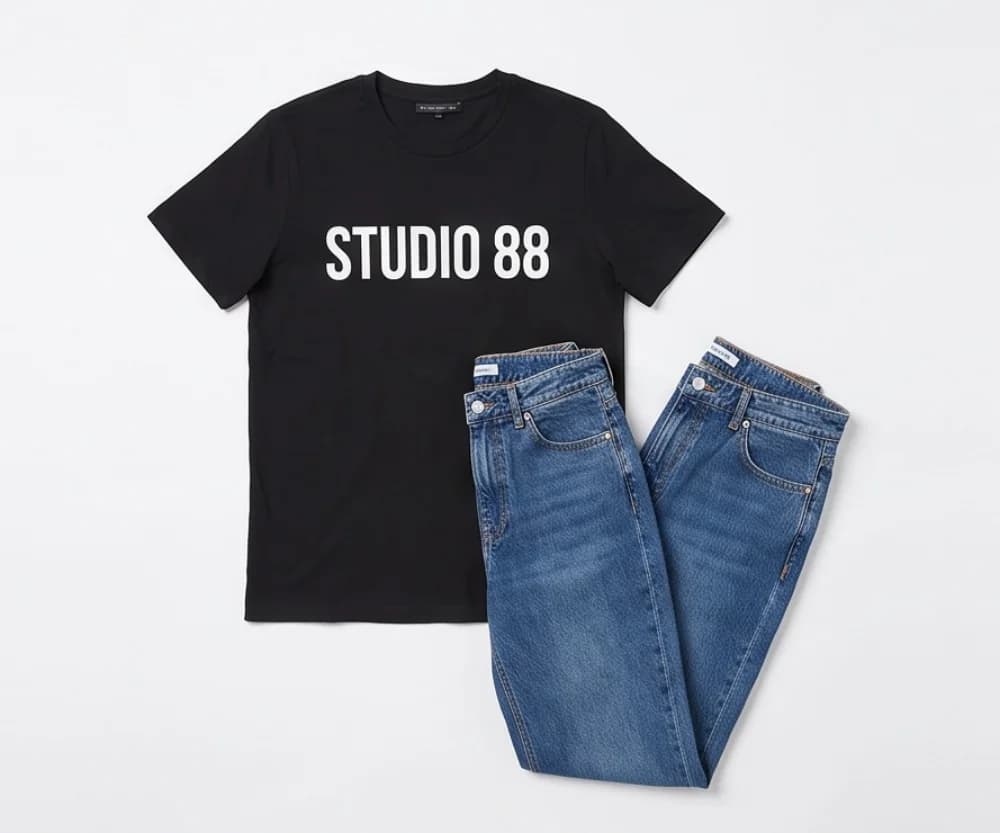
01 Product photo
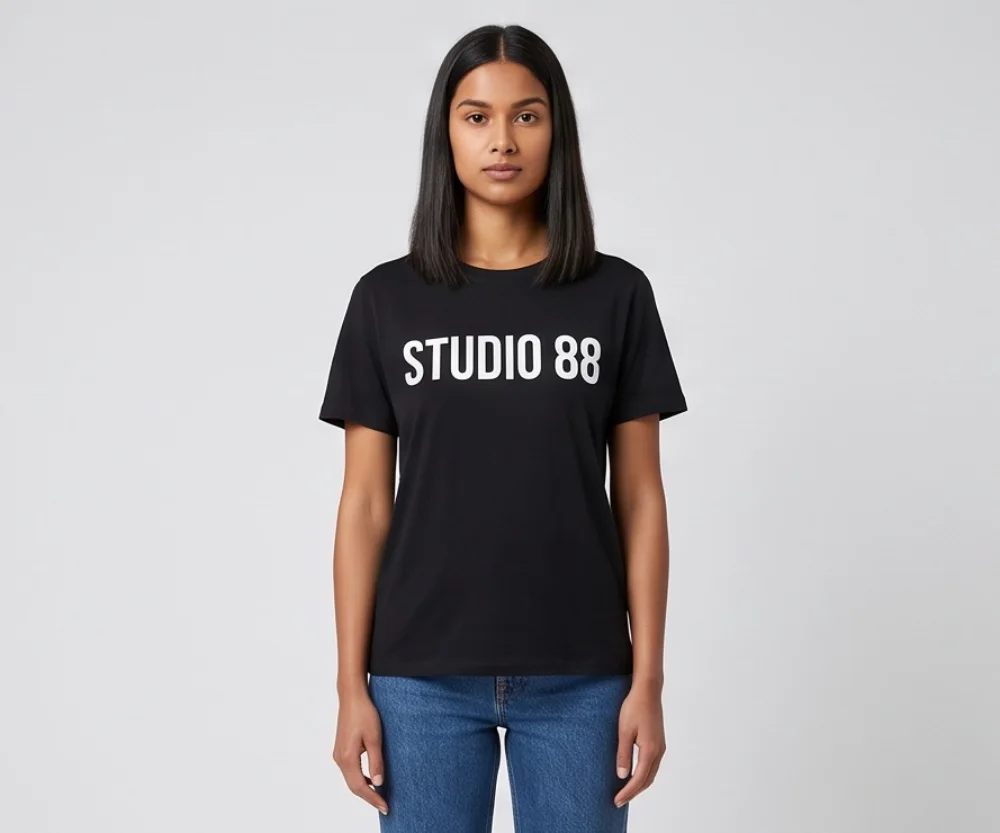
02 On the model
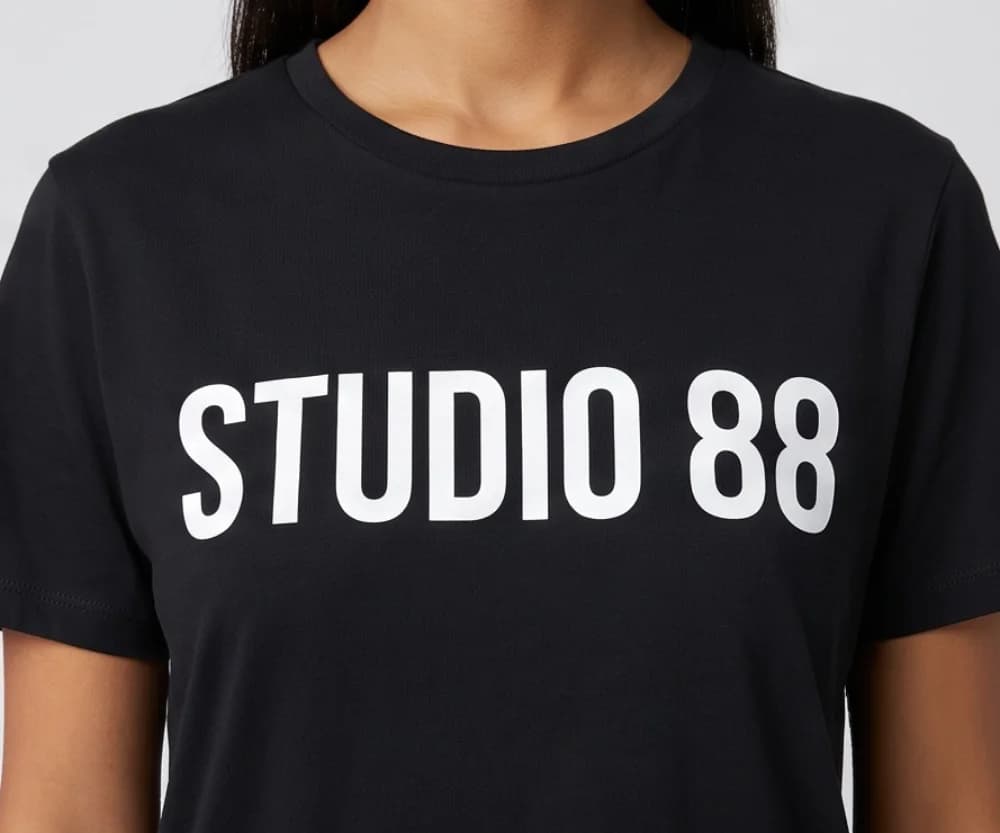
03 Full-size check
10 free photos, no card.
Photos made on a paid plan can be used on your store, in ads and on social media; the usage rights guide covers the details.
Step 8: How do you launch a clothing line?
The short answer
Set a drop date, build a waitlist before it, and have every product page, the lookbook, the first posts and the ads ready before the day. A small, finished collection launches better than a big, half-photographed one.
- Every product page finished: photos, measurements, size chart, fabric and care.
- Shipping, returns and exchange policies written.
- A test order placed through your own checkout and shipped to yourself.
- A waitlist signup on your store and in your social bio.
- The lookbook and campaign images done, on the same model as the product pages.
- Teaser posts and a small ad test ready, with several images per product.
Announce the date early and repeat it. A lookbook shows the collection styled together and doubles as launch posts and ads, which need several images per product. For the timeline from sample to live store, see how to launch collections faster.
Step 9: What do you do after launch?
The short answer
Read sales by product, size and color, reorder what sells, ask every buyer for a review, and treat returns as feedback on fit and photos. Then shoot the next drop on the same model and setup.
- Reorder by size and color, not by style alone. A hoodie that sells out in medium and sits in extra-large needs a different reorder.
- Ask for reviews after delivery, and invite buyers to add a photo.
- Read the return reasons. “Too small” means fixing the size chart and adding back and side photos that show the fit. “Not as pictured” means checking your photos’ colors against the garment.
- Keep the look for the next drop: same model, background and angles. See how small brands compete on imagery.
Questions about starting a clothing brand
How much does it cost to start a clothing brand?+
It depends mostly on your business model. Print-on-demand needs little up front because nothing is made until it sells; blanks need a first run of stock; small-batch needs samples and a production run. List your one-time and monthly costs, as the U.S. Small Business Administration suggests, including photos.
Can I start a clothing line from home?+
Yes. Print-on-demand or small runs of blanks, a phone for photos and your own online store can all run from a spare room. The SBA notes that zoning can still apply to home-based businesses and that permit rules depend on your activity and location, so check with your local authority and an accountant.
Do I need to trademark my clothing brand name?+
Search before you commit. In the US, the USPTO’s Trademark Search system shows registered marks, and the USPTO says a mark too similar to a registered one is one of the most common reasons applications are rejected. Whether and when to register is a question for a trademark attorney.
What are the best websites to start a clothing brand?+
Your own store, on a platform such as Shopify, holds your brand, prices and customer list. Marketplaces such as Etsy and Depop bring shoppers who are already searching, under their own rules. Start with your own store plus one marketplace where your customer shops.
How many product photos does each item need?+
At least an on-model front, a back or side, a detail close-up and a flat lay or ghost mannequin shot, plus lifestyle images for ads. For a 12-piece first collection at four photos each, that is 48 photos: $12 at Tryly’s lowest rate of $0.25 per photo.
How do I get model photos without a photoshoot?+
Photograph each piece flat, on a hanger or on a mannequin, and put it on a model with Tryly: one of 500+ models, your own model or yourself, the same one across the whole collection. One photo is one credit, photos cost as low as $0.25 each, and you can start with 10 free photos, no card.
Sources: USPTO; Etsy Help; FTC; SBA, startup costs; SBA, licenses and permits; Depop Help; Google Merchant Center Help; Shopify’s product photography pricing guide.
Written by
Elena Varga
Head of Content, Tryly Academy
Former e-commerce photo producer who ran catalogue shoots for fashion labels for over a decade. Writes the Academy’s guides.
- 11 years in fashion e-commerce
- 1,200+ catalogue shoots produced
Expert review
Sofia Moretti
Fashion photographer · Expert reviewer
Has shot campaigns and on-model e-commerce for fashion brands for 14 years. Reviews every Academy article for accuracy.
- 14 years in fashion photography
- Campaign and catalogue work across Europe
How we work: every Academy article is written by a specialist, reviewed by a working fashion photographer, and re-checked against its sources when prices or rules change.