Guide
What is a tech pack? How to make one for your first clothing line
For founders about to email a manufacturer for the first time: what goes on each page, a worked hoodie example, how to build one in a spreadsheet, and how samples get approved.

 By Elena Varga
 · Reviewed by Sofia Moretti |Fact-checked|13 min read
Key takeaways
- 1A tech pack is the instruction file a factory prices, samples and produces from. If it is not written down, the factory will guess.
- 2The core pages: flats with callouts, a bill of materials, measurements with tolerances, grading, construction, artwork placement, colorways, labels and costing.
- 3You can build one in a spreadsheet. Once the sample is approved, photograph it flat and put it on a model for pre-orders: a 6-piece drop at four photos each is $6 at Tryly’s lowest rate.
10 free photos, no card. Photos as low as $0.25 each.
On this page+
What is a tech pack?
The short answer
A tech pack is the instruction file a clothing factory uses to price, sample and produce your garment. It holds flat sketches, a bill of materials, measurements for every size with tolerances, construction details, artwork placement, colorways, labels, packaging and a costing sheet. Anything not in it, the factory has to guess.
Tech pack is short for technical package. It is usually one PDF per style, with one topic per page, sent to a manufacturer before they quote or cut anything. You write it once, then update it after every sample round until the garment is approved.
If you are still choosing between print-on-demand, blanks and cut-and-sew, start with how to start a clothing brand. A full garment tech pack is for cut-and-sew: a factory making a garment to your design.
Why do factories ask for a tech pack?
The short answer
Factories ask for a tech pack because they cannot quote, sample or produce a garment they cannot see in full. A tech pack lists the materials to buy, the measurements to hit and the construction to follow, and gives the brand a written standard to check each sample against.
- A real quote. The price depends on fabric, trims, print method and sewing time. Without a bill of materials and construction notes, any quote is an estimate.
- A first sample closer to right. Every missing detail becomes the factory’s choice, and each wrong choice costs a sample round.
- A shared standard. When a sample arrives, you compare it with the tech pack line by line. “It feels short” becomes “body length is 1 inch under spec”.
- A file you own. If you change manufacturers, the tech pack goes with you.
The guide to finding a clothing manufacturer covers who to contact and what to ask; this one covers what to send them.
What goes in a clothing tech pack, page by page
The short answer
A clothing tech pack usually runs to ten sections: cover page, flat sketches, bill of materials, measurement spec, grading, construction, artwork, colorways, labels and packaging, and costing. Each answers one question the factory would otherwise ask you.
| Page | What it holds | The factory’s question |
|---|---|---|
| Cover page | Style name and number, season or drop, sizes, colorways, your brand and contact, version and a front sketch | Which garment is this, and which version? |
| Flat sketches | Front and back line drawings, with callouts pointing to every seam, trim and detail | What does it look like? |
| Bill of materials | Every fabric, trim, label, thread and packaging item, with color, size, quantity and placement | What do we buy? |
| Measurement spec | Points of measure for the sample size, how each is measured, and a tolerance | How big is it, and how far off is acceptable? |
| Grading | The same points of measure for every size, or the amount each one changes per size | How do the other sizes differ? |
| Construction | Seam types, stitch types, seam allowances, hems and finishes, area by area | How is it sewn? |
| Artwork and print | Each print or embroidery: file, method, colors, size and position measured from a fixed point | What goes where, and how big? |
| Colorways | Every color version, with the color of each part and trim | Which parts change color? |
| Labels and packaging | Label positions and content, hangtags, folding, bags and carton marks | How does it leave the factory? |
| Costing sheet | Materials, making, trims, packaging and the factory price per unit, by quantity | What will it cost? |
Flat sketches
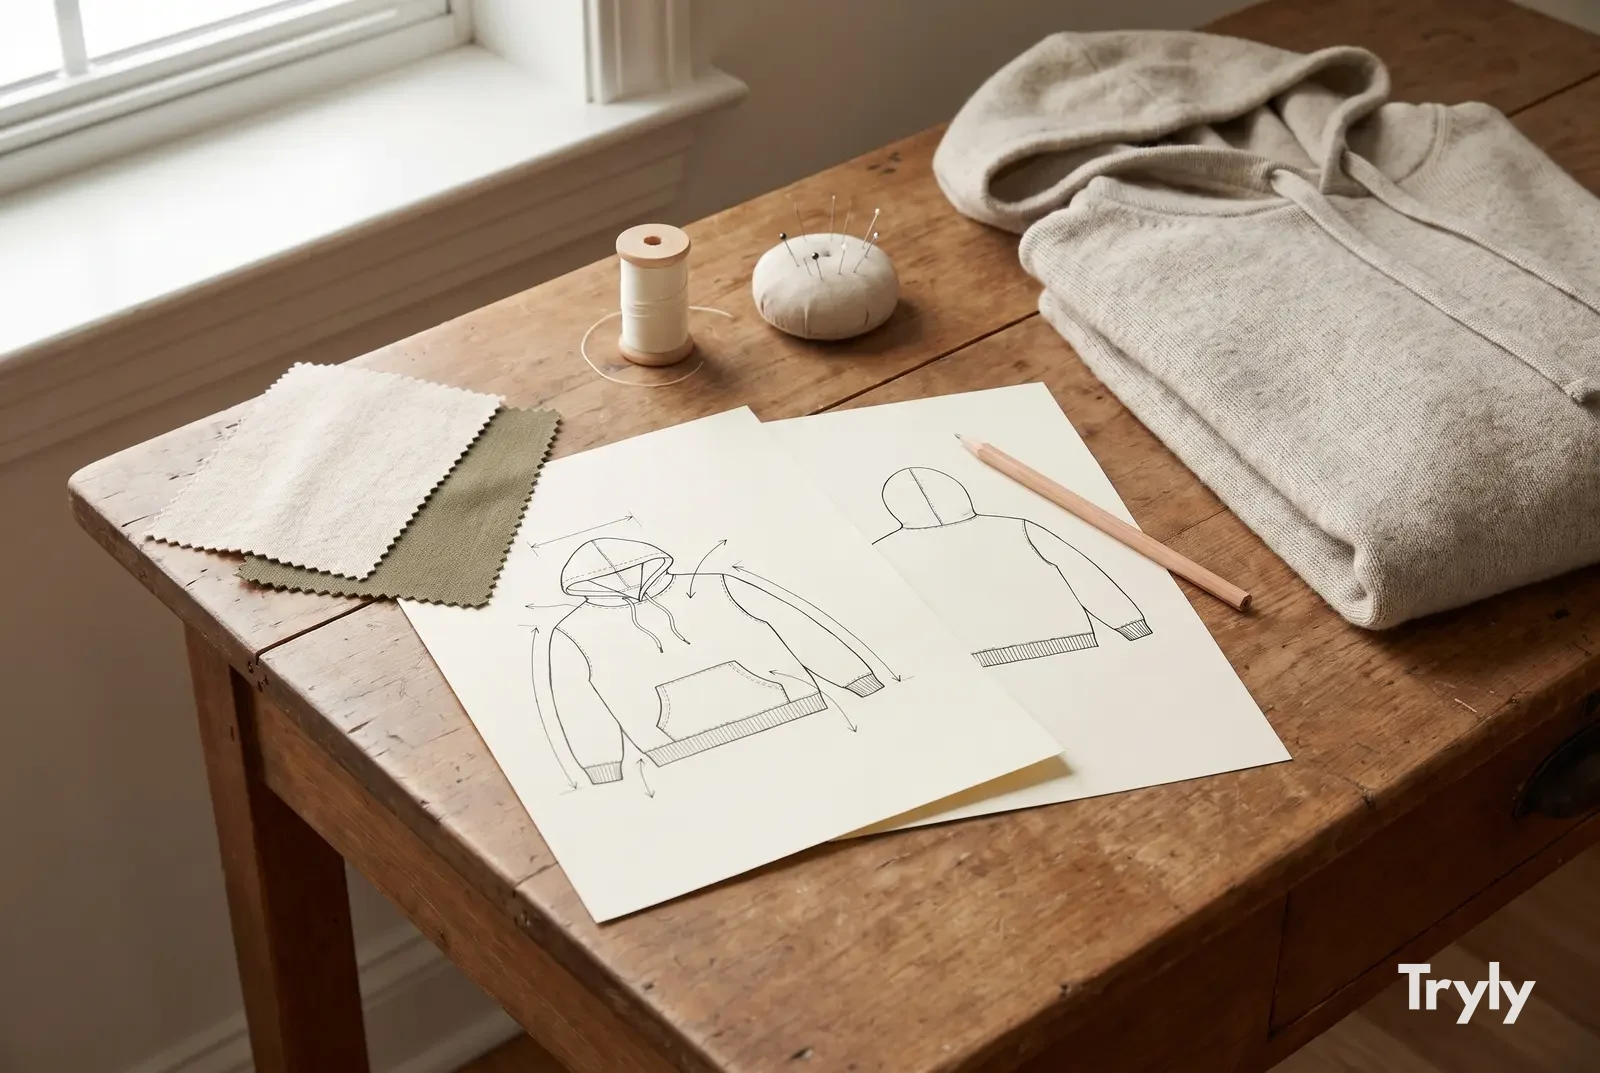
Flats are line drawings of the garment laid flat, front and back, with no model and no shading. Number every callout (hood, drawcord, pocket, cuffs, hem, print) and use those numbers on later pages.
Bill of materials
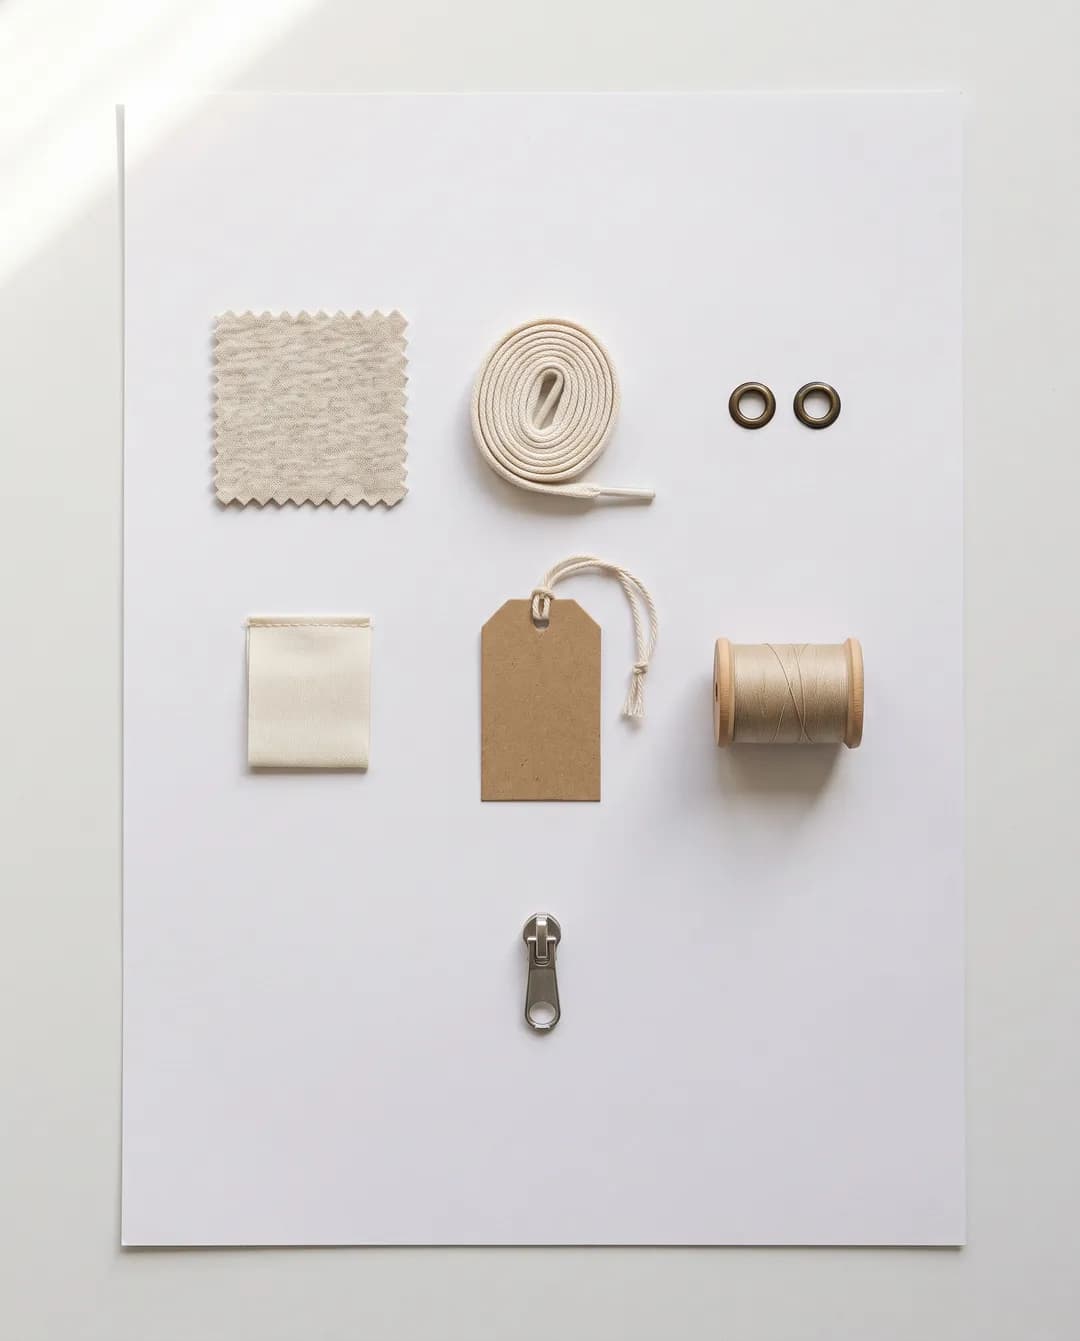
The bill of materials, or BOM, is the shopping list, one row per item. If you have a supplier or a swatch for an item, name it.
Measurement spec and tolerances
The spec sheet lists points of measure (POM) for your sample size. Each POM needs a code, a name, a method (where the tape starts and stops) and a tolerance: how far off it can be and still pass. The guide to measuring clothes shows how to measure a garment flat.
Grading across sizes
Grading sets every POM for every size: either a full table with one column per size, or a grade rule for how much each point changes per size.
Construction details
A marked-up close-up photo of a seam you like often says more than a paragraph of construction notes.
Artwork, colorways and costing
Say whether each print stays the same size on every garment size or scales with it. List colorways part by part, so the factory knows whether the drawcord changes with the body.
The costing sheet is often filled in by the factory. Ask for the price per unit at two or three quantities.
Tech pack example: a basic hoodie
The short answer
A tech pack example for a basic pullover hoodie (drawcord hood, kangaroo pocket, rib cuffs and hem, one front print) needs a points-of-measure table, a bill of materials and construction notes. The numbers below are illustrative, not a standard: set your own from a reference garment you like.
Points of measure (inches, size M sample)
| Code | Point of measure | How to measure | M | Tol. | Grade / size |
|---|---|---|---|---|---|
| A | Body length | High point of shoulder to bottom of hem rib | 27 | ± 1/2 | + 1 |
| B | 1/2 chest | Straight across, 1 in below armhole | 22 | ± 1/2 | + 1 |
| C | 1/2 hem width | Across bottom of rib, relaxed | 19 | ± 1/2 | + 1 |
| D | Shoulder width | Shoulder seam to shoulder seam | 20 | ± 3/8 | + 3/4 |
| E | Sleeve length | Shoulder seam to end of cuff | 23 | ± 1/2 | + 1/2 |
| F | 1/2 bicep | Straight across, 1 in below armhole | 9 | ± 1/4 | + 3/8 |
| G | 1/2 cuff width | Across cuff, relaxed | 3 3/4 | ± 1/4 | + 1/8 |
| H | Hood height | High point of shoulder to top of hood | 14 | ± 1/2 | + 1/4 |
| I | 1/2 hood width | Across hood at widest point | 10 1/2 | ± 3/8 | + 1/4 |
| J | Pocket width | Across bottom edge of pocket | 12 | ± 1/4 | + 1/2 |
| K | Hem and cuff rib height | Seam to edge | 3 | ± 1/8 | 0 |
With these grade rules, size L has a 1/2 chest of 23 inches and size S has 21. Measurements marked 1/2 are taken flat across one layer, which is how most factories measure; say so on the page.
Bill of materials
| Item | Description | Placement | Qty |
|---|---|---|---|
| Shell fabric | Cotton-rich fleece, brushed back; weight and color written as your spec (e.g. charcoal) | Body, sleeves, hood, pocket | Per marker |
| Rib | 2x2 rib, color matched to shell | Cuffs, hem | Per marker |
| Hood lining | Same as shell, or a named jersey | Inside hood | Per marker |
| Drawcord | Flat cord, color and length stated, with tipped ends | Hood channel | 1 |
| Eyelets | Metal, finish stated | Hood front, either side of neck | 2 |
| Thread | Matched to shell color | All seams and topstitching | As needed |
| Main label | Woven brand label with the country of origin on its front | Inside center back neck | 1 |
| Size label | Woven or printed size | Below main label | 1 |
| Content and care label | Printed: fiber content, care instructions, company name or RN | Inside left side seam | 1 |
| One-color screen print, white; artwork file named | Center front | 1 | |
| Packaging | Polybag, size sticker, folded as specified | Per unit | 1 |
Construction and artwork notes
- Body, sleeve and hood seams overlocked; armholes topstitched with a twin needle.
- Hood double layer, drawcord channel topstitched, eyelets set before the channel is closed.
- Kangaroo pocket edges turned and topstitched, corners bartacked.
- Cuffs and hem rib attached with an overlock; no raw edges visible inside.
- Print: 10 inches wide on size M, centered, top edge 3 inches below the neck seam at center front. State whether the print scales with size or stays the same.
How to make a tech pack without design software
The short answer
Use a spreadsheet or a slide deck as your tech pack template, photos of a reference garment as your starting point, and hand sketches or traced flats for the drawings. Fill one page per topic, add a version number and export a single PDF.
- Start from a reference garment. Pick a garment close to what you want, photograph it flat from the front and back, and note what you would change.
- Draw the flats. Sketch the front and back by hand or trace over your photos, then add numbered callouts for every seam, trim and detail.
- List the materials. Write a bill of materials: every fabric, trim, label, thread and packaging item, with color, size, placement and quantity.
- Measure and set tolerances. Measure the reference garment flat, adjust to your target, write how each point is measured and give each a tolerance.
- Grade the sizes. Write the measurements for every size, or the amount each point changes per size.
- Describe construction and artwork. Name the seam and stitch for each area, and give every print its file, method, colors, width and position from a fixed point.
- Add colorways, labels and packaging. List each color version, every label with its content and position, and how the garment is folded and bagged.
- Version it and send it. Put a version number on every page, export one PDF, and ask the factory for a costing and a proto sample.
A tech pack template you can build today
In a spreadsheet, make one tab per page from the table above, with the style number and version in every header. Paste sketches and marked-up photos into the flats, construction and artwork tabs. A slide deck with one slide per page works the same way.
Trace your flats rather than drawing freehand: print a straight-down photo of the reference garment, trace the outline and seams over it, then scan the tracing and add callouts. The proportions come out right.
Tech pack software or a template: which do you need?
The short answer
Vector drawing software gives you cleaner flats that are easier to edit between versions, and dedicated tech pack software adds shared templates, grading tools and comment threads with the factory. Neither changes what the file must contain.
Before you pay for anything, ask your factory what they want. Many work from a PDF, and some send their own template. A few questions help you choose:
- Can I export everything to one PDF the factory can open without an account?
- Does it keep a version history, so I can see what changed between samples?
- Will I make enough styles each season for templates and grading tools to save real time?
For a few styles a year, a spreadsheet template and traced flats are enough. If you hire a freelance technical designer, ask for editable source files.
Common tech pack mistakes
The short answer
Most tech pack problems are gaps a factory has to fill in: measurements with no method, no tolerances, print sizes shown only in a picture, and changes agreed in chat but never written into the file.
“Like the reference, but better”
Write the change. A reference garment shows a starting point; only your spec says what is different.
Measurements without a method
Say where each measurement starts and ends. “Chest” can mean four different lines.
Print size only in the image
Write the width and the distance from a fixed point, like the high point of the shoulder.
Colors described in words
Send a physical swatch or a named color reference, and say which parts it applies to.
Changes in chat messages
Put every change in the tech pack, raise the version number and date the page it is on.
Labels left to the factory
Specify content, position and size of every label, including care and fiber content.
How do tech pack samples and revisions work?
The short answer
The factory makes a first sample from your tech pack, you measure and fit it, write your comments into a new version, and they sample again. The usual order is a proto sample, a fit sample, then a pre-production sample you approve as the reference for the run.
| Sample | What it is for | What you check |
|---|---|---|
| Proto sample | The first try: does the factory read your tech pack the way you meant it? | Shape, details, construction, fabric feel. Measurements will need work. |
| Fit sample | The corrected version, fitted on a real person in your sample size | Every point of measure against the spec, and how it moves on a body. |
| Pre-production sample | Made in the final fabric, trims, labels and print, the way the run will be made | Everything. Once approved, this is the reference the run must match. |
Simple garments sometimes skip a round; new fits often need more than one fit sample.
What to check on a sample
- Measure every point of measure flat and write the result next to the spec.
- Fit it on a person in your sample size: lift arms, sit, bend, turn. Note where it pulls.
- Check the print: size, position from its measured point, and color.
- Check fabric and color against the approved swatch in daylight.
- Check every seam, trim and label against the construction and BOM pages.
- Wash it as your care label will say, then measure again for shrinkage.
Write comments against POM codes and callout numbers (“B: 1/2 chest measured 21 1/4, spec 22, outside tolerance, please correct”), and add photos with arrows. Keep every sample, labelled with its version.
What has to go on a clothing label in the US?
The short answer
In the US, a clothing label must show fiber content, country of origin and the company name or RN, under the FTC’s Textile and Wool Acts rules, and the separate Care Labeling Rule requires care instructions. Put every label’s content and position in the tech pack so the factory sews on the right ones.
The FTC’s guide to the Textile and Wool Acts lists three disclosures:
- Fiber content: the generic fiber names and percentages by weight, in descending order. A single-fiber product may say “All” instead of 100%.
- Country of origin: where an imported product was processed or made, or “Made in U.S.A.” for products made in the US entirely of US materials.
- Company identity: the full business name, or a Registered Identification Number (RN), of the manufacturer, importer or another firm handling the product.
On a garment with a neck, the same guide says the country-of-origin label goes on the inside center of the neck. Fiber content and company identity may share that label or sit on another easy-to-find label, inside or outside the garment.
The FTC’s Care Labeling Rule requires manufacturers and importers to attach care instructions to textile apparel; shoes, gloves and hats are exempt. The label says how to wash or dry-clean, and covers bleach, drying, ironing and warnings where the product needs them.
The same page says care labels must be attached permanently and stay legible for the product’s useful life. Outside the US, check your own country’s rules.
After the sample: product photos for pre-orders and launch
The short answer
Product photos for pre-orders can be made from the approved pre-production sample, before stock arrives. Photograph the sample flat and put it on a model with Tryly, and the pre-order page, launch posts and ads are ready while the run is being made.
Lay the sample on a plain background in daylight and shoot it from straight above, front and back. Upload each flat photo to Tryly’s AI clothing photography and pick one of 500+ models, or your own model or yourself. One photo is one credit, as low as $0.25 per photo.
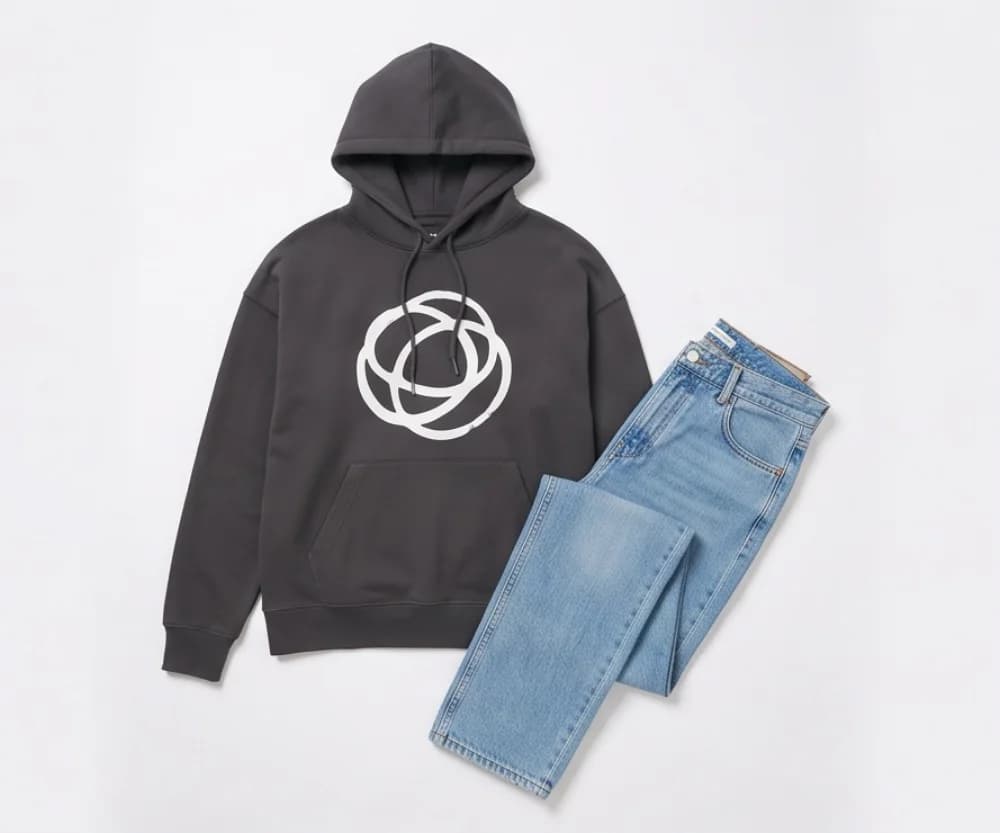
01 Flat photo
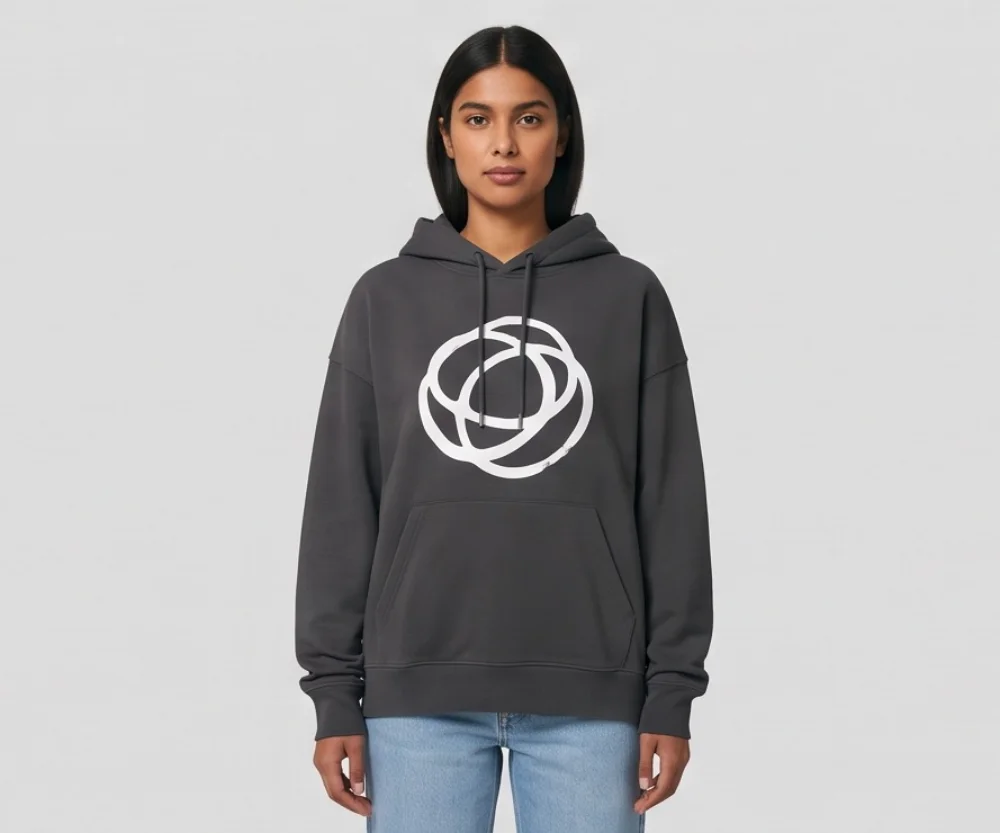
02 On a model
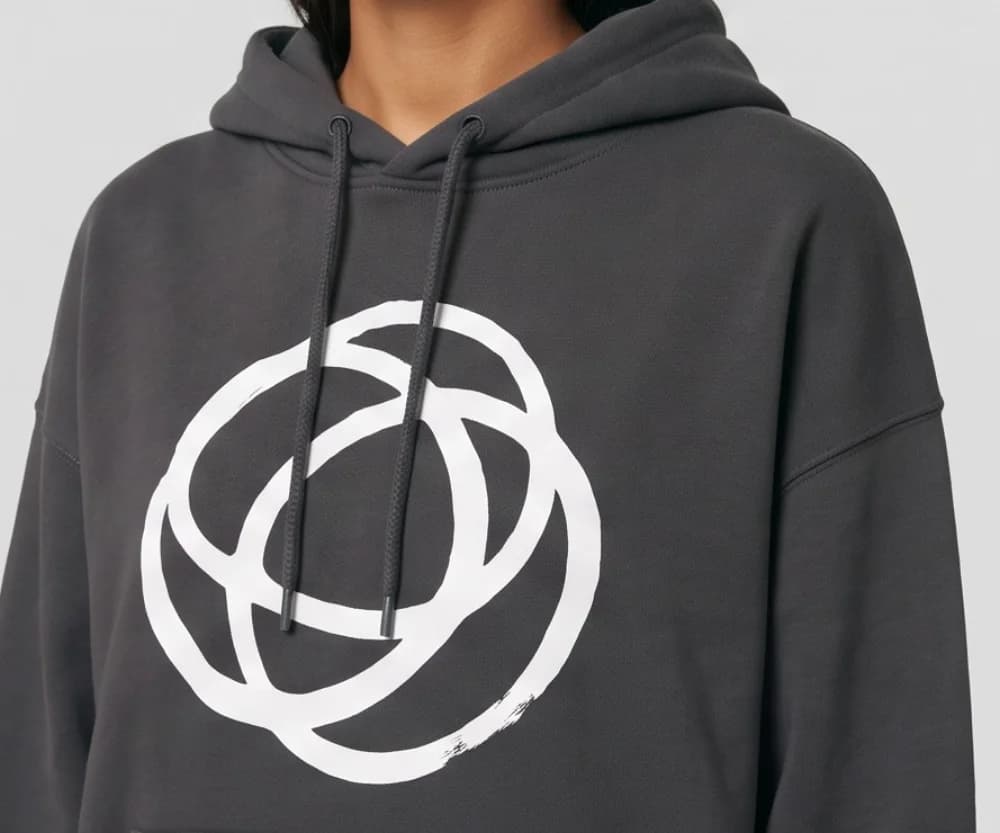
03 Detail
Check every photo at full size against the sample and your tech pack before you publish it:
- Print: same size and position as on the sample.
- Trims: drawcords, eyelets and zips match in color and count.
- Rib, cuffs and hem: same depth and texture.
- Color: matches the sample in daylight.
One model across the collection
Putting every style on one face makes a small drop look planned. Shoot the pieces one at a time and pick the same model each run; paid plans add a “Same model” button that brings back the last one. The collection demo shows ten garments on one model.
A 6-piece drop at four photos each is 24 photos: $6 at Tryly’s lowest rate. The same images can build your lookbook.
Photos made on a paid plan can be used on your store, in ads and on social media. Marketplaces set their own photo rules, and some require photos you took yourself, so check each platform’s photo policy before you list. The guide to where to sell clothes online compares platforms.
If production changes the color or print, reshoot from a production piece. For the timeline from sample to live store, see how to launch collections faster.
Questions about tech packs
What is a tech pack in fashion?+
A tech pack is the instruction file a factory uses to sample and produce a garment: flat sketches, a bill of materials, measurements for every size with tolerances, construction details, artwork placement, colorways, labels, packaging and costing. It turns your idea into something a factory can price and make.
Do I need a tech pack for print-on-demand or blanks?+
Not a full one. Print-on-demand and blank suppliers make their own garments, so you only send artwork and placement. You need a full tech pack when a factory cuts and sews a garment for you. A one-page print spec with size and position still helps with a printer.
Can I make a tech pack without design software?+
Yes. A spreadsheet or a slide deck holds every page: photos of a reference garment, hand sketches or traced flats, a bill of materials table, and a measurement table with tolerances. Export it as one PDF. What matters is that it is complete and unambiguous, not how it was drawn.
How many pages should a tech pack have?+
Enough for one topic per page: cover, flats, bill of materials, measurements, grading, construction, artwork, colorways, labels and packaging, and costing. A simple T-shirt may fit in a few pages; a lined jacket needs more construction detail.
What is the difference between a tech pack and a sample?+
The tech pack is the written instructions; the sample is the garment the factory makes from them. You check the sample against the tech pack, write your comments into a new version, and repeat until you approve a pre-production sample.
What has to be on a clothing label in the US?+
Under the FTC’s Textile and Wool Acts guidance, labels show fiber content by generic name and percentage by weight, the country of origin, and the company name or Registered Identification Number. Care instructions are required under the FTC’s separate Care Labeling Rule.
Can I get product photos before production is finished?+
Yes. Photograph your approved sample flat and put it on a model with Tryly for your pre-order page, social posts and ads: one of 500+ models, your own model or yourself, the same one across the collection. Photos cost as low as $0.25 each, and you can start with 10 free photos, no card.
Sources: FTC, Textile and Wool Acts labeling; FTC, Care Labeling Rule.
Written by
Elena Varga
Head of Content, Tryly Academy
Former e-commerce photo producer who ran catalogue shoots for fashion labels for over a decade. Writes the Academy’s guides.
- 11 years in fashion e-commerce
- 1,200+ catalogue shoots produced
Expert review
Sofia Moretti
Fashion photographer · Expert reviewer
Has shot campaigns and on-model e-commerce for fashion brands for 14 years. Reviews every Academy article for accuracy.
- 14 years in fashion photography
- Campaign and catalogue work across Europe
How we work: every Academy article is written by a specialist, reviewed by a working fashion photographer, and re-checked against its sources when prices or rules change.