Guide
Eyeglasses photography: how to photograph glasses with clear lenses
For eyewear brands, optical boutiques and own-store sellers of optical, reading and blue-light frames: glare on clear lenses, lenses in or out, the angle set, true acetate color, frame sizes buyers can read, and on-face photos.

 By Elena Varga
 · Reviewed by Sofia Moretti |Fact-checked|12 min read
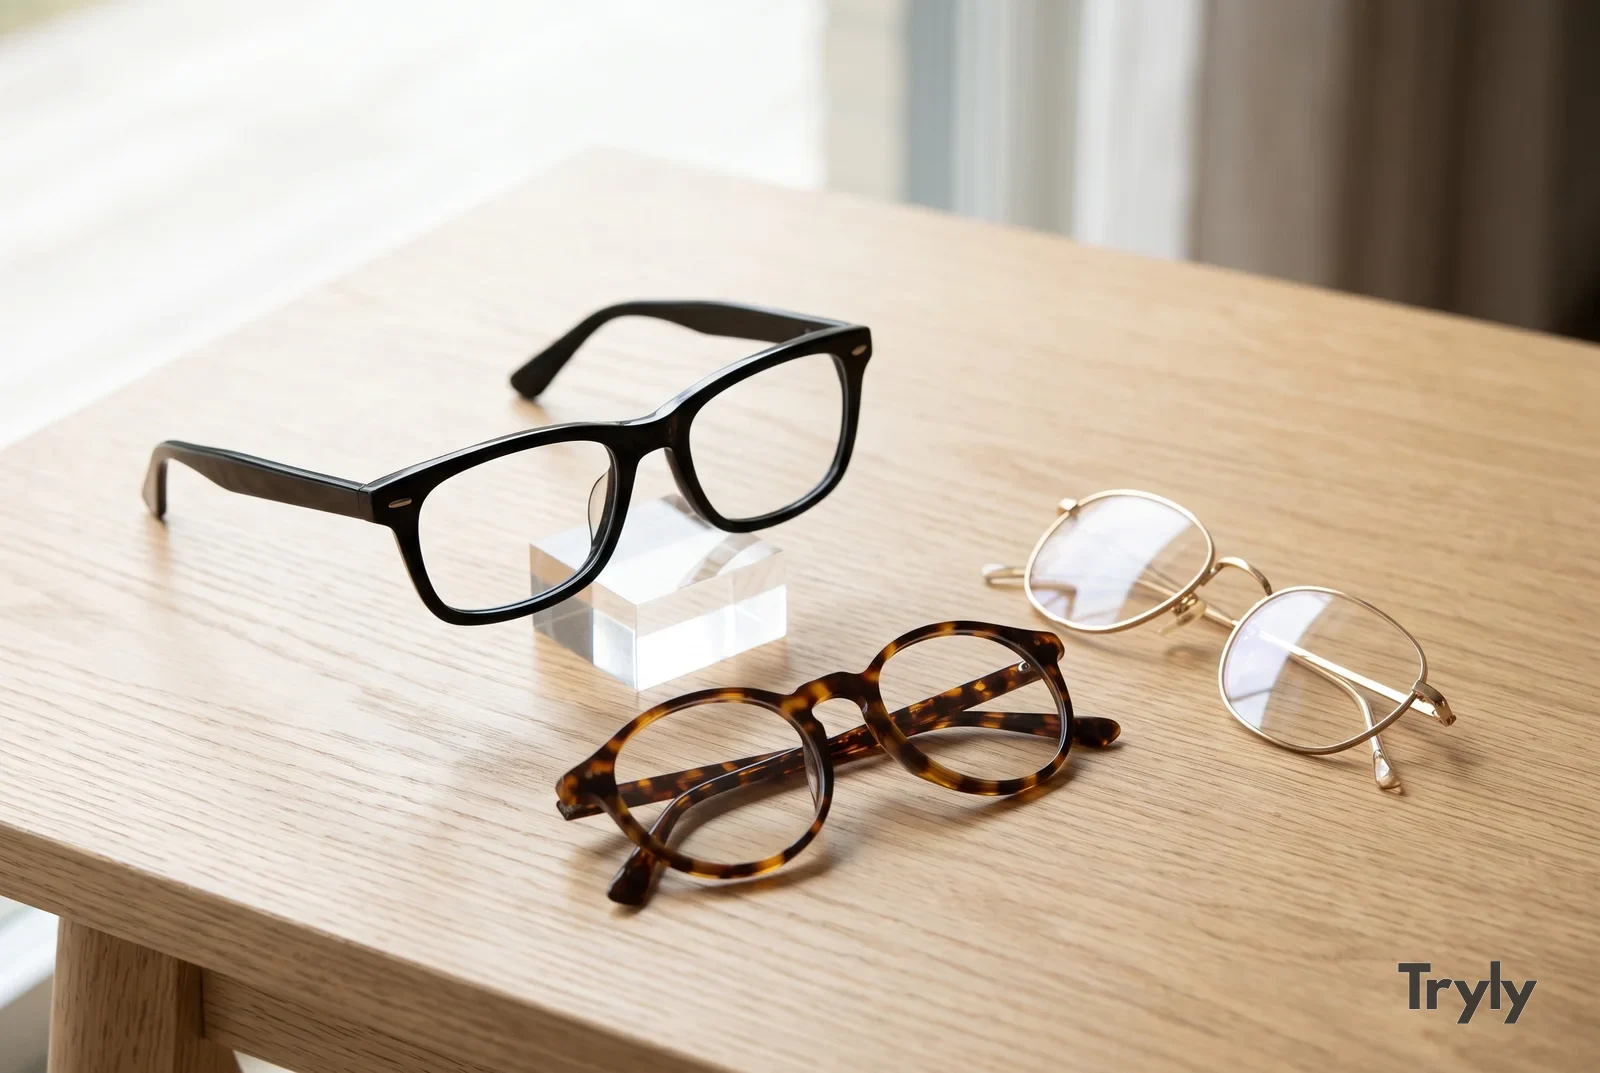
Key takeaways
- 1Clear lenses show both what is behind them and what is in front: keep the background smooth and plain, and hide the camera behind black card.
- 2Light from above and the sides, tip the frame forward a few degrees, and shoot the lenses out when the frame allows it.
- 3Photograph the size print inside the temple, then add face shots so buyers can judge width and fit.
10 free photos, no card. Photos as low as $0.25 each.
On this page+
How do you photograph eyeglasses for an online store?
The short answer
Put clean demo lenses in, or take them out, and stand the frame level in front of a smooth white or light gray background. Light it from above and the sides, hide the phone behind black card, and tip the frame forward until no reflection sits on the lenses. Then shoot the same eight angles, the size print and an on-face photo for every frame.
The basic setup is the same as for sunglasses: a phone on a tripod, one large soft light, putty to hold the frame level. Our sunglasses photography guide covers that kit, cleaning and propping, and the product photography setup guide builds the table from scratch. This guide is about what changes when the lenses are clear: optical frames, reading glasses and blue-light glasses.
Why are clear lenses harder to photograph than sunglasses?
The short answer
A dark sunglass lens hides what is behind it and only reflects what is in front. A clear lens does both: the background shows through it, and the light, the window and your phone reflect on its surface as pale shapes that look like smudges.
That changes three things. First, the background is in the photo twice, around the frame and through the lens, so any fold, seam or stray object shows up again where the buyer looks hardest. Second, a reflection on a clear lens reads as dirt rather than shine, which makes a new frame look used.
Third, a lens with power changes what is behind it. A strong prescription lens makes the background look smaller or larger through the lens than around it, so the edge of the sweep can appear to jump at the rim. Demo lenses have no power, which is one reason new frames are easier to photograph than a customer’s own pair.
How do you photograph glasses without glare on clear lenses?
The short answer
Move the light so its reflection falls outside the lens: above the frame and to the sides, never behind the camera. Tip the frame forward a few degrees, surround the phone with black card, and use a polarizing filter or a lenses-out shot for any sheen that stays.
The sunglasses guide works with a light at about 45 degrees to the side. Clear lenses need the light higher as well, because even a faint reflection anywhere on the lens shows. Flash and ceiling lights are the usual culprits: eBay’s photo tips name both as glare sources. Switch them off and work with one soft light you can move.
- Raise the light. Put a window-sized soft light above the frame and slightly in front of it. Its reflection lands below the bottom edge of the lens, or on the table.
- Fill from below with white card. High light leaves a shadow under the bridge and the rims. A sheet of white card flat on the table bounces it back.
- Tip the frame forward. Raise the temple tips on putty so the front tilts a few degrees toward the table. Watch the reflection slide off the lens on screen and stop there.
- Hide the camera. Clear lenses mirror your phone, hands and shirt. Wear a dark top, ring the phone with black card and fire the self-timer.
- Check each lens at full size. Zoom in on the screen. A pale shape on one lens only usually means one side is lit more strongly; move that light back a little.
- Use a polarizer or take the lenses out. If a sheen stays, a polarizing filter turned slowly in front of the phone can reduce it. When it will not go, a lenses-out shot removes the problem entirely.
Watch crystals and polished metal follow the same logic; see the guides to watch photography and product photography lighting.
Should you photograph glasses with the lenses in or out?
The short answer
For new frames, shoot with clean demo lenses in: buyers see the pair as it will look on a face. Take the lenses out for detail shots or when glare will not go, but only if the frame can be opened without damage. Prescription pairs for resale are shot with the lenses in.
Lenses-out photos look crisp, but they can look unfinished on the front shot, so most optical stores keep the lenses in for the main image. Here is how the options compare:
| Lenses | Best for | Watch for |
|---|---|---|
| Demo lenses in | New frames straight from the supplier | Printed logos or stickers on the lens; peel or wipe them before the shot |
| Prescription lenses in | Resale pairs, or a buyer’s own glasses | Strong lenses shrink or enlarge what is behind them; a plain white background hides it |
| Lenses out | Pure frame shots, maximum clarity | Ask whether the frame tolerates it; metal rims with screws are easiest |
| Blue-light or AR-coated lenses | Computer and reading glasses | Coated lenses still keep a faint colored sheen; show it once, honestly |
Remove any printed mark or sticker on a demo lens first; otherwise the zoomed front shot shows a logo the buyer will never receive.
Which angles does an eyeglasses listing need?
The short answer
Eight shots: front, three-quarter, side along the temple, folded, a hinge close-up, the nose pads and bridge, the size print inside the temple, and the frame on a face. Shoot them in the same order for every frame so the whole range looks consistent.
Optical buyers inspect parts that sunglasses buyers rarely ask about. The American Academy of Ophthalmology’s guide to the parts of eyeglasses lists nine: rims, end pieces, bridge, hinges, lenses, screws, nose pads, pad arms and temples. Your angle set should show each of them at least once.
| Shot | What it answers | How to take it |
|---|---|---|
| Front, straight on | Shape, symmetry, color | Camera at bridge height, frame level on the grid, lenses clean of reflections |
| Three-quarter | Depth of the front, where the temple joins | Turn the frame 30 to 45 degrees; keep both lenses in view |
| Side, along the temple | Temple shape and thickness, any metal core | Camera level with the temple, straight across |
| Folded | How the pair looks in a case and on a table | Temples folded, shot from slightly above |
| Hinge close-up | Build quality: barrel or spring hinge, screws | Macro mode, side light, frame half open |
| Nose pads and bridge | Comfort, and whether pads can be adjusted | From below and behind at an angle, pads in sharp focus |
| Inside the temple | The size numbers, model and color code | Temple opened flat, light raking across the print |
| On a face | Scale and fit | Front and three-quarter, chin a little down |
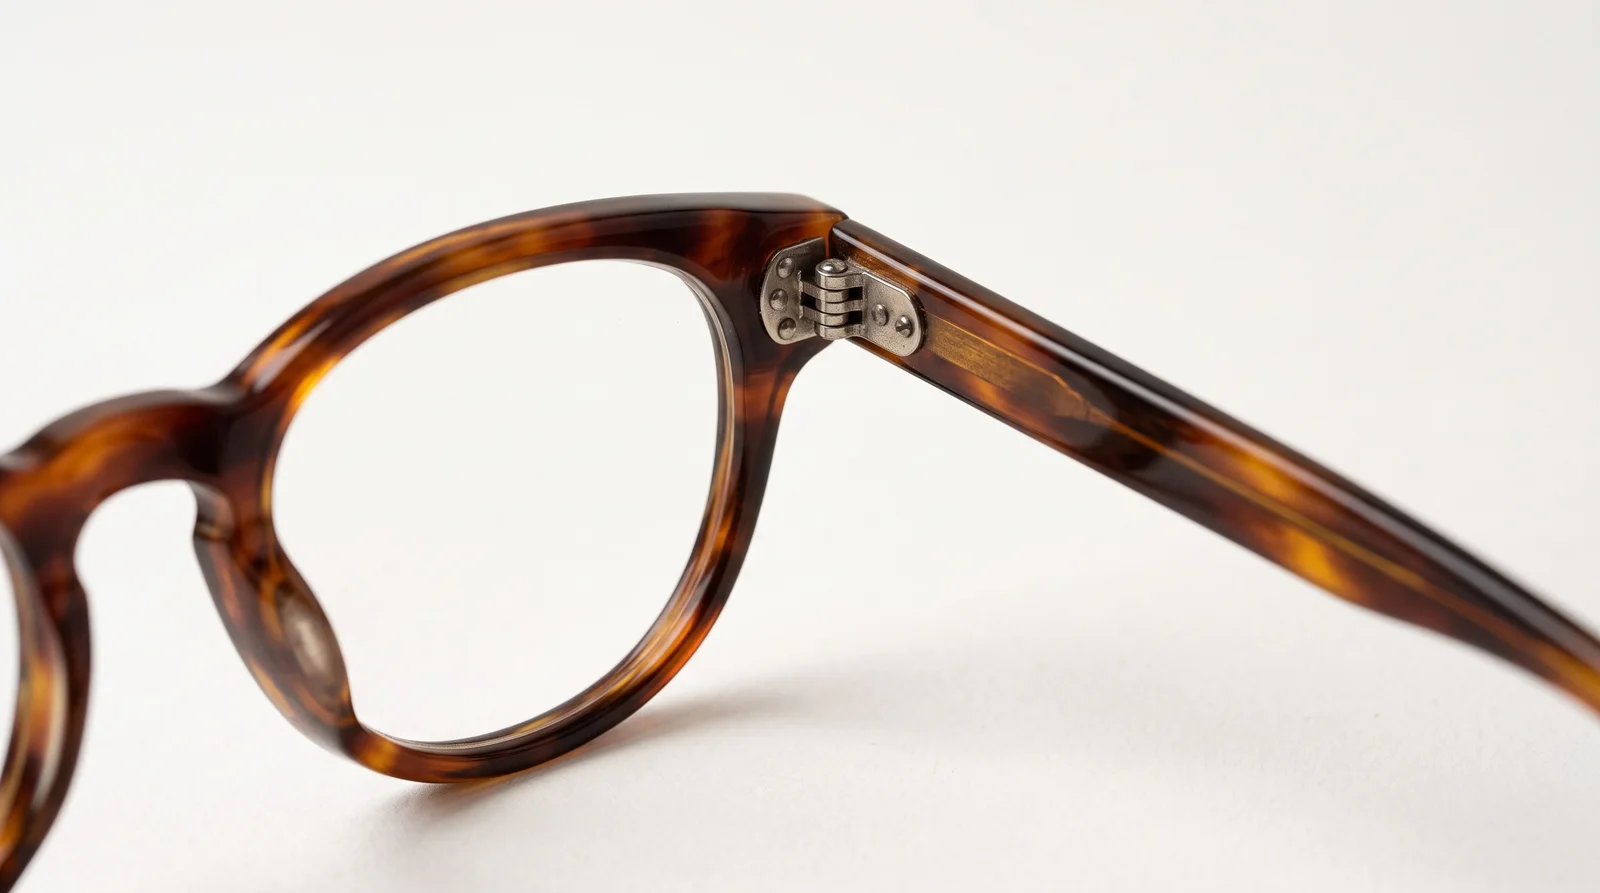
Adjustable pads on metal frames deserve their own close-up, since comfort on the nose worries online buyers. For acetate with built-in pads, shoot the bridge from below.
eBay allows up to 24 pictures per listing, and its photo tips want the main photo to show the whole item face-on. On your own store, lead with the front and put the on-face photo second.
How do you show frame size in eyeglasses photos?
The short answer
Photograph the three numbers printed inside the temple and type them into the description. In a marking such as 50-20-140, the first number is the eye size, the second the distance between the lenses and the third the side (temple) length, as the Association of British Dispensing Opticians explains.
Spectacle frames often have their size printed into the side or bridge of the frame, according to the ABDO’s guide to spectacle frames. Opticians read them in millimetres: the ABDO’s training note on frame measurements works an example with a 48 mm eye size and an 18 mm distance between lenses.
| Number | What it measures | How the buyer uses it |
|---|---|---|
| First: eye size | The width of one lens opening | Compared with a pair that already fits, it tells the buyer whether the front is wider or narrower |
| Second: distance between lenses | The gap the bridge spans, over the nose | A narrow nose and a wide one need different bridges |
| Third: side length | The temple arm | Too short and it pulls; too long and it slides |
How to photograph the size print
- Open the temple flat. Lay it on the sweep with the inside facing up.
- Light from a low angle. Printed and engraved numbers on acetate show best with light raking across them from one side.
- Use macro and check it reads. Every digit must be legible at phone size; if not, move closer rather than cropping.
- Add a ruler shot. eBay’s photo tips suggest a photo with a coin or ruler next to the item when its size is not clear. A ruler under the front shows the overall width.
What background and stand should you use for eyeglasses?
The short answer
A smooth white or light gray sweep, and a support the buyer cannot see: putty under the temple tips, a clear acrylic block or stand behind the bridge, or a fine line from above. Clear and crystal frames need a light gray background or a dark edge so they do not disappear.
White suits the main image of most optical frames: black, tortoiseshell and colored acetate all stand out against it, and eBay’s photo tips also favor white, with a darker backdrop as an option for reflective items. The guide to product photography backgrounds compares paper, vinyl and acrylic.
Supports that stay out of the photo
- Putty under the temple tips. Hidden behind the front, it holds the frame level and lets you tip it forward for glare.
- A clear acrylic block or stand. Placed behind the bridge so it sits outside the lens openings. Clear acrylic still catches light at its edges, so check the corners at full size.
- A fine line from above. Clear fishing line tied around the bridge makes a floating front shot. Keep it thin and out of the lenses.
- Flat on the sweep. For folded and top-down shots, no support is needed: lay the frame on the paper and shoot from above.
A desk or laptop scene suits blue-light glasses after the white photos, but the scene shows through the lens too. See lifestyle product photography.
How do you get acetate and tortoiseshell colors right?
The short answer
Use one daylight source, lock white balance on a white sheet, and check the photo against the frame in your hand. Translucent acetate needs light from behind or below to show its depth, and every color of one model should be shot in one session with one setup.
Warm light turns tortoiseshell orange; cool shade turns it muddy. Translucent, layered acetate lit only from the front also looks flatter and darker than in the hand.
- One light type only. Daylight or a daylight lamp; mixed light tints one side.
- Lock white balance. Tap a white sheet in the frame, then keep that setting all session.
- Backlight translucent acetate. A white card behind the frame, lit from the side, shows the honey and amber in tortoiseshell and the clarity in crystal frames.
- Compare, do not guess. If the photo looks warmer than the frame in your hand, fix white balance, not saturation.
- Shoot variants together. Black, tortoise and crystal of one model in one row and then one by one, so the buyer can compare colors side by side.
Matte and gloss finishes look alike from the front. A three-quarter shot with the light along the rim shows the difference: gloss gives a clean highlight line, matte stays even. Finish tricks for small pieces are also in jewelry photography.
Why do buyers want on-face photos of eyeglasses?
The short answer
Buyers cannot try optical frames on before ordering online, so an on-face photo is the closest thing to a mirror. It shows how wide the frame sits, where the brows fall, and how the shape suits a face, which numbers alone cannot tell them.
Clear lenses make on-face photos harder than with sunglasses. The eyes are visible, so a reflection over one eye catches attention at once, and prescription lenses change how big the eyes look. For product photos, a model wearing the frame with demo lenses, or no lenses, shows the frame truthfully.
- Light high and to the side. The same rule as the product shots: keep the light out of the lenses and away from the eyes.
- Chin a little down, face turned slightly. The lenses then reflect the floor rather than the light. Check both eyes on screen.
- Front and three-quarter at least. The front shows width; the three-quarter shows how the temple runs to the ear.
- More than one face, if you can. A frame that suits a narrow face may look small on a wide one. Different models help buyers find themselves.
How do you make on-model eyeglasses photos with Tryly?
The short answer
Upload your clean front shot of the frame and pick a face: 500+ AI models, your own model, or yourself. One credit makes one photo, and the first 10 photos are free with no card.
Glasses are one of Tryly’s categories, so an optical boutique can show each new frame on narrow, wide, younger and older faces from the 500+ AI models instead of booking a sitter per drop. Paid-plan photos may go on your store, in ads and on social media (see usage rights and ad policies).
Compare every result with the real frame at full size: rim shape, color, bridge, hinge and pads. A range of 15 frames with four face shots each is 60 photos, or $15 at as low as $0.25 per photo. Plans start at $9.99/month, from $0.33 per day, and you can try 10 free photos, no card.
What are the most common eyeglasses photography mistakes?
The short answer
Six errors cause most bad eyeglasses photos, and each has a quick fix. Run through them before every batch.
- A window or your phone inside both lenses. Raise the light, tip the frame forward, surround the camera with black card.
- A crumpled background seen through the lens. Clear lenses show everything behind them: keep the sweep smooth and plain.
- A demo-lens logo left on the lens. Wipe or peel it before the first frame, then check at full size.
- Tortoiseshell that comes out orange. Lock white balance on a white sheet and check the photo against the frame in hand.
- No size numbers in the listing. Photograph the inside of the temple and type the numbers into the description.
- Every color variant shot on a different day. One setup, one angle set, one crop across the range.
Selling a used pair? Show each lens scratch under low side light. eBay wants close-ups of any flaws in its photo tips, and rules out stock or catalog images for used items.
Questions optical sellers ask
How do you photograph glasses without glare?+
Move the light above and to the side of the frame instead of behind the camera, and tip the glasses forward a few degrees so the reflection slides off the lens. Surround the phone with black card so the clear lenses cannot show it. If a sheen remains on flat demo lenses, try a polarizing filter or shoot the frame with the lenses out.
What do the three numbers on glasses frames mean?+
They are the frame size. The Association of British Dispensing Opticians explains that in a marking such as 50-20-140 the first figure is the eye size, the second the distance between the lenses and the third the side (temple) length. Photograph them and type them into the listing, because buyers compare them with a pair that already fits.
Should I photograph eyeglasses with the lenses in or out?+
For new frames, clean demo lenses in look most natural, once any printing on them is wiped off. Taking the lenses out removes reflections completely and suits detail shots, but only do it if the frame can be opened without damage. Resale pairs with prescription lenses are best shot with the lenses in, in front of a plain background.
What background is best for eyeglasses product photography?+
A smooth white or light gray sweep. Clear lenses show whatever is behind them, so a fold or a texture appears twice: around the frame and through the lens. Clear and crystal frames can vanish on pure white, so give them a light gray background or a dark edge from black card.
How do I photograph tortoiseshell acetate frames in true color?+
Switch off warm room lights, lock the white balance on a white sheet, and hold the real frame beside the screen to compare. A soft light behind or below the frame shows the depth in translucent acetate. Shoot every color of the same model in one session with the same setup.
Can I use Tryly on-model photos of my eyeglasses on marketplaces?+
Use them freely on your own store, in ads and on social media. On eBay and Poshmark, a face shot can follow your own photos of the frame but never replace them. Etsy, Vinted, Depop, Mercari and Grailed listings should carry only photos you shot of that exact frame.
Sources: frame size markings from the Association of British Dispensing Opticians’ guide to spectacle frames and training note on frame measurements; parts of eyeglasses and anti-reflective coatings from the American Academy of Ophthalmology (parts of eyeglasses, eyeglasses guide); photo count, glare, backgrounds, size and flaws from eBay’s photo tips and picture policy; original photos from Poshmark’s Terms, Seller Policy and Etsy’s Listing Image Requirements.
Written by
Elena Varga
Head of Content, Tryly Academy
Former e-commerce photo producer who ran catalogue shoots for fashion labels for over a decade. Writes the Academy’s guides.
- 11 years in fashion e-commerce
- 1,200+ catalogue shoots produced
Expert review
Sofia Moretti
Fashion photographer · Expert reviewer
Has shot campaigns and on-model e-commerce for fashion brands for 14 years. Reviews every Academy article for accuracy.
- 14 years in fashion photography
- Campaign and catalogue work across Europe
How we work: every Academy article is written by a specialist, reviewed by a working fashion photographer, and re-checked against its sources when prices or rules change.