Guide
Lifestyle product photography for fashion brands
What lifestyle photos are, where they belong next to your white-background shots, and how to plan, shoot and budget them for clothes, shoes, bags and jewelry, with or without a photoshoot.

 By Elena Varga
 · Reviewed by Sofia Moretti |Fact-checked|12 min read
Key takeaways
- 1White-background photos answer “what am I buying?”; lifestyle photos answer “is this for me?”. A fashion product page needs both, clean shots first.
- 2Plan a lifestyle shoot around one concept: one location, two or three props, a model who looks like your buyer, soft light and a written shot list.
- 3Lifestyle photos do most of their work on your store, social media, ads and email. On marketplaces that want your own photos, keep to your own photos.
10 free photos, no card. Photos as low as $0.25 each.
On this page+
What is lifestyle product photography?
The short answer
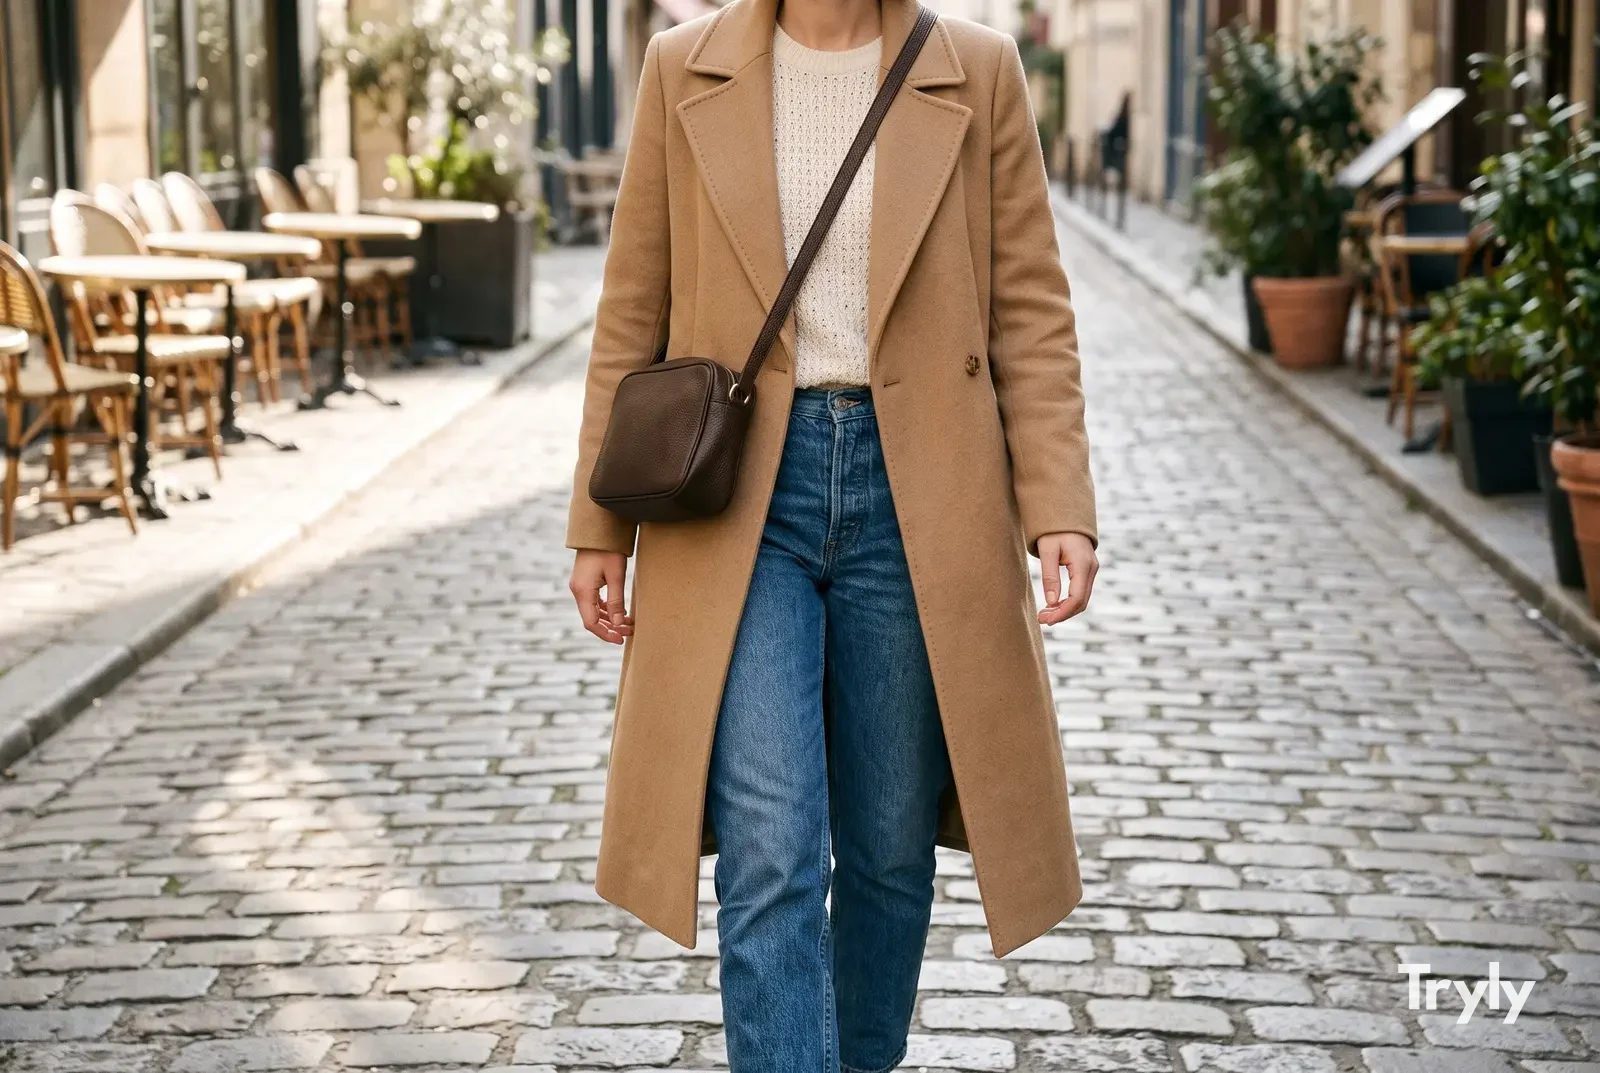
Lifestyle product photography shows a product in use, in a real setting: a dress worn on a city street, a bag on a café table, a ring on a hand resting on linen. Its job is to help a buyer picture the product in their own life, which a plain white-background photo cannot do.
For a fashion brand, “in use” almost always means “worn”. Lifestyle product photos are the on-model shots with a place around them, plus a few styled flat scenes where no person is needed, such as jewelry on a dish or shoes by a doorway.
They sit between two other kinds of photo. Catalog photos are clean and the same for every product. Campaign photos are big, rare and built around a story. Lifestyle photos are the everyday middle: real enough to trust, styled enough to want.
 Before
 After
AfterLifestyle vs white background photos: what is the difference?
The short answer
A white-background photo shows the product alone so buyers can check every detail and true color. A lifestyle photo shows it worn or used in a place so buyers can judge fit, scale and style. They are not rivals: the first earns trust, the second earns desire.
| White background | Lifestyle | |
|---|---|---|
| What it shows | The product alone, every detail, true color | The product in use, in a place, often worn |
| Question it answers | What exactly am I buying? | Is this for me, and what do I wear it with? |
| Background | Plain white or light, the same for every product | A room, a street, a café, a beach, a desk |
| Consistency | Easy: one setup for the whole catalog | Harder: light and location change |
| Best place | First image on product pages and marketplaces | Later images, social posts, ads, email, banners |
| Shelf life | Lasts as long as the product is sold | Feels dated faster; refresh by season |
Amazon’s product photo guide says product shots should, in most cases, be taken on a white background (RGB 255, 255, 255), and it describes lifestyle shots as ones that show products in action. It advises white-background images first, then optional extra images with ambient backgrounds.
That order is a good default for your own store too. How to get the clean half right is covered in white background product photography; this guide is about the other half.
Where do lifestyle product photos belong?
The short answer
On your product page after the clean shots, and at the front of everything that has to stop a scroll: social posts, paid ads, email and collection banners. On marketplaces and shopping feeds they come after the required main image, never instead of it.
| Channel | What lifestyle photos do there | Rule of thumb |
|---|---|---|
| Your product page | Show scale, fit and styling after the clean shots | White-background first, then two or three lifestyle images |
| Collection and category pages | Set the mood above the grid | One wide lifestyle banner; keep the grid itself clean |
| Instagram and TikTok | Stop the scroll and tell the story | Mostly lifestyle and on-model; one clean shot in a carousel |
| Paid social ads | Make a stranger picture themselves in it | Lead with a person wearing or using the product |
| Give a launch or season a feeling | One hero lifestyle image, then clean product tiles | |
| Google Shopping feed | A free-listing image in a real setting | Clean main image; lifestyle shots in their own field |
| Marketplaces (Amazon, eBay) | Extra context after the required shots | Main image on white; lifestyle later, never instead of real photos |
A product page order that works
- Clean front shot on white or light gray: the thumbnail.
- Clean back and detail shots: fabric, hardware, label, lining.
- On-model in a scene, full length: fit and proportion.
- On-model, closer: how it moves, sits or layers.
- One styled flat scene for small items: jewelry, belts, scarves.
Amazon requires at least one image and recommends at least six, which matches this shape: three or four clean shots, two or three lifestyle shots.
Google Shopping has a field just for lifestyle photos
Google Merchant Center keeps lifestyle images apart from the main image. Its image requirements put extra angles and details in additional_image_link and in-context shots in lifestyle_image_link, and do not allow added text, marketing callouts, watermarks or borders.
The lifestyle image attribute takes up to five images per product, should show the product used or showcased in a real-world context, and must not contain promotional elements or text such as prices or logos.
For social, the formats and posting rhythm are in Instagram for clothing brands; lifestyle photos are what fill that calendar.
How do you plan a lifestyle product shoot?
The short answer
Start with a one-line concept: who wears this, and where. Then choose one location, two or three props, a model who looks like your buyer, soft light and a written shot list. Everything in the frame should support that one sentence.
- Write a one-line concept. Name who the buyer is and where they wear the product, for example a weekend in the city or a beach holiday, and choose three colors that go with the collection.
- Choose a location. Pick one place that matches the concept and gives soft light: a bright room by a window, a quiet street in the morning, or a park in shade.
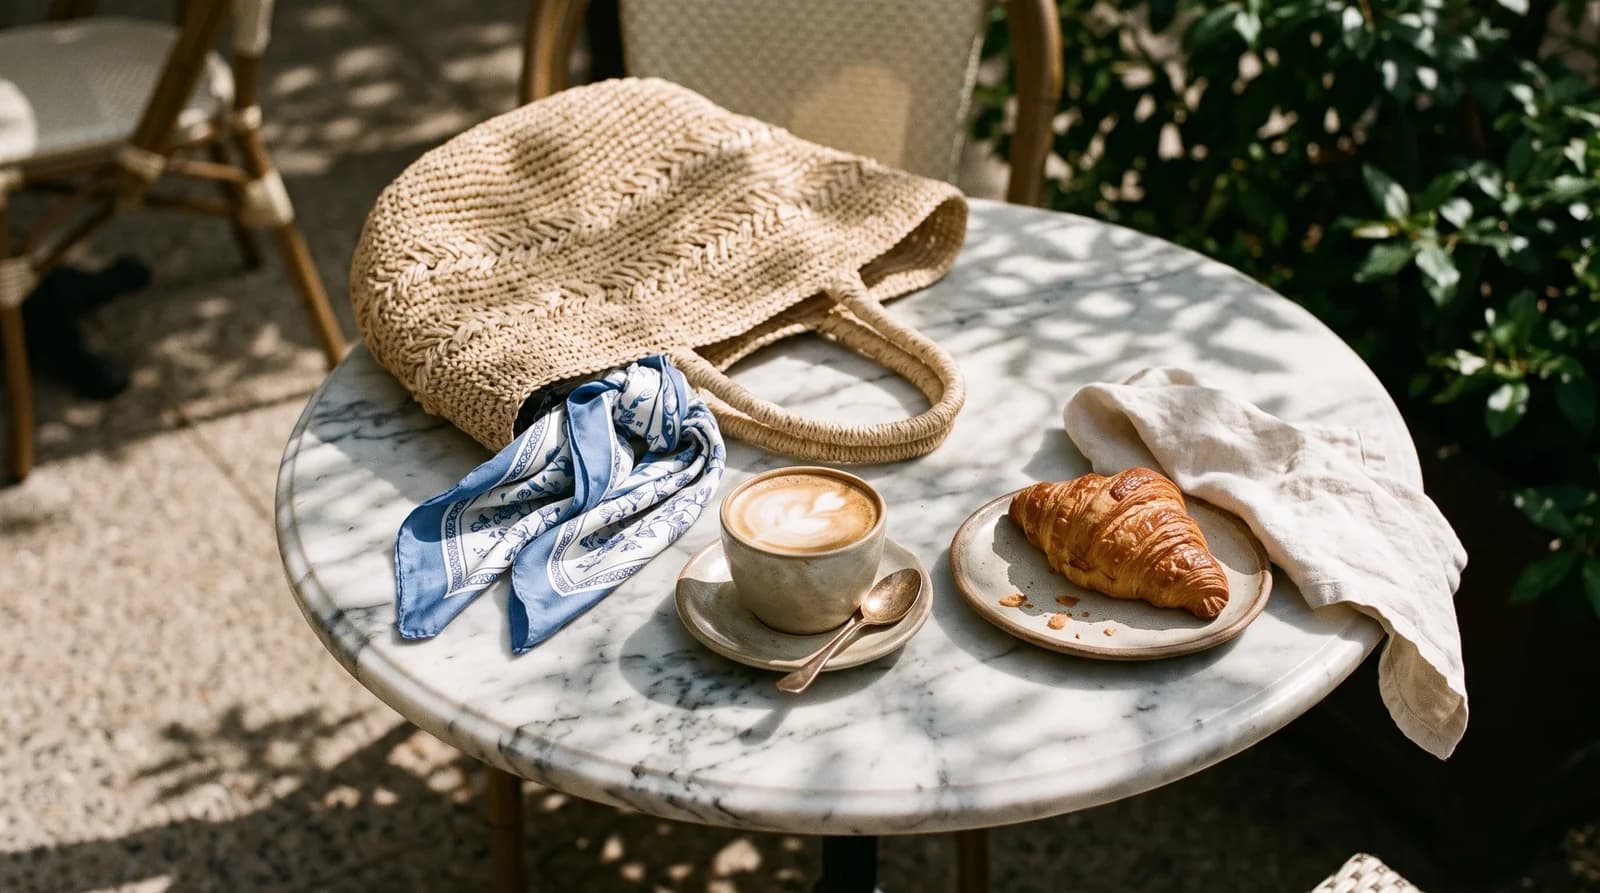
- Pick a few props. Choose two or three props that explain the scene, such as a coffee cup, a book or a bike, and keep them quieter in color than the product.
- Cast the model. Choose a model who looks like your buyer: yourself, a friend, a hired model, or an AI model you keep for the whole collection.
- Plan the light. Shoot in the morning or late afternoon, or in open shade, and avoid hard midday sun on faces and fabric.
- Write the shot list. List every product with its shots: one wide in the scene, one at medium distance, one detail in use, and one for social in a vertical crop.
Concept: one sentence, three colors
“A Saturday in the city for a woman in her thirties who works in an office” tells you the location, the styling and the mood at once. Add three colors that suit the collection and use them for props, walls and the outfit around your product.
Location: light first, looks second
A plain wall in good light beats a famous view in harsh sun. Look for open shade, a bright room with a big window, or a quiet street early in the morning. Avoid busy signs and branded shop fronts: they pull the eye and can date the photo.
Props: fewer than you think
A prop should explain the scene, not decorate it: a coffee cup says “morning”, a tote and sunglasses say “holiday”. Keep props quieter in color than the product, and never let one cover the part a buyer needs to see.
Model: someone who looks like your buyer
Buyers want to see themselves. Match the age, size and style of the people who actually buy from you, and keep the same face across a drop so the collection reads as one. How to find and brief a person is in models for a clothing brand.
Light: soft, from the side, and the same all day
Morning, late afternoon and open shade give soft light that keeps fabric color true. Turn people so the light falls from the side for texture. If you shoot indoors, switch off warm ceiling lights so only daylight reaches the product.
Lifestyle product photography ideas for clothes, shoes, bags and jewelry
The short answer
Clothing needs movement and fit: walking, seated and leaning shots. Shoes need the camera at ankle height. Bags need scale on the body. Jewelry and watches need close crops on skin with soft texture behind.
Use these as a starting shot list, then pick the three or four that fit your concept:
Clothing
- Full body, walking toward the camera on a quiet street: shows drape and movement.
- Seated on steps or a café chair: shows how the garment sits and creases.
- Three-quarter view leaning on a wall, one hand in a pocket.
- Detail in use: a cuff rolled, a collar turned up, a hem in motion.
- Layered look: the piece with a jacket or bag you also sell.
- Back view in context, for anything with back interest.
Shoes
- Mid-step on pavement, camera at ankle height.
- Seated, legs crossed, so the side profile reads.
- Pair beside a doorway or on a stair, no feet, morning light.
- Full outfit, head to toe, so buyers see what to wear them with.
Bags
- On the shoulder or crossbody while walking: shows strap drop and size.
- Held by the handle at the side, with the outfit in frame.
- On a café table or car seat, open, with a phone and keys for scale.
- Hanging from a chair back or a hook by the door.
Jewelry and watches
- Close crop of the hand, wrist, ear or neckline on a soft textile.
- Hand to face or hand on a coffee cup: natural, not posed.
- Stacked with other pieces you sell.
- On a dish or folded linen next to a perfume bottle or book.
Five lifestyle product photography ideas for a small budget
- The morning window: a bright room, a chair, a coffee cup. Works for knitwear, loungewear, jewelry and watches.
- The quiet street: a pale wall and a pavement before the shops open. Works for tailoring, denim, shoes and bags.
- The weekend away: a bed with white sheets, an open suitcase. Works for dresses, swimwear, sandals and hats.
- The desk: a laptop, a notebook, a plant. Works for shirts, glasses and watches.
- The park bench: open shade and green behind. Works for outerwear, scarves, sneakers and kidswear.
Accessory-specific angles are covered in the guides to jewelry photography and shoe photography. A full season told in one sequence is a fashion lookbook, which is a different job from product-page photos.
How much does lifestyle product photography cost?
The short answer
From almost nothing if you shoot yourself, to $500 to $3,000 a day for a hired product photographer, according to Shopify, before models and location. On-model scenes made with Tryly cost as low as $0.25 per photo.
| Option | What you pay | What you get | The catch |
|---|---|---|---|
| DIY with your phone | Your time, props you own | Full control, any day you like | You need a person in frame: yourself, a tripod and the self-timer |
| Friends as models | A thank-you, lunch, a free piece | Real people, relaxed shots | Fewer sizes and looks; book a release form anyway |
| Hired photographer | $500 to $3,000 a day, or $50 to $350 an image (Shopify) | Planning, lighting, editing done for you | Model, location and styling are often extra |
| On-model scenes with Tryly | From $9.99/month; as low as $0.25 per photo | 500+ models, your own model or yourself, any scene | Your product photo must be clear and true to color |
Shopify’s product photography pricing guide puts photographers at $500 to $3,000 per day and per-image pricing at $50 to $350. It sets no price for models, because their fees depend on experience and agency, and it lists lifestyle imagery among the extras that push a shoot’s cost up.
Doing it yourself
You, a phone on a tripod, the self-timer and a morning of good light. It is the cheapest route and the most tiring: you style, model, shoot and edit. It works best for a small range and one size.
Friends and customers
Friends bring real faces and relaxed poses. Pay them in product or lunch, agree in writing where the photos will be used, and accept that sizes and availability limit what you can shoot. A full cost breakdown is in the true cost of fashion photoshoots.
How do you make on-model lifestyle scenes without a shoot?
The short answer
Upload a clear photo of your product to Tryly, choose one of 500+ AI models, your own model or yourself, and choose the scene. Each photo is one credit, and photos made on a paid plan can be used on your store, in ads and on social media.
It covers the categories a fashion brand sells: clothing, shoes, bags, hats, watches, jewelry, glasses and scarves, plus kids models and a hijab setting. Your product photo can be a flat lay, a hanger shot or a mannequin shot.
 Before
 After
AfterHow it fits your plan
- Keep your concept. Write the same one-line brief you would give a photographer, and choose a scene that matches it for the whole drop.
- Pick one face. Choose from 500+ AI models who look like your buyer, or use your own model or yourself, and keep the same one across the collection.
- Shoot the clean photos yourself. Your white-background shots stay first; the on-model scenes fill the lifestyle slots, social and ads.
- Check every photo at full size. Compare color, print, hardware and length with the real product before you publish.
For scale: a 20-piece drop with three lifestyle scenes each is 60 photos. At Tryly’s lowest rate of $0.25 a photo, that is $15. Plans start from $9.99/month, which is from $0.33 per day.
Want to compare the options side by side first? See UGC vs studio vs AI photos, or try a full set in the AI fashion photoshoot.
What are the most common lifestyle photo mistakes?
The short answer
Leading with a lifestyle photo, props that steal the scene, a different mood in every shot, warm light that shifts color, and text stamped on feed images. Each one makes the product harder to judge.
- A lifestyle photo as the first image. Lead with the clean shot; buyers check the product first.
- Props that steal the scene. If a prop is brighter than the product, remove it.
- Every photo in a different mood. One concept, one light, one color palette per drop.
- A setting that does not fit the buyer. Workwear in an office, swimwear by water, not the other way round.
- Color shifted by warm light or filters. Check the color against the real product before posting.
- Text, prices or logos stamped on feed images. Keep shopping-feed photos clean; put offers in the caption or ad copy.
- Lifestyle photos on marketplaces that want your own photos. Use them on your store, social and ads instead.
Questions brands ask about lifestyle photos
What is the difference between lifestyle and product photography?+
Product photography, in the narrow sense, shows the item alone on a plain background so buyers can check every detail. Lifestyle product photography shows the same item in use, usually worn by a person in a real place, so buyers can picture it in their own life. A good product page needs both.
Should the first product image be a lifestyle photo?+
On marketplaces and shopping feeds, no: Amazon advises white-background images first, and Google keeps lifestyle images in a separate field from the main image. On your own store you can choose, but most fashion brands lead with a clean shot and follow with lifestyle photos.
How many lifestyle photos does a product need?+
Two or three per product page is enough for most fashion items: one wide shot in the scene, one closer shot that shows fit, and one detail in use. Google Merchant Center accepts up to five lifestyle images per product. Social and ads need more variety, so plan extra crops.
Can I take lifestyle product photos with a phone?+
Yes. A recent phone in soft daylight is enough for product pages and social. Shoot in the morning or in open shade, put the phone on a tripod, and use the self-timer or burst mode so you can model the product yourself.
How much does a lifestyle photoshoot cost?+
Doing it yourself costs your time and props. A product photographer charges $500 to $3,000 a day, or $50 to $350 per image, according to Shopify’s pricing guide, before models and location. Tryly starts from $9.99/month, from $0.33 per day, with photos as low as $0.25 each.
Can I use AI lifestyle photos on Etsy, Depop or Vinted?+
Do not use them in those listings: Etsy, Depop, Vinted, Mercari, Grailed, StockX and GOAT expect your own photos of the item. Put on-model scenes on your own store, social media and ads instead, where photos made on a paid Tryly plan can be used.
Sources: photographer rates from Shopify’s product photography pricing guide; white-background order, image count and lifestyle shots from Amazon’s product photo guide; lifestyle image rules from Google Merchant Center’s lifestyle image attribute and image requirements; stock photo and overlay rules from eBay’s picture policy.
Written by
Elena Varga
Head of Content, Tryly Academy
Former e-commerce photo producer who ran catalogue shoots for fashion labels for over a decade. Writes the Academy’s guides.
- 11 years in fashion e-commerce
- 1,200+ catalogue shoots produced
Expert review
Sofia Moretti
Fashion photographer · Expert reviewer
Has shot campaigns and on-model e-commerce for fashion brands for 14 years. Reviews every Academy article for accuracy.
- 14 years in fashion photography
- Campaign and catalogue work across Europe
How we work: every Academy article is written by a specialist, reviewed by a working fashion photographer, and re-checked against its sources when prices or rules change.