Guide
Scarf photography: how to photograph scarves that sell
A practical guide for scarf brands, print designers and boutiques with a phone and no studio: the shot set, silk versus wool and cotton, print scale, true color, knots, hijabs and worn photos.

 By Elena Varga
 · Reviewed by Sofia Moretti |Fact-checked|12 min read
Key takeaways
- 1The open spread is the photo a scarf buyer pays for: lay it flat and square and shoot straight down, so the whole print is in one frame.
- 2Every fabric needs its own light. Silk needs its sheen controlled, wool and cashmere need side light for texture, and sheer scarves need a plain board underneath.
- 3Worn photos show size, drape and color next to skin. Use a model, yourself, or Tryly for your own store, social media and ads, and keep marketplace listings to your own photos.
10 free photos, no card. Photos as low as $0.25 each.
On this page+
How do you photograph scarves to sell?
The short answer
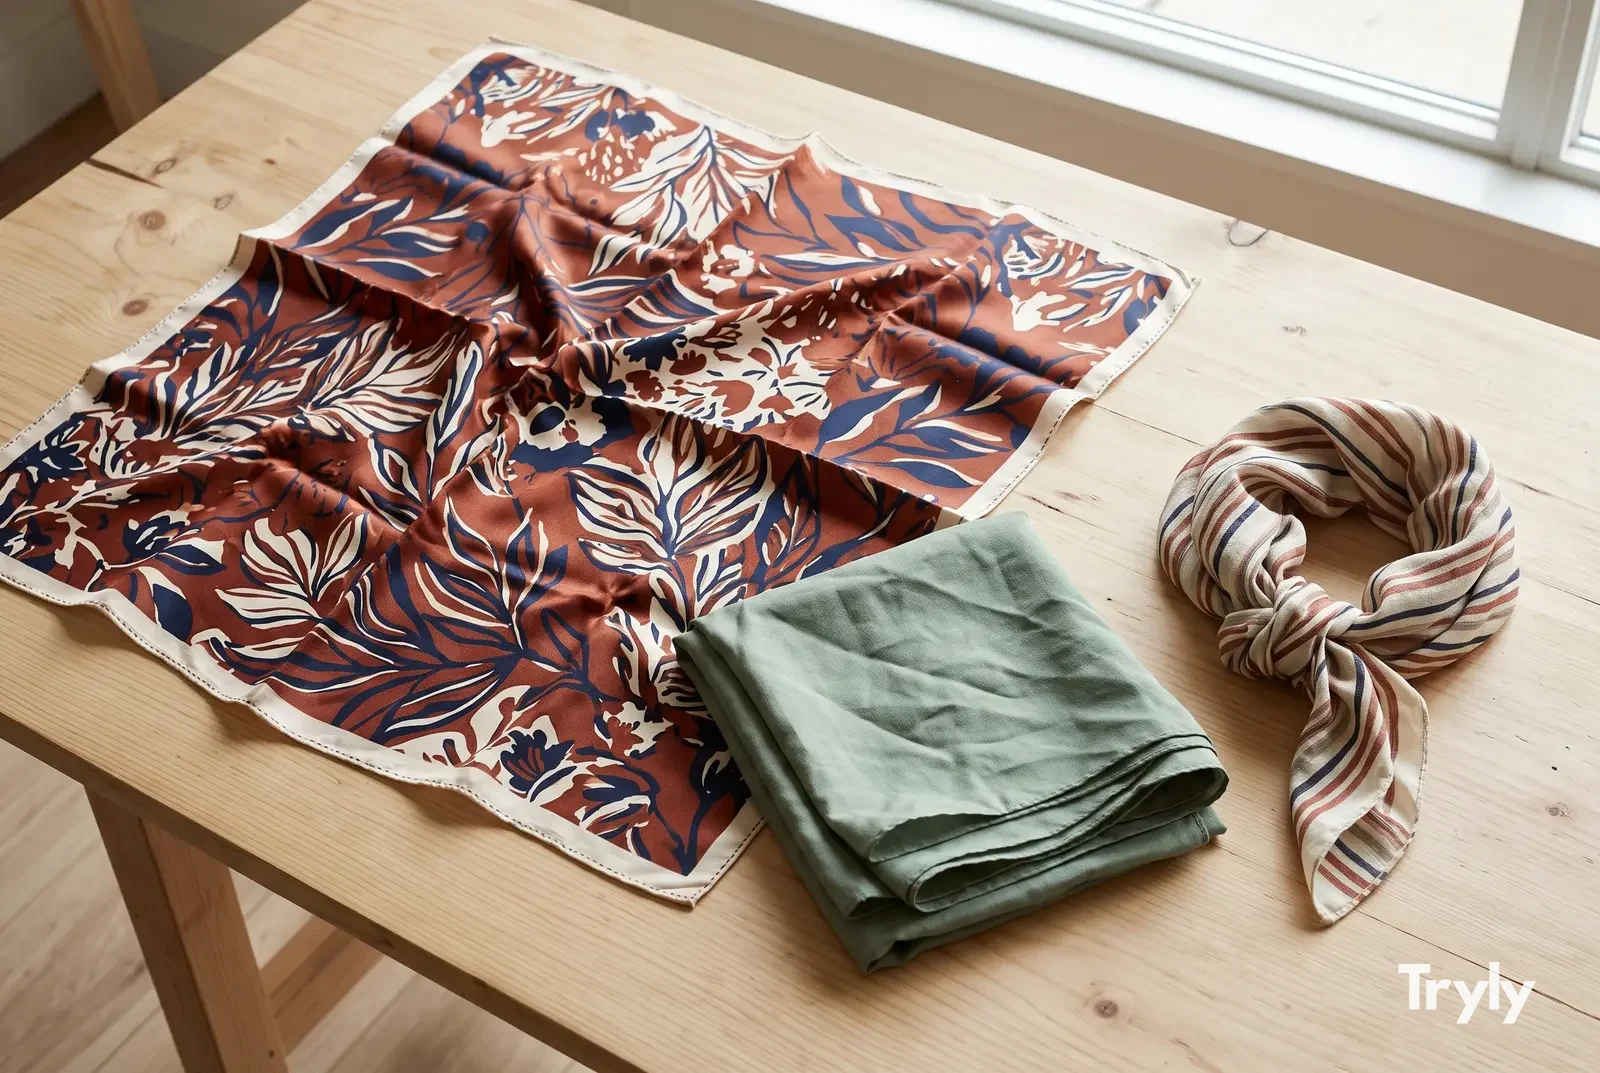
Steam the scarf, lay it fully open and square on a plain white or gray board beside a window, and shoot straight down with your phone parallel to the table. That open spread is the main photo. Then add a folded shot, a knotted or draped shot, close-ups of the fabric and hem, and one photo of the scarf being worn.
A scarf is a flat print until someone ties it, so your photos must show the whole design and how it looks on a body. Most listings show only one.
The kit is small: a phone, a window out of direct sun, a large board, a steamer and a tripod or stack of books. If you are building a corner for it, the guide to a product photography setup at home covers the table, and product photography lighting covers the light.
Which shots does a scarf listing need?
The short answer
A full open spread, a folded shot, a knotted or draped shot, close-ups of the fabric and the hem or edge, the label or signature, and a worn photo. On a vintage or used scarf, add a close-up of every flaw.
Here is what each shot in a scarf product photography set does for the buyer:
| Shot | What it answers | How to take it |
|---|---|---|
| Full open spread | The whole print or pattern, edge to edge. Usually the main photo. | Lay it flat and square, phone directly above and parallel to the table. |
| Folded | How it looks on a shelf or in a gift box; a calm thumbnail for busy prints. | Fold into a neat square or long rectangle so the best motif sits on top. |
| Knotted or draped | How the print breaks up once it is tied: often very different from flat. | On a neck form, a hanger or a person, in one or two classic knots. |
| Fabric close-up | Weave, sheen, brushed surface or knit stitch. | Fill the frame with fabric, light from the side, tap to focus. |
| Hem and edge finish | Hand-rolled hem, fringe, raw or overlocked edge: a sign of quality. | Fold one corner up and shoot the edge at a low angle. |
| Corner or signature | The designer’s signature, logo or border detail, where there is one. | Straight on, sharp enough to read. |
| Care or content label | Fiber content and size, where a label is sewn in. | Flat, readable, in the same light. |
| Worn | Scale on a body, drape and how the colors sit next to skin. | On a model, on yourself with a tripod, or made from your product photo. |
| Every flaw | Pulls, snags, marks or fading on a vintage or used piece. | A close-up, then a wider shot showing where it is. |
Which shot goes first?
For a printed scarf, the open spread. It is the only view that shows the full design, and eBay’s photo tips want a main photo that shows all of the item, straight on. For a plain cashmere or wool scarf, where there is no print to show, a soft folded or draped shot often makes a better first photo, with the spread second.
The open spread, done properly
Square scarves only look square when the phone is exactly parallel to the table. Stand on a step stool, turn on the camera grid, and line all four edges up with it. Leave a little air around the scarf: Google Merchant Center’s image requirements want the product to fill between 75% and 90% of the frame.
Long oblong scarves rarely fit a square frame. Fold them in half lengthwise for the spread, or shoot the full length in a landscape frame and crop the same way for every listing.
How do you photograph silk, wool, cashmere and cotton scarves?
The short answer
Silk needs its sheen controlled with one soft side light and no flash. Wool and cashmere need low side light to show texture. Cotton, linen and modal need steaming and a hanging or worn shot to show drape.
Silk twill and satin
Silk is part mirror. Use one big soft light from the side, keep the flash off, and turn the scarf until the sheen runs across it in one smooth band rather than hot spots. Show the sheen once, on purpose, in a draped shot.
Chiffon, georgette and sheer silk
Sheer fabric shows whatever is under it. Lay it on a plain white or mid-gray board, never on a busy table, and hang one shot against a window-lit wall so the light comes through.
Wool and cashmere
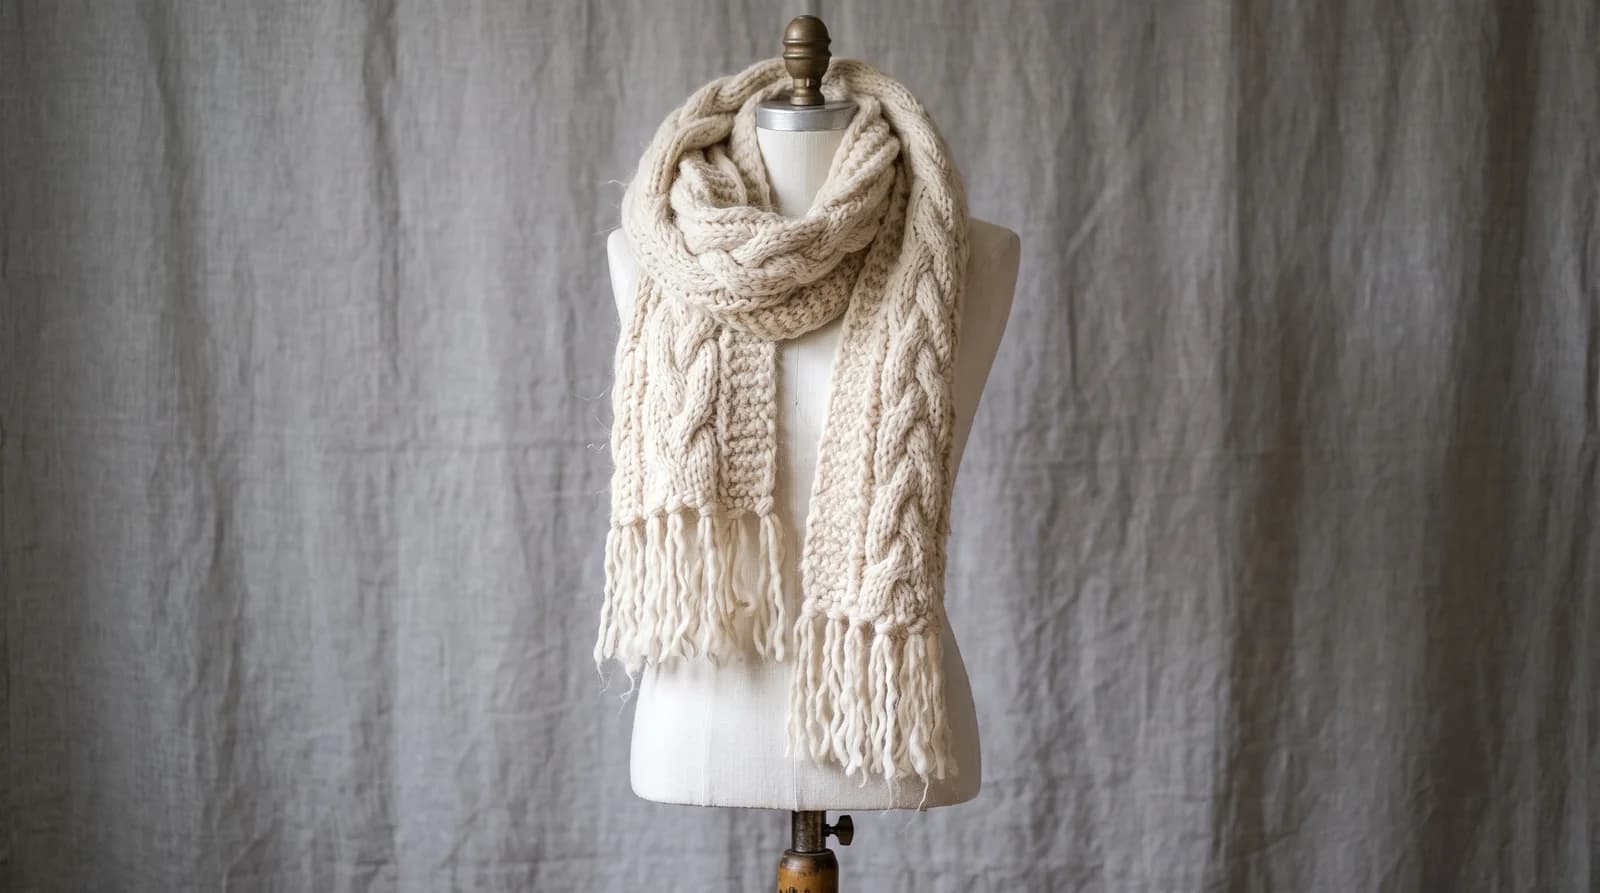
Here the selling point is softness, which needs texture. Low side light raises the brushed surface; a close-up of the knit or weave does more than a wide shot. Steam rather than iron, so the nap stays lofty.
Cotton, linen and modal
Matte fabrics photograph easily but wrinkle on camera. Steam them, and show the drape in a hanging or worn shot: modal and viscose fall in soft folds that a flat lay hides.
Knitted scarves
Knits stretch when laid flat and grow when hung. Lay them out without pulling, and shoot the stitch pattern in a close-up and the length in a separate full shot.
Fringe and tassels
Comb the fringe straight and lay it in one direction. Give the fringe its own close-up: it shows finish quality and length in one frame.
Steam first, every time
Packing folds are the most common flaw in scarf photos, and in a close-up they read as damage. Steam on a low setting suited to the fiber, from the back where the print is lighter. Silk marks easily with water droplets, so test a corner first. Let the scarf cool flat before you shoot so it does not wrinkle again.
Flat lay, hanging, mannequin or worn: which works best for scarves?
The short answer
Use more than one. A flat lay shows the whole print, hanging shows drape and fringe, a neck form shows knots the same way every time, and a worn photo shows size and color next to skin.
| Method | Shows best | The catch |
|---|---|---|
| Flat lay | The whole print, the true shape, the edge finish | No drape, no scale on a body |
| Hanging | Drape, sheerness and fringe; length on long scarves | Square scarves hang as a diamond and hide half the print |
| Neck form or mannequin | Knots and drapes, the same way every listing | Can look stiff; the form color must not clash with the print |
| Worn | Size on a body, color next to skin, how it is styled | Needs a person, or a photo made from your product shot |
The flat lay is where scarves differ most from clothes: a garment flat lay is a compromise, but a scarf is designed flat, so the spread is the truest view. The styling techniques for clothes still apply, and are in the guide to flat lay photography.
Hang scarves from a wide wooden hanger or a dowel so they fall in vertical folds. Pick a neck form in white, cream or black, whichever is furthest from the print’s main colors. Garment methods are compared in clothing product photography.
How do you show a scarf’s size and print scale?
The short answer
Give the measurements in the text, lay a tape measure along one edge of the open spread, and add one worn photo. A scarf with no reference in the frame can look like a pocket square or a shawl.
Size is the question scarf buyers ask most, because a flat photo has no scale. eBay’s photo tips suggest adding a photo with a coin or ruler next to the item when its size is not clear. For scarves, three photos answer it:
- A tape measure along one edge of the open spread, in an extra photo after the clean main one.
- A held shot: the scarf held open at shoulder height against a plain wall, which shows its size against a person at a glance.
- A worn shot, tied the way the size is usually worn: a small square at the neck, a large square or oblong around the shoulders.
Showing print scale
Print scale is the size of the motif, not the scarf. A tiny repeat reads as texture from a distance; a large placed print may show only one motif once it is knotted. Show the full spread for the layout and a close-up of one motif with a fingertip at the edge of the frame. Then name it in the description: a small repeat or a large placed print.
How do you get print colors right in scarf photos?
The short answer
Shoot in daylight with room lights off, set white balance on white paper, then compare the screen with the scarf beside it. Export in sRGB so the colors do not shift on upload.
For a print designer, color is the product. A teal that comes out green, or a coral that turns orange, becomes a return. Phones guess the light’s color, and the guess is worst under mixed light or with one dominant color filling the frame.
- One light source. Daylight from a window, room lights off. Warm bulbs mixed with daylight give two colors of light across one scarf.
- White balance on white paper. Leave a strip of white board in the frame, use your editing app’s dropper on it, then crop it out.
- Compare side by side. Hold the scarf next to the screen in the same light and adjust until the main colors match.
- Export in sRGB. Etsy’s image help page says to convert images to sRGB before uploading if colors look wrong on the site.
- Name the colors in words. Screens differ; “dusty rose, ink navy and ochre” in the description backs up the photo.
Draped silk can show two shades of one color as the light angle changes. Keep the evenly lit spread as the true-color reference.
How do you style knots and drapes for scarf photos?
The short answer
Pick two or three simple knots that suit the scarf’s size and keep them the same across your shop. Tie them loosely, so the print stays readable, and turn the best motif to the front.
Classic knots that photograph well, by scarf size:
- Small squares and neckerchiefs: a simple side knot at the neck, or tied around a bag handle, which shows the scarf as an accessory.
- Medium and large squares: folded into a triangle and worn loosely around the shoulders, or as a headscarf. The triangle keeps the corner motif visible.
- Oblong scarves: the loop (folded in half, ends pulled through) and the open drape, both ends hanging. The drape shows length and fringe.
- Wool and cashmere wraps: wrapped once around the neck with the ends falling in front, or worn open over a coat.
Tie knots looser than you would wear them: a tight knot crushes the print into folds. After tying, pull the best part of the design to the front and smooth the visible fabric. Keep the clothing under it plain and neutral, so nothing competes with the pattern.
How do you photograph hijabs and modest-fashion scarves?
The short answer
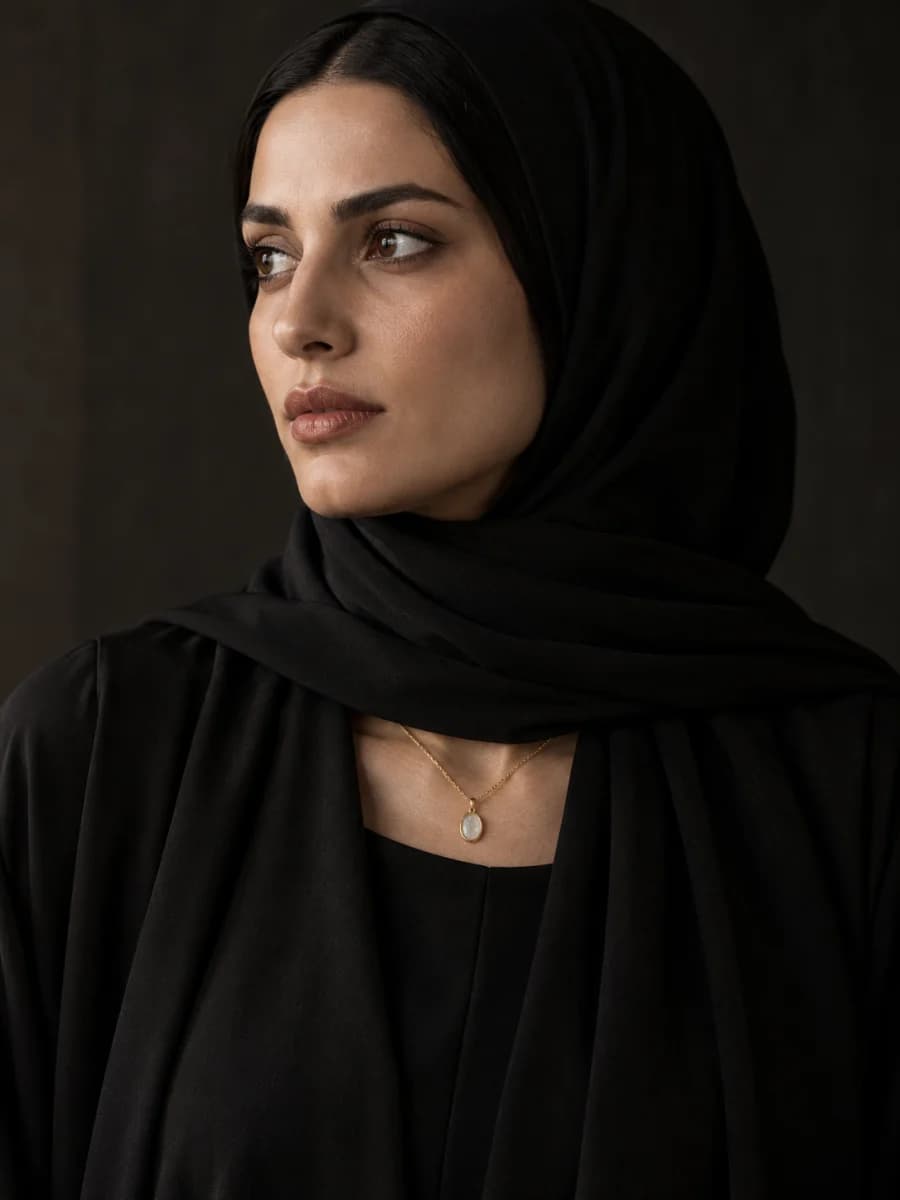
Show the hijab flat for color and fabric, folded for the shop, and worn in a style your customers recognize, with the face visible and the fabric smooth around it. Fabric and drape matter more than print here.
Hijabs are bought for how they wrap and stay put, so buyers want the fabric up close: jersey stretch, chiffon sheerness, crinkle texture or matte modal. The shot set changes a little:
- Length and width matter more than for a fashion scarf: lay it out full length with a tape measure.
- A sheerness shot: a hand behind one layer of fabric, in daylight, shows how opaque it is.
- A color range shot: several colors folded side by side, in the same light, for a shop that sells one style in many shades.
- A worn shot in a common wrap, with plain modest clothing, so the scarf is the only thing that stands out.
Tryly has a hijab setting that dresses women models in a hijab as styling, which suits abayas and modest dresses. If the scarf is the product you are selling, upload it as the product instead, so the photo shows your scarf. More on both in modest fashion AI photography.
How do you get on-model scarf photos without booking a model?
The short answer
Wear the scarf yourself with a tripod and self-timer, or make worn photos from your product photo with Tryly. Use those for your own store, social media and ads; on marketplaces, lead with your own photos.
Worn shots you take yourself
- Crop from chin to waist for most scarves; a full-length shot for long wraps and shawls.
- Face the window at an angle, not head on, so the fabric has soft shadows and silk has one gentle highlight.
- Wear plain clothes in a color that does not clash: white, black, cream, denim.
- Shoot a little movement: a turn of the shoulders lifts the fabric and shows drape.
Worn scarf photos with Tryly
Tryly handles scarves alongside clothes, shoes, bags, hats, watches, jewelry and glasses. Upload a clean photo of the scarf, and choose who wears it: one of 500+ AI models, your own model, or yourself. Each photo costs one credit, and you can start with 10 free photos, no card.
Before you publish, check every worn photo at full size against the real scarf: the print layout, the motif shapes, the colors and the edge finish. Photos made on a paid plan can be used on your store, in ads and on social media.
For scale: a product photographer charges $50 to $350 per image, or $500 to $3,000 per day, according to Shopify’s pricing guide. At Tryly’s lowest rate, as low as $0.25 per photo, four worn photos for each of 30 scarves, 120 photos, cost $30. Plans start at $9.99/month, from $0.33 per day. More in the guide to product photography cost.
What are the most common scarf photography mistakes?
The short answer
Showing only a knotted scarf, creases, flash on silk, a crooked spread, guessed colors and no sense of size.
- Only a knotted shot. Always show the full open spread too: buyers pay for the whole print.
- Creases and fold lines. Steam first; packing folds read as damage in a close-up.
- Flash on silk. Window light from the side, flash off.
- A crooked spread. Phone parallel to the table and the edges square to the frame.
- Print colors the camera guessed. Set white balance on white paper and compare the screen with the scarf.
- No sense of size. Give the measurements in the text and add one worn or held photo.
- A busy surface under a sheer scarf. Plain white or gray board only.
Image sizes to export
Etsy’s image help page recommends listing photos at least 2000 pixels wide and high, and a first photo that is landscape or square, since thumbnails are cropped. eBay recommends about 1600 × 1600 pixels and allows up to 24 photos. Shopify’s help center says 2048 × 2048 px usually displays best for square product images. Every other platform is in product image size requirements.
Keep edits light: straighten, crop every listing the same and correct the white balance. eBay’s picture policy does not allow added borders, text or watermarks, and a clean background is in the guide to white background product photography.
Questions scarf sellers ask
What is the best way to photograph a scarf?+
Lay it fully open and square on a plain board beside a window, and shoot straight down with the phone parallel to the table. That spread is the main photo, because it shows the whole print. Then add a folded shot, a knotted or draped shot, close-ups of the fabric and hem, and one worn photo.
How do you photograph a silk scarf without glare?+
Use one large, soft light from the side, such as a window out of direct sun, and turn the flash off. Turn the scarf until the sheen becomes one smooth band rather than bright spots. eBay’s photo tips also advise avoiding flash and overhead lighting to reduce glare.
How many photos should a scarf listing have?+
Six to nine for most scarves: the open spread, folded, knotted or draped, a fabric close-up, the hem or edge, the label, and one or two worn photos. Add a close-up of every flaw on a vintage or used piece. eBay allows up to 24 photos per listing.
Should a scarf be photographed flat or worn?+
Both. The flat spread shows the whole print and true shape, which is what a print buyer pays for. The worn photo shows size, drape and how the colors look next to skin. Lead with the spread in marketplaces and catalogs, and use worn photos for social media and ads.
How do I show the size of a scarf in photos?+
Write the measurements in the description and show the scarf on a person, which gives instant scale. eBay suggests adding a photo with a coin or ruler next to the item when its size is not clear. A tape measure laid along one edge of the open spread works well for scarves.
Can I use on-model scarf photos made with Tryly on Etsy?+
No. Etsy requires your own photos of the actual product, so use only photos you took of the scarf you are selling. Tryly photos made on a paid plan are for your own store, social media and ads. On eBay and Poshmark, add one only as an extra after your own real photos.
How much does scarf product photography cost?+
Doing it yourself costs little beyond a phone and a board. A product photographer charges $500 to $3,000 per day, or $50 to $350 per image, according to Shopify’s pricing guide. Tryly starts at $9.99/month, from $0.33 per day, with photos as low as $0.25 per photo.
Sources: photo count, size, lighting, size reference and flaws from eBay’s photo tips and picture policy; original photos from Etsy’s Listing Image Requirements, Poshmark’s Terms, Seller Policy and Depop’s help page on stock images; image size, orientation and sRGB from Etsy Help, images in your shop; framing from Google Merchant Center, image requirements; image size from the Shopify Help Center, product media types; photographer rates from Shopify’s product photography pricing guide.
Written by
Elena Varga
Head of Content, Tryly Academy
Former e-commerce photo producer who ran catalogue shoots for fashion labels for over a decade. Writes the Academy’s guides.
- 11 years in fashion e-commerce
- 1,200+ catalogue shoots produced
Expert review
Sofia Moretti
Fashion photographer · Expert reviewer
Has shot campaigns and on-model e-commerce for fashion brands for 14 years. Reviews every Academy article for accuracy.
- 14 years in fashion photography
- Campaign and catalogue work across Europe
How we work: every Academy article is written by a specialist, reviewed by a working fashion photographer, and re-checked against its sources when prices or rules change.